- 67 -
7
When the confirmation screen is displayed, click the [OK] button.
f
The schedule is registered in the SD card.
Note
f
When you use Internet Explorer as the web browser, and drag the “Timetable ID” with the mouse pointer, the ID sometimes does not follow
the mouse pointer properly depending on the set window size. In that case, drag the “Timetable ID” and drop the mouse pointer over the day
or day of week where you want to register the ID on the “Schedule”.
Deleting the schedule
Delete the registered schedule.
1
Click the [Schedule] menu on the top menu screen.
f
The schedule screen is displayed.
2
Click the [Schedule] button.
f
The [Schedule] page is displayed.
3
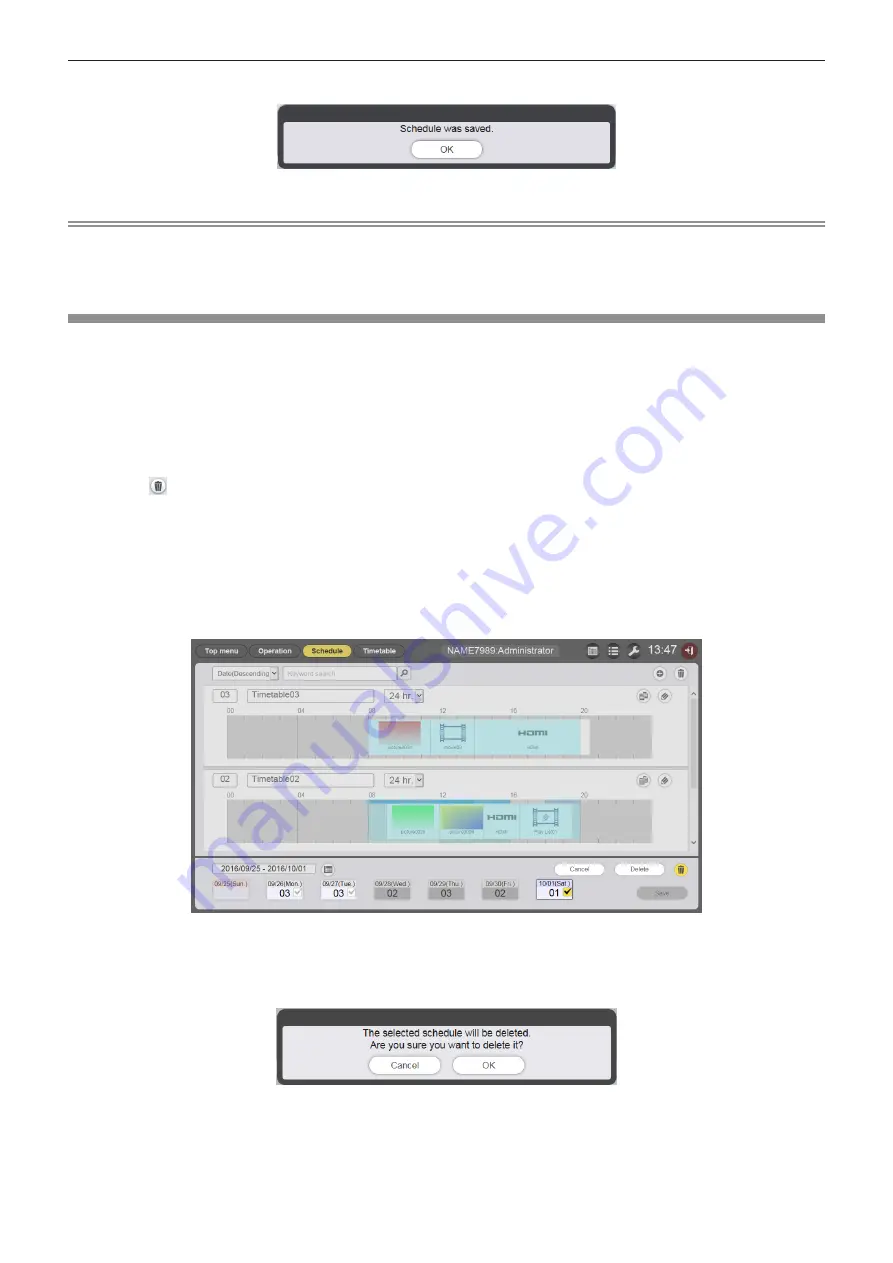
Click at the bottom right of the screen.
f
The mode changes to deletion mode.
f
Click the [Cancel] button to cancel the deletion mode.
4
Select the day or day of the week to delete.
f
A check mark is displayed on the selected day or day of the week.
f
You can select multiple days or days of week.
f
Remove the check from the selected day or day of the week to cancel the selection.
5
Click the [Delete] button.
6
When the confirmation screen is displayed, click the [OK] button.
f
The timetable of the selected day or day of the week is deleted from the schedule.
7
Click the [Save] button.


