


8
DVQX1303 (ENG)
Note
• When the teleconverter is mounted, the aperture will be
set to a value one step greater than the index value on the
aperture ring.
• When updating the lens firmware to the latest version,
remove the teleconverter before performing the update.
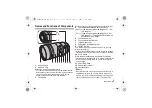
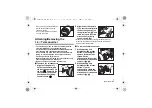
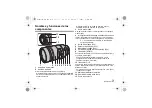
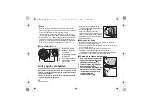
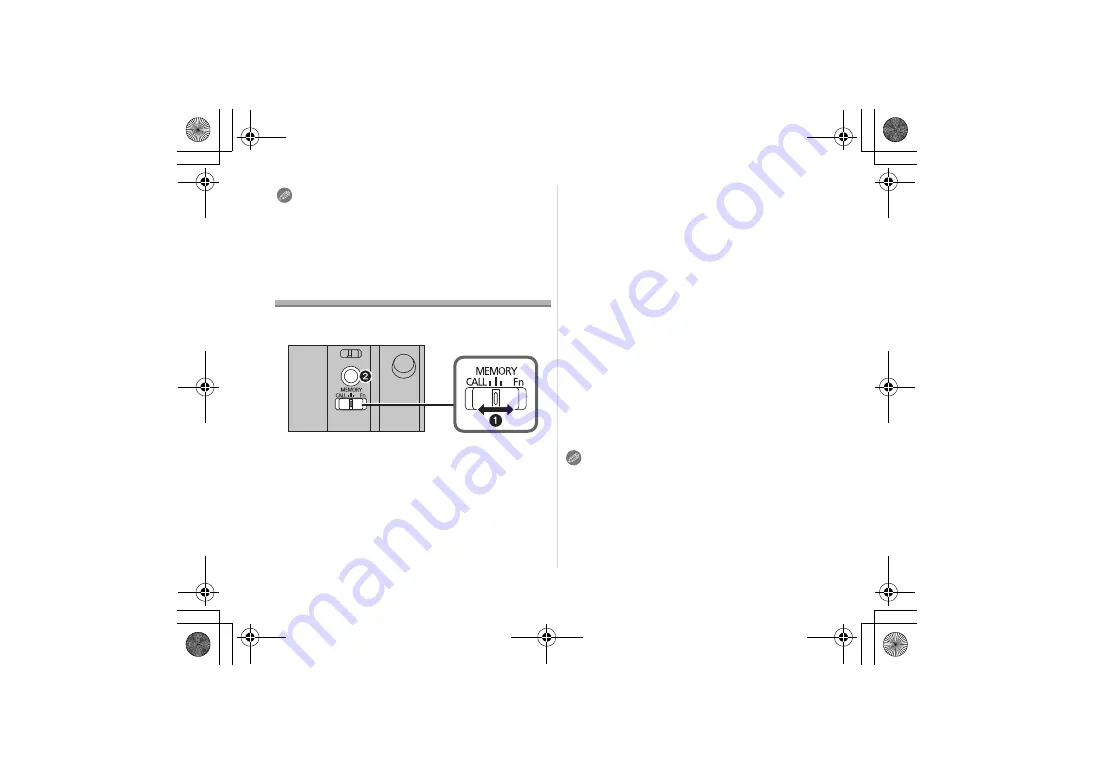
Focus Preset Function
You can call up a focus position stored in the memory of the
lens. In addition, the focus can be locked.
(To store a focus position in the lens memory)
1
Set the focus selector switch to [MEMORY]
(
1
).
2
Adjust the focus to the position you want to
store in the memory.
3
Press the focus button (
2
) to store the focus
position in the memory.
• The focus position stored in the memory will remain in
effect until you store a new position in the memory.
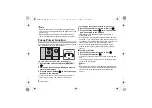
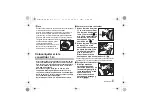
(To call up the focus position stored in the memory)
4
Set the focus selector switch to [CALL] (
1
).
5
Press the focus button (
2
) to call up the focus
position stored in the memory.
• [MF] is temporarily enabled while the focus button is
pressed and held.
• Even when the focusing distance range selector switch is
set to [3m–
], a focus position within the 3.0 m range can
be called up. If you release the focus button, however, the
focus position will move to the limit position (3.0 m).
• We recommend setting the focusing distance range
selector switch to [FULL] when using the focus preset
function.
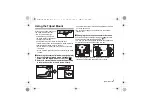
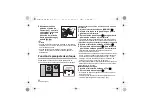
∫
Locking the focus
1
Set the focus selector switch to [Fn] (
1
).
2
Press the focus button (
2
).
• The focus is locked while the focus button is pressed and
held.
• You can also call up a function set on a digital camera that
supports the [Fn] function.
Note
• Before removing the lens, verify that the digital camera is
turned off. If the lens is removed while the digital camera is
turned on, the focus position will not be stored in the
memory.
DVQX1303_ENG_SPA.book 8 ページ 2017年10月20日 金曜日 午後4時0分


