


193
7. Functions Customized for Various Subjects and Purposes
Using screens and displays suitable for
recording
Applicable modes:
You can check areas that may be white saturated by displaying areas above a certain
luminance level in a zebra pattern. You can also set the minimum luminance level
(brightness) to be processed as a zebra pattern.
•
If there are any white saturated areas, we recommend compensating the exposure towards
negative
(P161)
referring to the histogram
(P47)
and then taking the picture.
•
Displayed zebra patterns will not be recorded.
•
If you assign [Zebra Pattern] to [Fn Button Set]
(P64)
in the [Custom] menu, each time you
press the function button to which the setting is assigned, the zebra pattern toggles as follows:
[Zebra 1]
→
[Zebra 2]
→
[OFF].
When [Zebra 2] is set to [OFF], the setting toggles in the order of [Zebra 1]
→
[OFF], allowing
you to switch the setting quickly.
Checking areas that may be white saturated ([Zebra Pattern])
>
[Custom]
>
[Zebra Pattern]
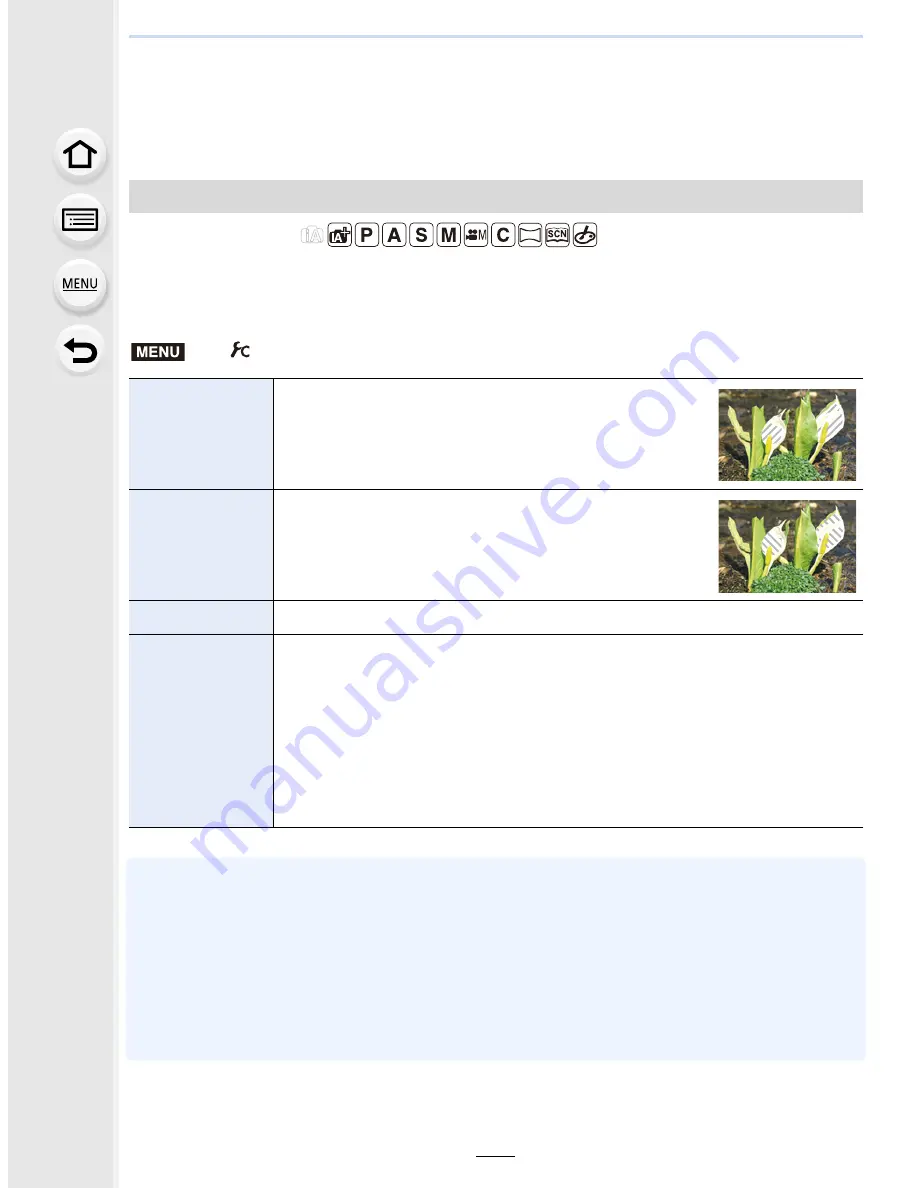
[ZEBRA1]
Displays areas above a certain luminance level by a
right-leaning zebra pattern.
[ZEBRA2]
Displays areas above a certain luminance level by a
left-leaning zebra pattern.
[OFF]
—
[SET]
Sets the minimum brightness level for each zebra pattern.
[Zebra 1]/[Zebra 2]
Press
3
/
4
to select the brightness, and press [MENU/SET].
•
You can select a brightness value between [50%] and [105%]. In [Zebra 2],
you can select [OFF]. If you select [100%] or [105%], only the areas that
are already white saturated are displayed in a zebra pattern. The smaller
the value is, the wider the brightness range to be processed as a zebra
pattern will be.
MENU


