81
3. Recording Modes
3
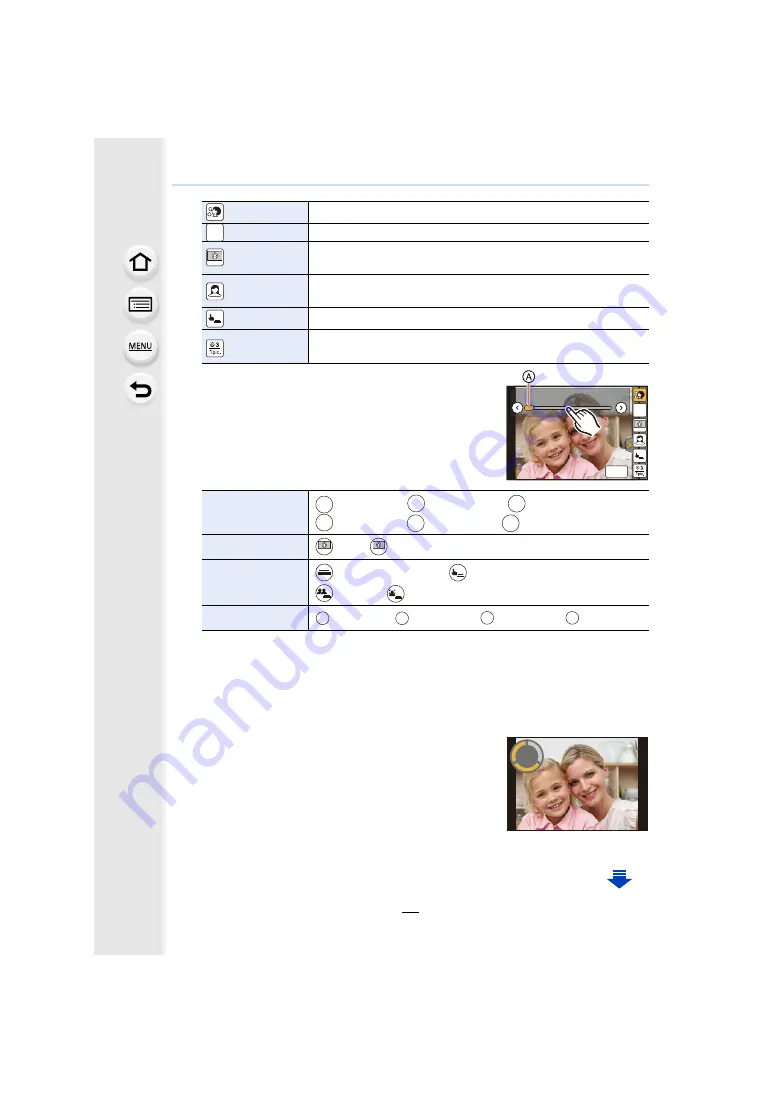
Touch the slide bar.
• You can select [OFF] or a value between [1] and [10].
Selecting the left end
A
allows you to set the item to
[OFF].
• If you have selected [Filter Select], [Defocusing],
[Shutter] or [Shots], select the desired icon.
4
Touch [Exit]
5
Decide on your poses while looking at the monitor.
• The AF area is displayed around the subject’s face by the Face/Eye Detection function.
(If [
š
] in AF Mode is not available with the current Recording Mode, an available focus
setting for each Recording Mode will be used.)
6
Press the shutter button halfway to focus and
then press it fully to take the picture.
• Look at the lens when recording.
• Countdown starts, and recording takes place when it ends.
If multiple pictures are set to be recorded, the recording
continues until the set number is reached.
• For information on how to start taking a picture using [Shutter], refer to
([Soft Skin])
Makes people’s faces look brighter and their skin tones look softer.
([Filter Select]) Adds an image effect (filter) suited for Self Shot Mode.
([Defocusing])
Blurs the background of detected faces. (Note that the faces further
back in the image will be blurred with the background.)
([Slimming
Mode])
Makes people look slimmer.
([Shutter])
Sets the way the shutter is released.
([Countdown],
[Shots])
Sets the countdown setting ([Countdown]) and the number of
pictures to be taken in succession ([Shots]).
[Filter Select]
[
] ([No Effect])/[
] ([Expressive])/[
] ([Retro])/
[
] ([High Key])/[
] ([Toy Effect])/[
] ([Soft Focus])
[Defocusing]
[
] (Off)/[
] (On)
[Shutter]
[
] (Shutter button only)/[
] (Touch)/
[
] (Buddy)/[
] (Face)
[Shots]
[
]
(1 picture)/[
]
(2 pictures)/[
]
(3 pictures)/[
]
(4 pictures)
OFF
OFF
OFF
No
Effect
OFF
OFF
OFF
OFF
OFF
OFF
OFF
OFF
OFF
OFF
OFF
OFF
OFF
OFF
OFF
No
Effect
Exit
No
Effect
OFF
EXPS
EXPS
OFF
RETR
RETR
OFF
HKEY
HKEY
OFF
TOY
TOY
OFF
SOFT
SOFT
OFF
OFF
OFF
ON
ON
ON
1
RKE
RKE
2
RKE
RKE
3
RKE
RKE
4
RKE
RKE
2


