Recording
DVQX1795 (ENG)
44
Creating stop motion animation [Stop Motion Animation]
You can stitch still pictures to create stop motion animation.
1
Set the drive mode dial to [ ]
2
Set the menu
→
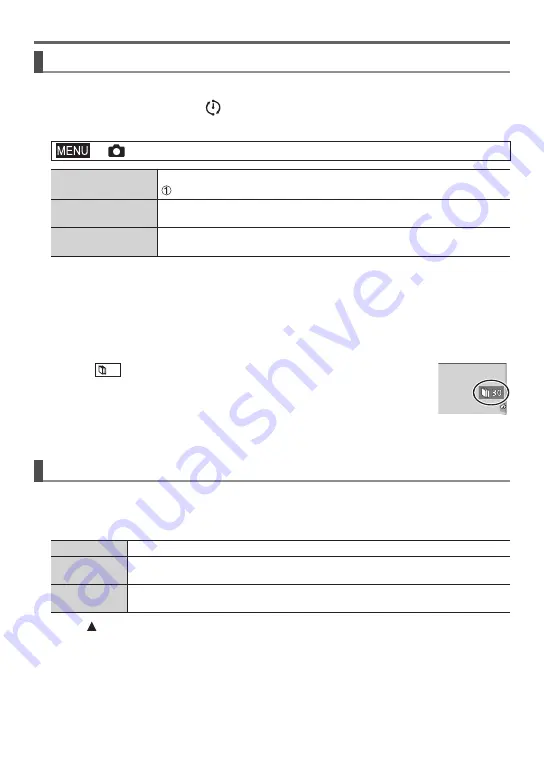
[Rec] → [Time Lapse/Animation]
[Mode]
To switch between Time Lapse Shot and Stop Motion Animation
Select [Stop Motion Animation]
[Auto Shooting]
[ON]:
Takes pictures automatically at a set recording interval.
[OFF]:
Takes pictures manually, one frame at a time.
[Shooting Interval]
(Only when [Auto Shooting] is set to [ON])
Set the interval used for [Auto Shooting].
3
Press the shutter button halfway to exit the menu
4
Focus on the subject and take a picture
5
Move the subject to decide on the composition
• Repeat the recording of still pictures in the same way. Up to 9,999 frames can be recorded.
• When you turn off the camera during recording, a message to restart recording will appear when
you turn on the camera.
6
Touch [
] to end the recording
• You can also end the recording by selecting [Time Lapse/Animation] in the [Rec]
menu, and then pressing [MENU/SET].
• When [Auto Shooting] is set to [ON], select [End] on the confirmation screen. (If
you select [Pause], press the shutter button fully to resume recording.)
Creating motion pictures from recorded pictures
To create motion pictures after taking pictures, follow the steps below.
1
Select the motion picture creation method
• [Rec Format]: [MP4]
[Rec Quality]
Sets the picture quality of the motion picture.
[Frame Rate]
Set the number of frames per second. The higher the number is, the smoother
the motion picture will be.
[Sequence]
[NORMAL]:
Stitches the still pictures in the recording sequence.
[REVERSE]:
Stitches the still pictures in the reverse order of recording.
2
Press to select [OK] and press [MENU/SET]
• You can also create a motion picture using [Time Lapse Video]/[Stop Motion Video] in the
[Playback] menu.


