


Operations
70
Web interface operation
Access to Web interface
1
Start a Web browser and input the unit’s IP address in the address field.
IPv4: http://0.0.0.0 (0.0.0.0 is the unit IP address)
IPv6: http://[0:0:0:0:0:0:0:0] (0:0:0:0:0:0:0:0 is the unit IP address)
≥
When using DHCP, check the IP address of the unit assigned by DHCP. (
≥
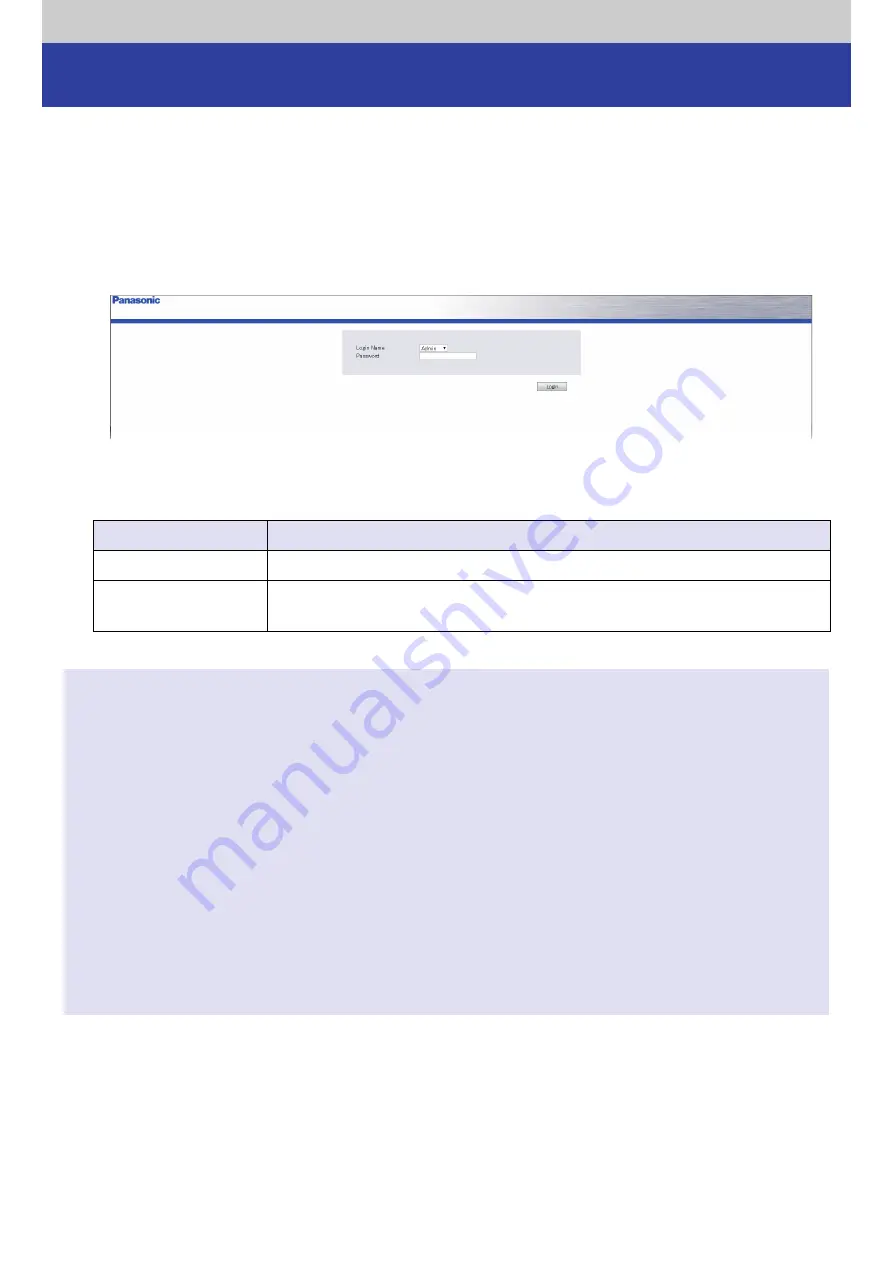
The Login screen opens.
2
Select the login name corresponding to the function to be used and then input the password.
≥
The menu available varies depending on the login name.
Login Name
Available menu
Admin
“Monitor”, “Configure”, “Manage”
Service
All menus including the “Service” menu
≥
This menu is exclusively used by your support service provider.
Note
≥
The Web interface will log out automatically after 1 hour.
≥
If login fails 10 times, you will not be able to log in for 3 minutes.
≥
Only the first user can log in to the Web interface.
≥
When you log in from the control panel, the Web interface will log out automatically.
≥
After installation, you need to log in to the control panel and change your password to enable the Web
interface.
≥
Since “Enable SSL for Web” is disabled in the factory default settings, Web interface communication, including
login password entry, will not be encrypted. If communication needs to be encrypted, select “Configure”
“Network” in the Web Interface, check mark “Enable SSL for Web” to enable SSL. After setting, restart the unit.
≥
The Web interface can be accessed using SSL.
Enable “Enable SSL for Web” following the procedure above.
To access the Web interface, enter “https:// (IP address)”.
A self-signed certificate is used when “Enable SSL for Web” is enabled and is used for an SSL certificate.
If the security certificate warning appears when you access the Web interface with SSL, install the certificate or
set exceptions. For more information, refer to the user manual for the Web browser.


