9. Option
90
9 Option
Handset Registration
9.1 Canceling the handset
registration
If you no longer need to use the handset or if you
want to use the handset with a different base unit
of the same model, it is necessary to cancel the
handset’s registration from the current base unit.
Only one handset can be canceled at a time.
Make sure the handset and the base unit are
near each other and not being used.
L
Keep the front cover page open for button
locations.
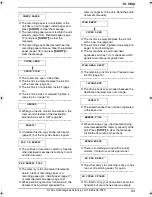
9.1.1 With the handset
1
Press
{
MENU
}
.
2
Scroll to
“
Initial setting
”
by pressing
{v}
or
{e}
, then press the soft key
(
{
SELECT
}
).
3
Scroll to
“
Registration
”
by pressing
{v}
or
{e}
, then press the soft key (
{
SELECT
}
).
4
Scroll to
“
Deregistration
”
by pressing
{v}
or
{e}
, then press the soft key
(
{
SELECT
}
).
5
Press
{
3
}{
3
}{
5
}
(DEL.) to delete the
registration memory.
6
Press the soft key (
{
OK
}
).
L
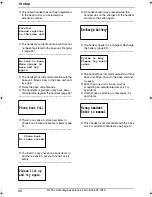
A beep will sound and the registration
memory will be erased on both the
handset and the base unit.
L
“
[-]
”
is shown on the top right of the
canceled handset’s display.
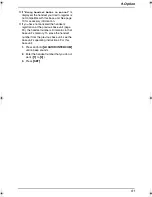
9.1.2 With the base unit
1
Press and hold
{
LOCATOR/INTERCOM
}
until
“
HS REGISTRATION
”
is displayed.
2
Press the desired extension number you
want to cancel (
{
1
}
to
{
4
}
).
3
Press
{
SET
}
.
L
A beep will sound and the registration
memory will be erased on the base unit
only.
Note:
L
After canceling registration, the handset
cannot be used. If you want to use it again,
re-register the handset to the base unit.
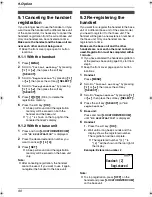
9.2 Re-registering the
handset
If you want to re-register the handset to the base
unit or a different base unit of the same model,
you need to register it to that base unit. The
handset will be given a new extension number of
that base unit. Only one handset can be
registered at a time.
Make sure the base unit and the other
handsets are near each other and not being
used. Registration must be completed within
1 minute.
L
If you have canceled the handset registration
at the previous base unit (page 90), start from
step 5.
L
Keep the front cover page open for button
locations.
1
Handset:
Press
{
MENU
}
.
2
Scroll to
“
Initial setting
”
by pressing
{v}
or
{e}
, then press the soft key
(
{
SELECT
}
).
3
Scroll to
“
Registration
”
by pressing
{v}
or
{e}
, then press the soft key (
{
SELECT
}
).
4
Press the soft key (
{
SELECT
}
) at
“
HS
registration
”
.
5
Base unit:
Press and hold
{
LOCATOR/INTERCOM
}
until
“
HS REGISTRATION
”
is displayed.
6
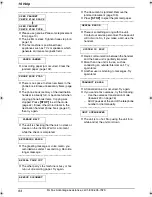
Handset:
1.
Press the soft key (
{
OK
}
).
2.
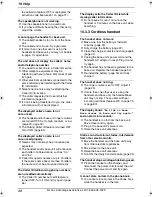
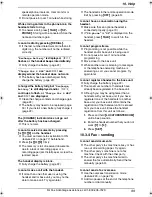
Wait until a long beep sounds and the
display shows the registered number.
The registration will be complete.
L
The registered number
“
[1]
”
to
“
[4]
”
will be shown on the top right of
the display.
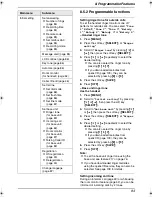
Example: Extension number 2
Note:
L
To stop registration, press
{
OFF
}
on the
handset and press
{
LOCATOR/INTERCOM
}
on the base unit.
[2]
Handset [2]
Registered
FPG391_en.book Page 90 Friday, July 16, 2004 5:38 PM
Содержание KX-FPG391 - Fax / Copier
Страница 123: ...13 Index 121 W Wall mounting 21 ...
Страница 124: ...122 ...
Страница 125: ...123 ...

