34
VQT1N74
Setup
6
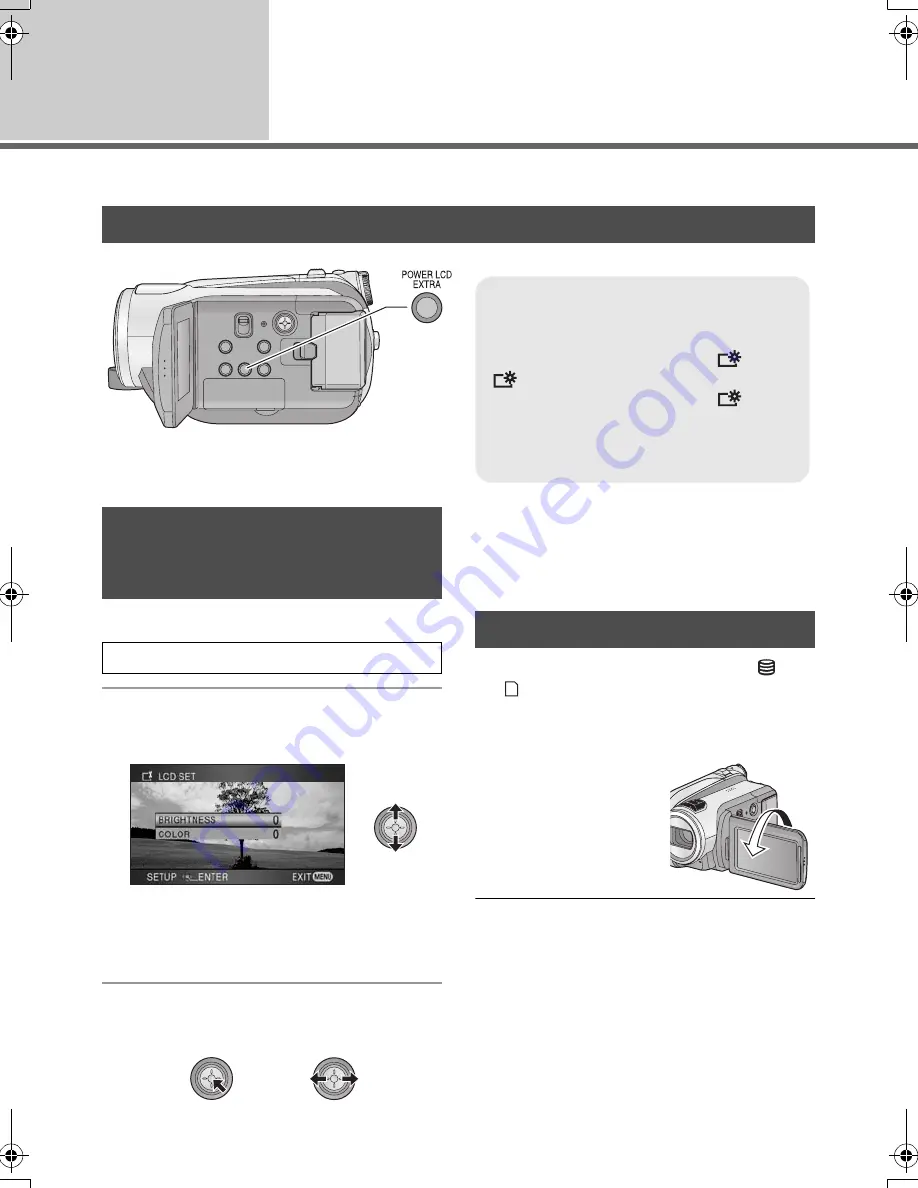
Adjusting LCD monitor
≥
These settings will not affect the images actually recorded.
1
Select the menu. (
l
29)
2
Select the item with the cursor
button.
[BRIGHTNESS]:
Brightness of the LCD monitor
[COLOR]:
Color level of the LCD monitor
3
Press the cursor button to make
the adjustment.
≥
After adjustments are made if no operations
are performed for about 2 seconds, the bar will
disappear.
≥
Press the MENU button to exit the menu
screen.
¬
Rotate the mode dial to select
or
.
Rotate the LCD monitor towards the
lens side.
≥
The image is
horizontally flipped as if
you see a mirror image.
(However the image
recorded is the same
as a normal recording.)
≥
Only some indications will appear on the
screen. When [
°
] appears, return the
direction of the LCD monitor to normal position
and check the warning/alarm indication.
(
l
115)
Increasing the brightness of the LCD monitor
POWER LCD EXTRA button
Each time the POWER LCD EXTRA button
is pressed, the indication changes by one
setting in the following order: [
]
>
[
]
>
setting canceled (standard)
≥
If you use the AC adaptor, the [
]
indication appears and the screen
becomes brighter automatically when the
power is turned on.
1
+
2
+
1
+
Adjusting the brightness
and the color level of the
LCD monitor
[SETUP]
#
[LCD SET]
#
[YES]
Recording Yourself
HDCHS9P-VQT1N74_ENG.book 34 ページ 2007年12月25日 火曜日 午後8時43分
Содержание HDC-HS9P
Страница 15: ...15 VQT1N74 Preparation Recording Playback Backup With a PC Others 16 Before using 22 Setup ...
Страница 35: ...35 VQT1N74 Preparation Recording Playback Backup With a PC Others 36 Recording Basic 49 Recording Advanced ...
Страница 65: ...65 VQT1N74 Preparation Recording Playback Backup With a PC Others 66 Playback 74 Editing 82 With a TV ...
Страница 89: ...89 VQT1N74 Preparation Recording Playback Backup With a PC Others 90 With other products ...
Страница 111: ...111 VQT1N74 Preparation Recording Playback Backup With a PC Others 112 Indications 118 Helpful hints ...


