24
11. Scene File Setting (SCENE FILE)
This menu allows for you to adjust and set the items for the
video signal of the camera to meet your requirements.
You can store two sets of values in two different scene files.
Use the Scene File Selector on the front panel of the cam-
era control unit to select SCENE FILE1 or SCENE FILE2.
1. Move the cursor to the SCENE FILE parameter and
select FILE1.
2. Press the PAGE button. The SCENE FILE menu
appears.
There are 2 pages for SCENE FILE (P1 and P2).
On page 1 (P1), you can set the following items:
• Gamma Correction (GAMMA)
• Knee Control (KNEE)
• White Clip Level Control (WHITE CLIP)
• Flare Compensation (FLARE COMP)
• Black Stretch Control (BLACK STRETCH)
• Total Pedestal Level Control (TOTAL PED)
On page 2 (P2), you can set the following items:
• Detail Mode Control (DTL MODE)
• Red Detail ON/OFF (RED DTL)
• Digital Noise Reduction Control (DNR)
• 2 Dimension Low Pass Filter ON/OFF (2D LPF)
• Chroma Matrix Control (MATRIX)
To turn the page
Move the cursor to P1 or P2 and press the
A
or
B
button.
Returning to the SET UP menu
Move the cursor to RET and press the PAGE button.
11-1. Gamma Correction (GAMMA)
1. Move the cursor to the GAMMA parameter.
2. While observing the waveform monitor or the color
video monitor, adjust the gamma level.
When the "I" cursor is at the end of the "+" side, gamma
correction is set to OFF.
11-2. Knee Control (KNEE)
1. Move the cursor to the KNEE parameter.
2. Select AUTO or MANU for the knee mode.
3. When "MANU" is selected, press the PAGE button.
The KNEE MENU appears.
While observing the waveform monitor or the color
video monitor, adjust the knee point.
11-3. White Clip Level Control (WHITE CLIP)
1. Move the cursor to the WHITE CLIP parameter.
2. While observing the waveform monitor or the color
video monitor, adjust the white clip level.
11-4. Flare Compensation (FLARE COMP)
1. Move the cursor to the FLARE COMP parameter.
2. Select "ON" or "OFF" for the FLARE COMP mode.
When "ON" is selected, flare appearance will be com-
pensated.
11-5. Black Stretch Control (BLACK STRETCH)
1. Move the cursor to the BLACK STRETCH parameter.
2. Select "ON" or "OFF" for the BLACK STRETCH mode.
When "ON" is selected, dark tone will be stretched.
11-6. Total Pedestal Level Control (TOTAL PED)
1. Move the cursor to the TOTAL PED parameter.
2. While observing the waveform monitor or the color
video monitor, adjust the total pedestal level (black
level).
Move the "I" cursor to the "+" side to make the image
brighter.
Move the "I" cursor to the "–" side to make the image
darker.
11-7. Detail Mode Control (DTL MODE)
It is possible to select manual (MANU), special 1 (SP-1),
special 2 (SP-2), special 3 (SP-3) for the detail mode.
When "MANU" is selected, settings of detail band (DTL
BAND), horizontal detail gain (H-DTL) and vertical detail
gain (V-DTL) are available.
11-7-1. Detail Band Control (DTL BAND)
1. Move the cursor to the DTL MODE parameter. Select
"MANU" and press the PAGE button. The DTL MODE
menu appears on the monitor screen.
2. Move the cursor to the DTL BAND parameter.
3. While observing the color video monitor, adjust the
aperture level.
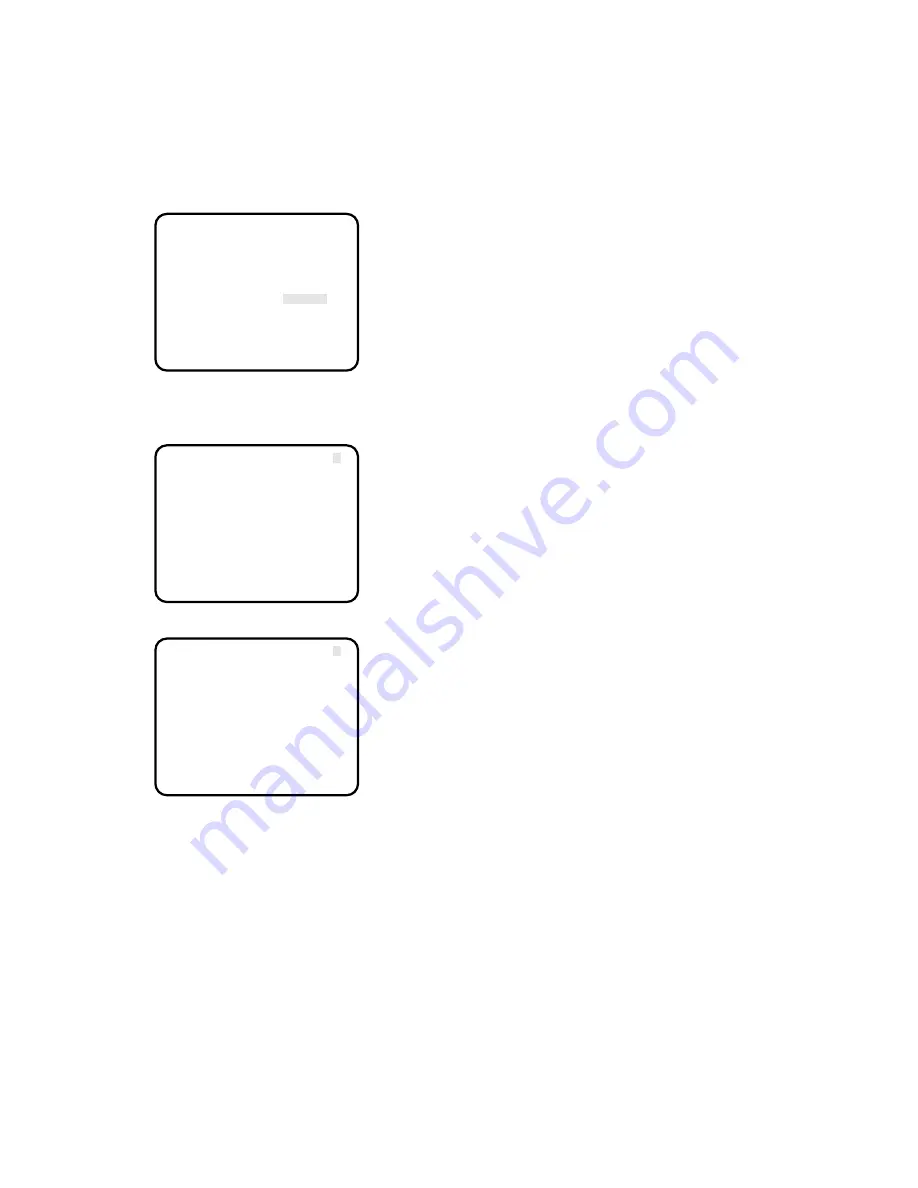
** SET UP ** P2
ELECTRIC ZOOM OFF
FREEZE OFF
BLACK BAL ABC
SYNC INT
SCENE FILE *FILE1
END
** SCENE FILE 1 ** P1
GAMMA -....I....+
KNEE AUTO
WHITE CLIP -....I....+
FLARE COMP OFF
BLACK STRETCH OFF
TOTAL PED -....I....+
RET END
** SCENE FILE 1 ** P2
DTL MODE *MANU
RED DTL OFF
DNR OFF
2D LPF OFF
MATRIX *R
RET END
Содержание GP-US522HB
Страница 29: ......


