13
VQT3B63
STEP 5 : Settings
After connecting your new player for the first time and
pressing [
Í
], a screen for the basic settings will appear.
Preparation
Turn on the television and select the appropriate video
input on the television.
1
Press [
Í
].
Setup screen appears.
If this unit is connected to a Panasonic TV (VIERA)
supporting HDAVI Control 2 or later via an HDMI cable,
then setting information on the TV such as “On-Screen
Language” is acquired by this unit.
2
Follow the on-screen instructions and
make the settings with [
3
,
4
] and press
[OK].
“On-Screen Language”, “TV Aspect”, “Quick Start” and
“Touch Free Sensor
[BDT310]
[BDT210]
” are set.
After completing “Easy Setting”, you can perform “Network
Easy Setting”.
≥
You can perform this setup anytime by selecting “Easy Setting” in the
Setup menu. (
≥
You can also change these settings individually. (
Touch Free Sensor
[BDT310]
[BDT210]
By setting “Sensor” in “Touch Free Sensor” to “On”, you can open or close
the tray just by waving your hand over the TOUCH-FREE SENSOR on the
upper side of the unit. (This will also work when in stand-by.)
≥
Be aware that the TOUCH-FREE SENSOR may function unintentionally
in the following cases:
–When your hand or arm, an object, a small child, or a small animal
comes close to the upper part of the unit
–When an object is placed on top of the unit and vibration is applied
–When connecting a cable etc. to the rear of the unit
≥
Reactive distance of the sensor is automatically set in accordance with
the installation conditions at the time of power supply connection and
when the open/close button is pressed. To prevent an incorrect setting,
do not place your hands or objects above the unit at these times.
≥
Depending on the usage conditions, the TOUCH-FREE SENSOR may
stop working or the reactive distance may become shorter. In such
cases, press the tray open/close button once.
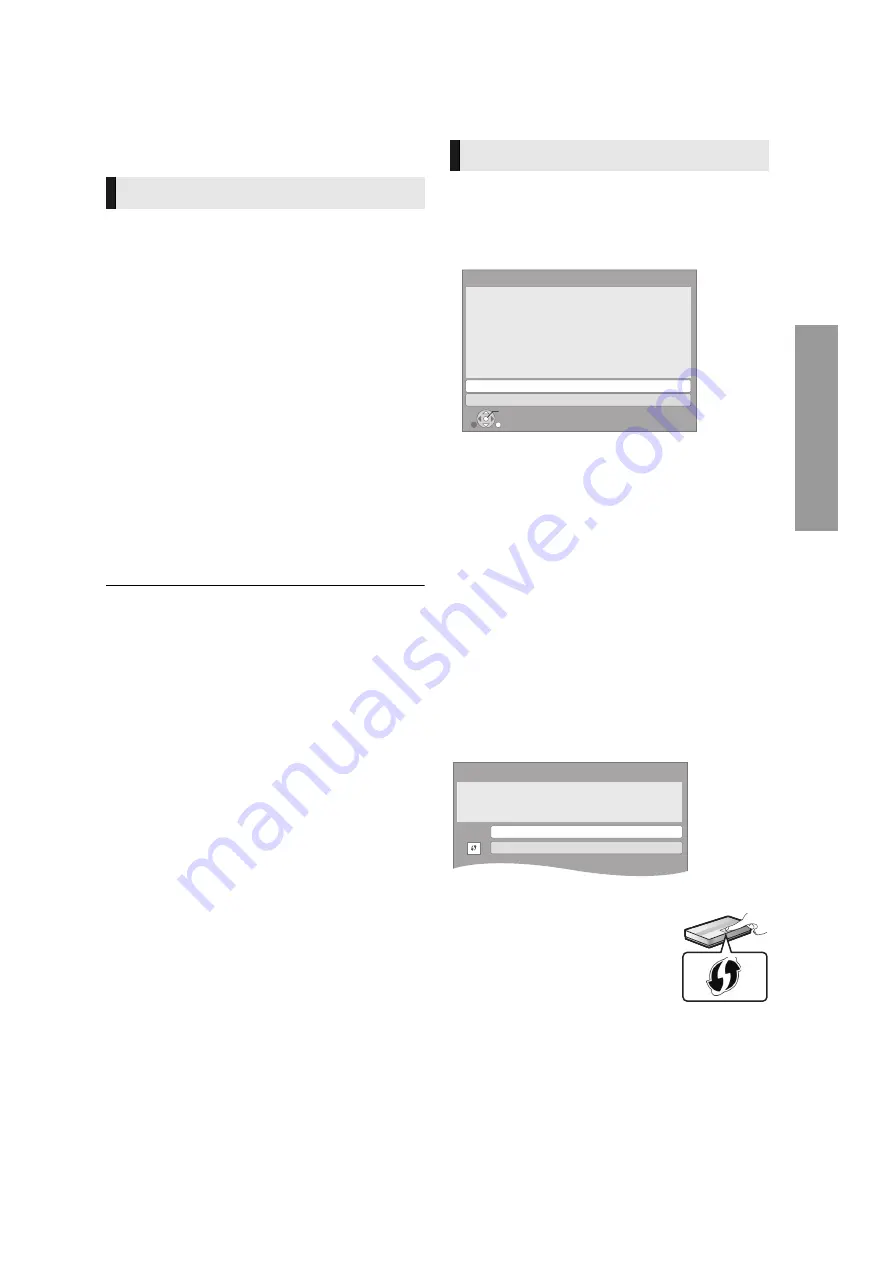
After completing “Easy Setting”, you can continue with
“Network Easy Setting”.
Select “Wired” or “Wireless” and press [OK].
∫
“Wired” connection
Follow the on-screen instructions to make your connection
settings.
≥
When you experience problems (
∫
“Wireless” connection
Before beginning wireless connection setup
≥
Obtain your network name (SSID
*1
).
≥
If your wireless connection is encrypted please be
sure that you know your encryption key.
≥
[BDT111] [BDT110]
:
If “Wireless LAN Adaptor is not
connected.” is displayed, check that the Wireless LAN
Adaptor is fully inserted. Alternatively, disconnect and
reconnect it. If there is still no change in the display,
consult your dealer for advice.
Select “WPS (PUSH button)” or “Search for
wireless network” and then follow the
on-screen instructions and make the
settings.
WPS (PUSH button):
If your Wireless router supports WPS
(PUSH button), you can easily perform the
settings by pressing WPS button on it.
WPS (Wi-Fi Protected Setup) is a standard
that facilitates settings relating to the
connection and security of wireless LAN
devices.
1
Press WPS button or corresponding button of Wireless
router until the lamp starts flashing.
≥
For details, refer to the operating instruction of
Wireless router.
2
Press [OK].
Easy Setting
Network Easy Setting
OK
RETURN
Network Easy Setting
Wired
Wireless
Select a connection mode.
Current setting
: Wired
LAN cable connection:
Connect a LAN cable to the unit and select "Wired."
Wireless LAN connection:
Select "Wireless."
[BDT310]
Wireless Settings
Select a connection method to wireless access point.
Please refer to the operating instructions of your wireless
access point about connection methods.
Search for wireless network
WPS (PUSH button)
*
2
e.g.


