background image


3


Web  

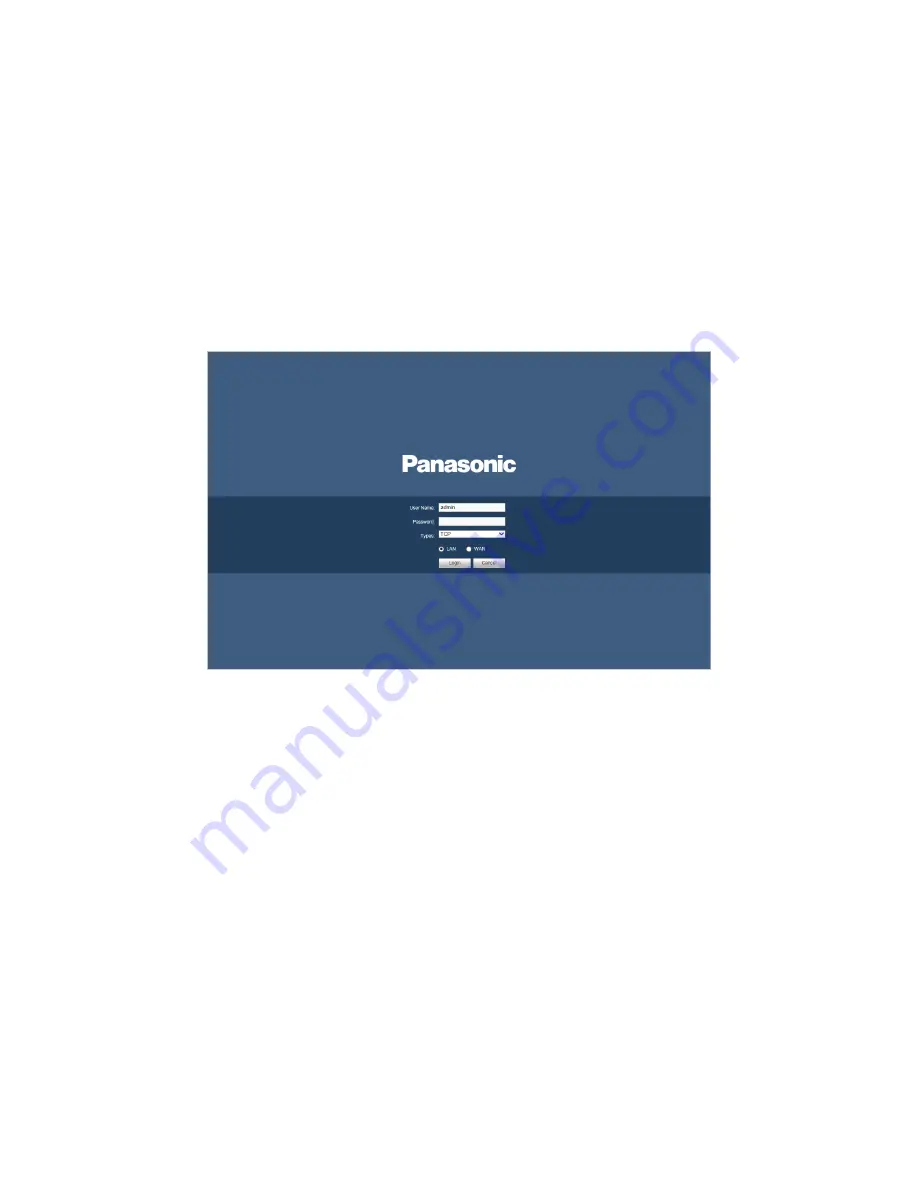
Open the browser and input DVR address in the address column, click Enter button. System 

pops up login interface. See Figure 3-1.  

Input correct user name and password, click Login to login the system. 


Note 


If it is your first time to login the device, please initialize the device first. Refer to 

Us

er’s 

Manual

 for detailed information.  


Device factory default user name is 

admin

. The password is that you set during initialization 

process. For your device safety, please change the admin password regularly and keep it 

well.  


Figure 3-1 

For detailed operation information, please refer to the 

User

’s Manual

 included in the resource CD.  


Note 


For detailed operation introduction, please refer to our resource CD included in your 

package for electronic version of the 

User

’s Manual


This quick start guide is for reference only. Slight difference may be found in the user 

interface. 


All pictured model is CJ-HDR108A, unless otherwise stated. 


All the designs and software here are subject to change without prior written notice. 


All trademarks and registered trademarks mentioned are the properties of their 

respective owners. 


If there is any uncertainty or controversy, please refer to the final explanation of us. 


Please visit our website or contact your local service engineer for more information. 


Содержание CJ-HDR104A

Страница 1: ...HD Analog Recorder Quick Start Guide Model No CJ HDR104A CJ HDR108A Version 1 0 0 ...

Страница 2: ...re Installation and Connection 1 1 1 Check Unpacked DVR 1 1 2 About the Panels and Cover 1 1 3 HDD Installation 1 1 4 Front Panel 2 1 5 Rear Panel 3 2 Local Login 4 2 1 Device Initialization 4 2 2 Schedule 5 2 3 Playback 6 3 Web 7 ...

Страница 3: ... for purchasing our HD Analog Recorder DVR This quick start guide will help you become familiar with our DVR in a very short time Before installation and operation please read the following safeguard and warning carefully ...

Страница 4: ...torage and installation 3 Installation Keep upwards Handle with care Do not apply power to the DVR before completing installation Do not place objects on the DVR 4 Qualified engineers needed All the examination and repair work should be done by the qualified service engineers We are not liable for any problems caused by unauthorized modifications or attempted repair 5 Environment The DVR should be...

Страница 5: ... keys in the front panel and the ports in the rear panel please refer to the User s Manual included in the resource CD The model label in the front panel is very important please check according to your purchase order The label in the top cover is very important too Usually we need you to represent the serial number when we provide the service after sales 1 3 HDD Installation This series DVR has o...

Страница 6: ...information Name Icon Function Power button Press this button to boot up or shut down the device USB port Connect to USB2 0 storage device mouse and etc Up Down Activate current controls and then move up move down or jump Change setup increase decrease numeral Assistant function such as PTZ menu Switch channel when playback Left Right Switch current activated controls move up and down When device ...

Страница 7: ...ol press it for 1 5 seconds to delete the previous character before the cursor Realize other special functions Power indicator POWER Light turns on when power connection is OK Network indicator NET Light turns on when network connection is abnormal Alarm indicator ALARM Light turns on when alarm occurs HDD indicator HDD Light turns on when HDD is abnormal 1 5 Rear Panel The 4 channel series rear p...

Страница 8: ...M Ethernet port 9 HDMI High definition media interface High definition audio and video signal output port It transmits uncompressed high definition video and multiple channel data to the HDMI port of the display device 10 AUDIO OUT Audio output port Connect to audio output device such as sound box 2 Local Login 2 1 Device Initialization If it is you first time to boot up the device system pops up ...

Страница 9: ... not input security question here or you need to update the security question information please go to the main menu SETTING SYSTEM ACCOUNT to set 2 2 Schedule From MAIN MENU SETTING STORAGE SCHEDULE enter schedule interface See Figure 2 2 Device begins all channel 24 hour record mode by default Set the record period and record type according to your actual requirements ...

Страница 10: ...ENU OPERATION PLAYBACK or on the preview window right click mouse and then select Playback enter Playback interface See Figure 2 3 It is to search and playback the record file Refer to the User s Manual for detailed information Figure 2 3 ...

Страница 11: ...ailed operation information please refer to the User s Manual included in the resource CD Note For detailed operation introduction please refer to our resource CD included in your package for electronic version of the User s Manual This quick start guide is for reference only Slight difference may be found in the user interface All pictured model is CJ HDR108A unless otherwise stated All the desig...

Отзывы: