60
Web screen operations
(continued)
9.
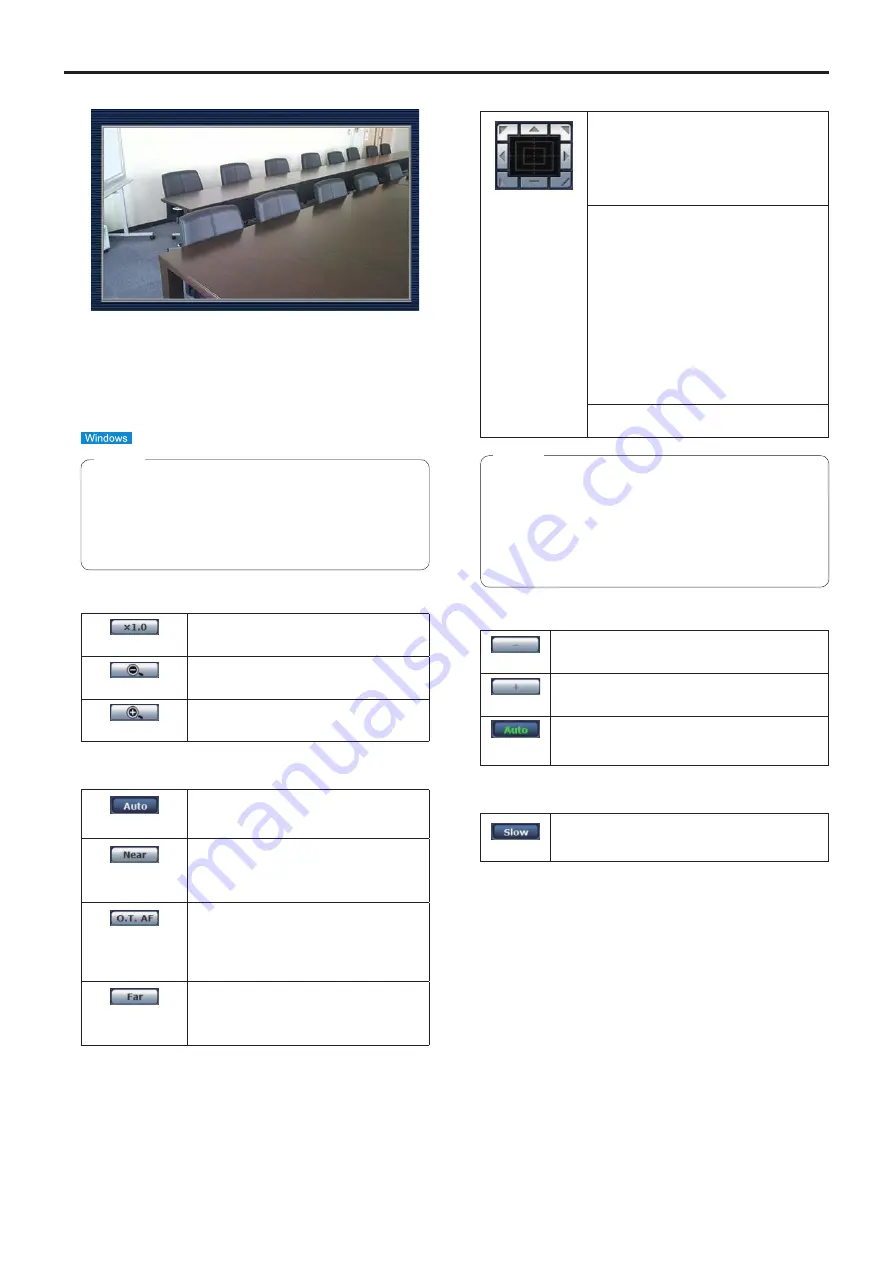
Main area (IP video display area)
The IP video of the connected camera will be displayed.
While the tally lamp is on (except during recording), the
area frame will turn red.
When the tally lamp is off, the display area will return to
normal.
Operating the mouse wheel inside the display area allows
you to use the plug-in viewer software’s digital zoom.
●
When [Disable] is selected for [Tally] (page 47,
page 85), the camera’s tally lamp will not light
even when the tally signal is input. However, the
area frame of the main area (IP video display area)
will turn red.
Note
10.
Zoom [Zoom]
[×1.0]
Use this to adjust the zoom (magnification)
to 1.0x.
[–]
Use this to adjust the zoom (magnification)
in the Wide direction.
[+]
Use this to adjust the zoom (magnification)
in the Tele direction.
11.
Focus [Focus]
[Auto]
Use this to switch between auto and
manual focusing. When Auto is selected,
the focus is adjusted automatically.
[Near]
Use this to adjust the focus in the Near
direction.
It does not work during automatic
adjustments.
[O.T.AF]
When this is pressed while the focus is
being adjusted manually, the focus will be
temporarily adjusted automatically.
It does not work during automatic
adjustments.
[Far]
Use this to adjust the focus in the Far
direction.
It does not work during automatic
adjustments.
12.
Control pad and its buttons
To adjust the image in the horizontal or
vertical direction (panning or tilting), left-
click the pad and the buttons.
The more the outside of the pad is clicked,
the faster the camera operates. Adjustment
is also possible by dragging the mouse.
Right-click the pad to initiate zooming and
focusing.
When the top half of the pad is clicked
in the up or down direction, the zoom
(magnification) is adjusted in the Tele
direction; conversely, when the bottom half
of the pad is clicked, the zoom is adjusted
in the Wide direction.
When the left half of the pad is clicked
in the left or right direction, the focus is
adjusted in the Near direction; conversely
when the right half of the pad is clicked, the
focus is adjusted in the Far direction.
The zooming can also be adjusted by
operating the mouse wheel.
●
When the mouse is used for dragging and dropping
from the control pad area to a position outside this
area, the panning, tilting and other operations will
not stop.
In a case like this, click the control pad area to stop
these operations.
Note
13.
Brightness [Brightness]
[–]
Use this to make the image darker.
It does not work during automatic adjustments.
[+]
Use this to make the image lighter.
It does not work during automatic adjustments.
[Auto]
Use this to switch the brightness adjustment
between auto and manual. When Auto is selected,
the picture brightness is adjusted automatically.
14.
Speed [Speed]
[Slow]
Use this to select the speed at which the pan, tilt,
zoom, focus, and brightness operations are to be
performed.
Содержание AW-HN40HWP
Страница 139: ...139 Memo ...
Страница 140: ...Web Site http www panasonic com Panasonic Corporation 2017 ...


