


Y O U R P H O N E
E N T E R I N G N A M E S A N D P H O N E N U M B E R S
64
3
CH
AP
T
E
R
4
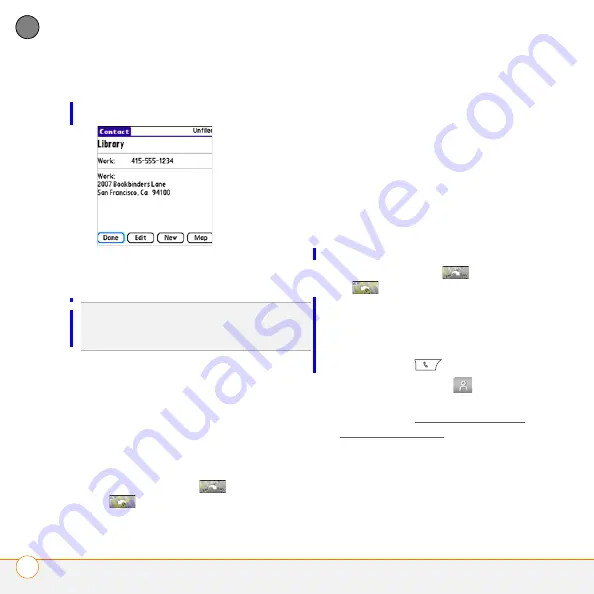
Select the name of the entry you want
to open.
5
Select
Map
, and wait for Google Maps
to locate matching items.
•
Select an item, and select
To
to
request directions to this location.
•
In the From location field, enter or
select your starting location, and then
select
OK
. When the route summary
appears, select
OK
to view the first
step in the directions.
•
Tap the
forward
and
back
buttons at the bottom of the
screen to view the next or previous
step in the directions.
6
Select
Map
, and wait for Google Maps
to locate matching items.
•
Select an item, Select
From
to
request directions from this location.
•
In the To location field, enter or select
your destination, and then select
OK
.
When the route summary appears,
select
OK
to view the first step in the
directions.
•
Tap the
forward
and
back
buttons at the bottom of the
screen to view the next and previous
steps in the directions.
Assigning a caller ID photo
1
Press
Phone
.
2
Select the
Contacts
tab.
3
Open the contact you want to add the
photo to (see Viewing or changing
contact information).
4
Select
Edit
.
5
Select the
Picture
box and do one of
the following:
DID
YOU
KNOW
?
If no address has been
entered for the contact, the Map button does
not appear.


