6
Gate and Platform Installation
Revision 1.3
- 17 -
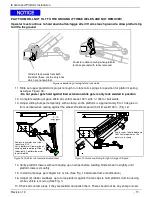
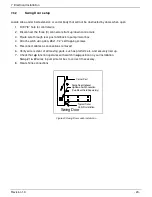
PLATFORM WILL NOT TILT TO THE GROUND IF THESE WELDS ARE NOT REMOVED!
Operator must continue to hold down button/toggle after lift arms touch ground to allow platform tip
to tilt to the ground
Figure 14 Removing of swing fixture tack welds
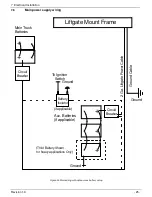
11. Slide out upper parallel arm pin just enough to rotate coils springs into position for platform spring
assist per Figure 18.
- Do not power gate hard against bed extension while gate is only tack welded in position
12. Complete welding of gate. Weld all contact areas 100% with ¼” fillet or butt welds.
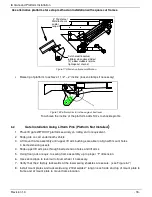
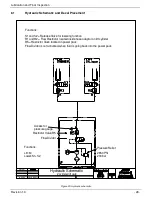
13. Adjust sliding bumper temporarily with a clamp so the platform is approximately 5 to 10 degree in
from vertical when resting against the wheel. Weld bumper with 3/16" weld 100%. (Fig. 12)
Figure 15 Platform roll over wheel adjustment
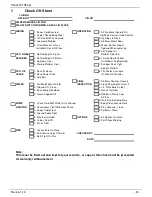
Figure 16 Frame captioning for tight storage of liftgate
14. Verify platform lowers without hanging up on wheel before welding. Slide wheel in slightly until
platform lowers smoothly
15. Install frame caps per chapter 4.2 or 4.6. (See Fig. 14 alternate frame modification)
16. Adjust (2) rubber snubbers up to force platform against frame caps to hold platform from bouncing
while vehicle is moving (See Fig. 1)
17. Check all contact areas if they are welded and polish them. There should not be any sharp corners
Grind off tack welds from both
knuckles (these are the only ones
which are not painted)
Knuckle is able to swing when platform
touches ground with tacks removed
Remove tack welds and slide
to achieve 5°-10°.
Verify platform will lower without
hang up before welding. Slide
tube slightly if platform does not
lower smoothly
5°-10°
Angle serves to hold body and
truck frame together as the
gate is very strong

