


Model 6757i CT Series IP Phone User Guide
—
137
Pai
r
ing
and Unpa
iri
n
g Cord
less Hand
set
to
Base
the base phone.
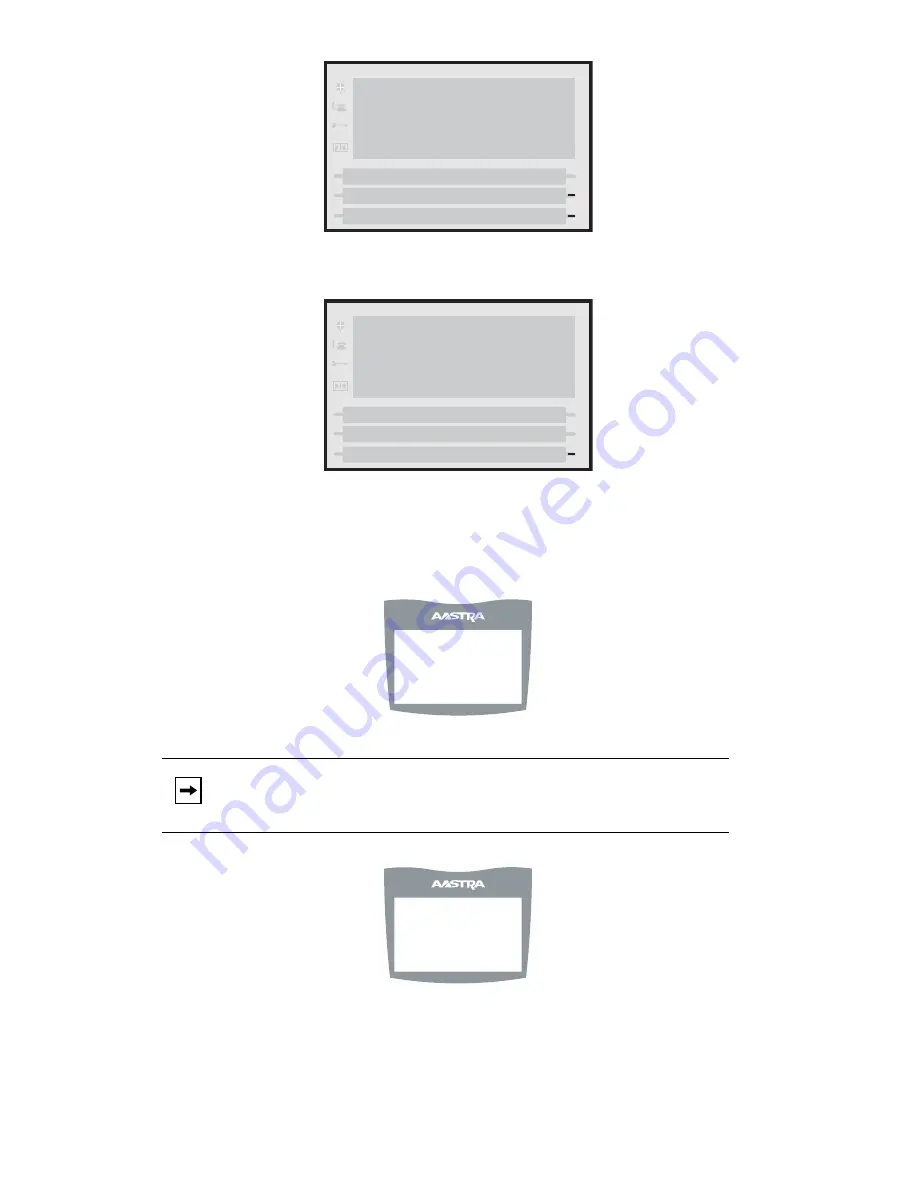
Failed Removal
Successful Removal
5.
If required, on the 6757i CT cordless handset press
Â
.
6.
Select
Hset pairing
.
7.
Press the
Remove
softkey.
Upon success or failure of unpairing, one of the following screens displays on
Note:
If the handset is not paired, the softkey is labeled as
Pair
instead of
Remove
.
Options List
Done
Cancel
Removal failed
Try again
Options List
Done
Removal successful
7
-
Hset pairing
´
½
= Scroll
Remove
Attempting to
remove...
Cancel
Содержание Virtual Office 6757i CT
Страница 1: ...www Packet8 net 1 866 TRY VOIP User Guide Release 2 2 Rev 01 6757i CT IP Phone ...
Страница 2: ......