www.packardbell.com
51
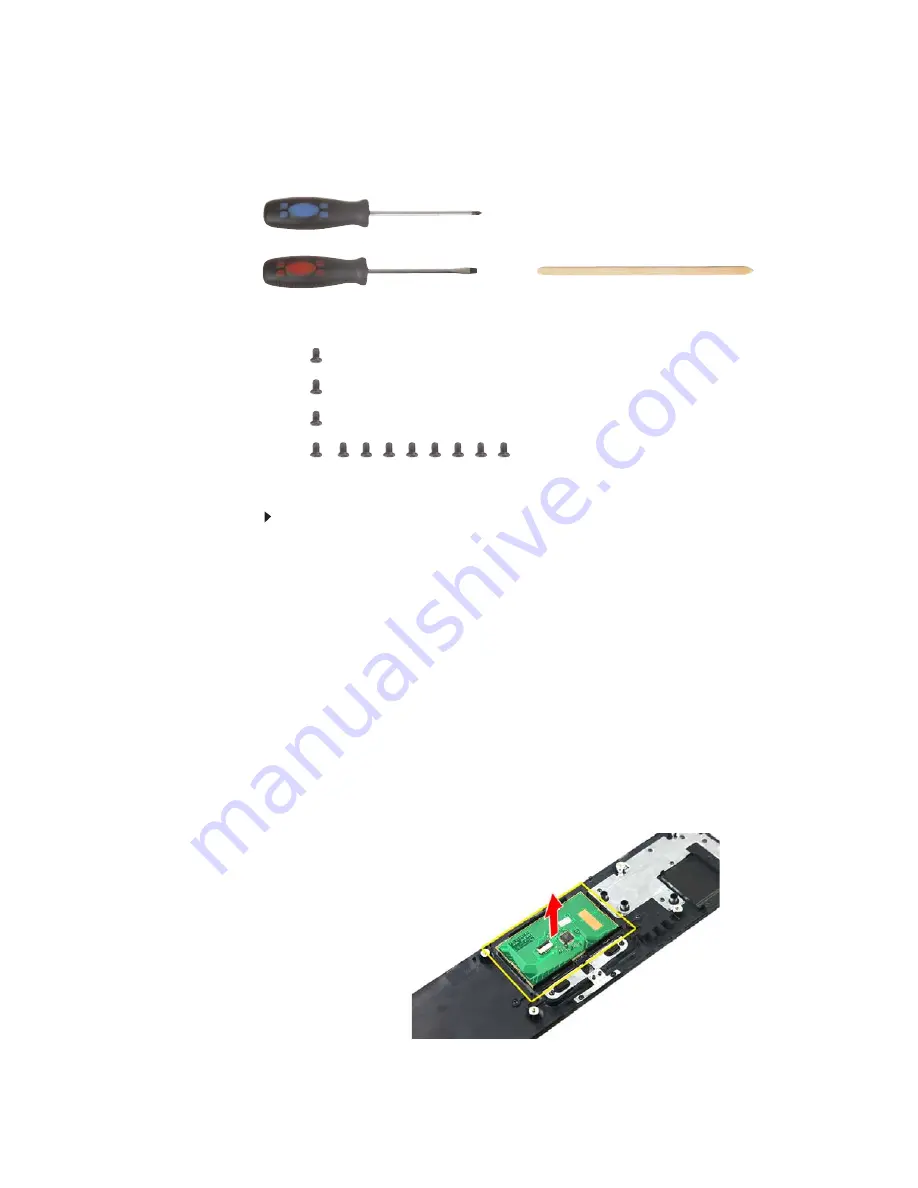
Replacing the touchpad board
Tools you need to complete this task:
Screws removed during this task:
•
3 black M2.5×6 (bay cover)
•
1 black M2×3 (hard drive)
•
1 black M2.5×6 (optical drive)
•
9 black M2.5×6 (palm rest - base side) -
Indicated by A in
step 8
of
the
“Replacing the palm rest module”
procedure
on
page 48
To replace the touchpad board:
1
Complete the steps in
“Preparing the notebook” on page 37
.
2
Complete the steps in
“Removing the battery” on page 38
.
3
Remove the hard drive by performing
steps
3
and
4
of the
“Replacing the
hard drive”
procedure on
page 41
.
4
Remove the optical drive by performing
steps
3
and
4
of the
“Replacing the
optical drive”
procedure on
page 46
.
5
Remove the palm rest by performing
steps
8
–
13
of the
“Replacing the palm
rest module”
procedure on
page 48
.
6
Note the orientation of the touchpad board for later reference in installing
the new touchpad board.
7
Insert a small flat-blade screwdriver or non-marring scribe between the
touchpad board and the palm rest’s underside, and carefully pry the board
loose.
8
Remove the touchpad board from the palm rest.
Phillips #0 screwdriver
Flat screwdriver
or
Non-marring plastic scribe
Содержание EasyNote NS11HR
Страница 1: ...EasyNote NS11HR SERVICEGUIDE ...
Страница 6: ...Contents iv ...
Страница 12: ...CHAPTER 1 System specifications 6 System block diagram ...
Страница 38: ...CHAPTER 2 System utilities 32 ...
Страница 102: ...CHAPTER 3 Replacing notebook components 96 ...
Страница 122: ...CHAPTER 4 Troubleshooting 116 ...
Страница 123: ...CHAPTER5 117 Connector locations System board layout ...
Страница 127: ...CHAPTER6 121 FRU Field Replaceable Unit list Introduction Exploded diagram FRU list ...
Страница 153: ...APPENDIXA 147 Test compatible components Introduction Microsoft Windows 7 Compatibility Test ...
Страница 157: ...APPENDIXB 151 Online support information ...
Страница 161: ......
Страница 162: ...MAN NV5x SVC GDE R1 04 09 ...


