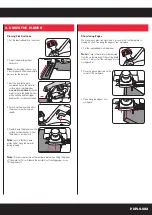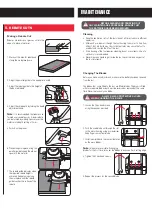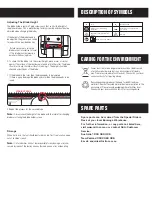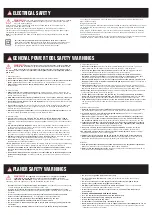
Planing Flat Surfaces
1. Set the required depth on the planer.
2. Adjust the parallel guide as
necessary.
Note:
For finishing surfaces, use
a low chip depth and make multiple
passes over the material.
3. Rest the front base plate
completely flat on the material
surface, ensuring the blades
are not in contact
with the
material. Hold the depth adjustor
with one hand and the trigger
handle with your dominant hand.
4. Switch on the planer and allow
the planer to reach maximum
speed.
5. Steadily push the planer over the
surface with both hands. Allow
the blades to do the work.
Note:
Ensure that both base
plates lie flat along the material
during planing.
Note:
Place more pressure on the rear base plate when lifting the planer
off the material. This will reduce the possibility of creating gouges as you
lift the planer off.
Chamfering Edges
The planer has a precision machined ‘V’ groove in the front base plate for
making 45° chamfers along the edges of your workpiece.
1. Set the required depth on the planer.
Note:
A layer of material will be removed
from the workpiece even if the cutting depth
is set to 0; always test the setting on a scrap
workpiece first.
2. Place the groove precisely on the
corner of the workpiece.
3. Plane along the edge of your
workpiece.
0.5
0
0.5
0
0.5
0
0.5
0
0.5
0
4. USING THE PLANER
PXPLS-082


