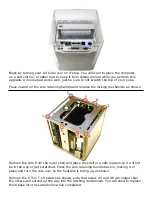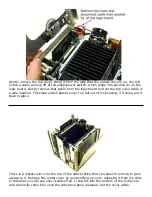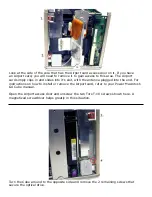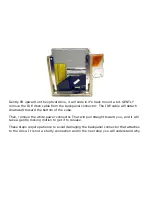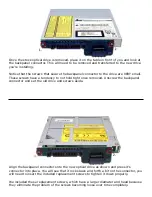
Once the stock optical drive is removed. place it on the table in front of you and look at
the backpanel connector. This will need to be removed and transferred to the new drive
you’re installing.
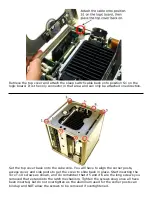
Notice that the screws that secure the backpanel connector to the drive are VERY small.
These screws have a tendency to not hold tight once removed. Unscrew the backpanel
connector and set the old drive and screws aside.
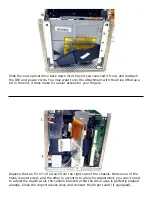
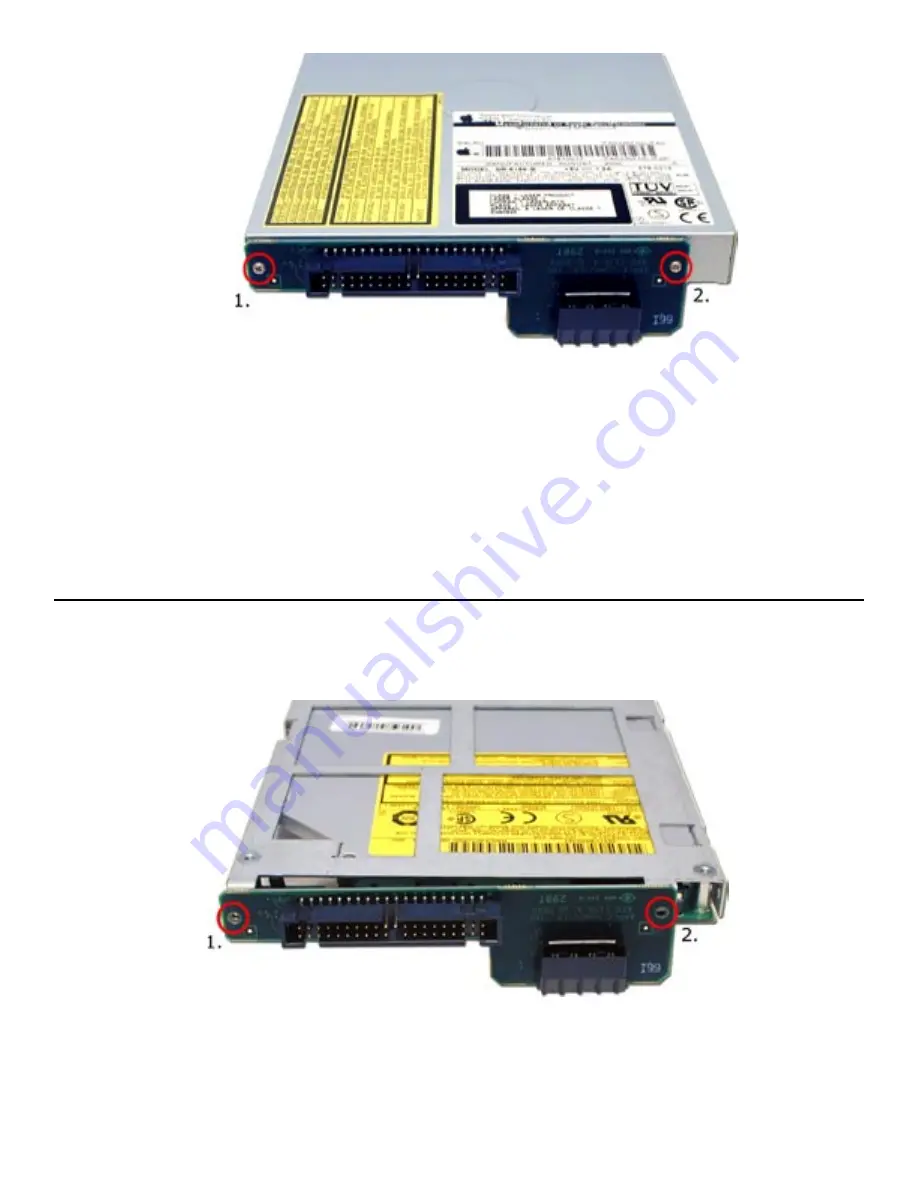
Align the backpanel connector onto the new optical drive as shown and press it’s
connector into place. You will see that it rocks back and forth a bit on the connector, you
will need to insert the included replacement screws to tighten it down properly.
We included these replacement screws, which have a larger diamater and head because
they eliminate the problem of the screws becoming loose over time completely.


