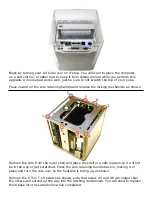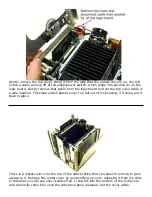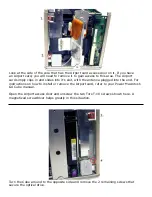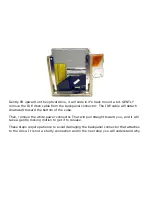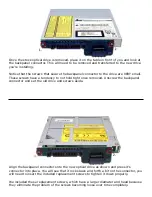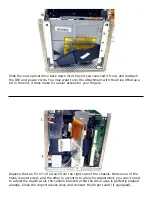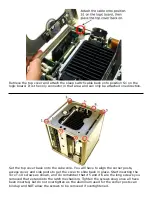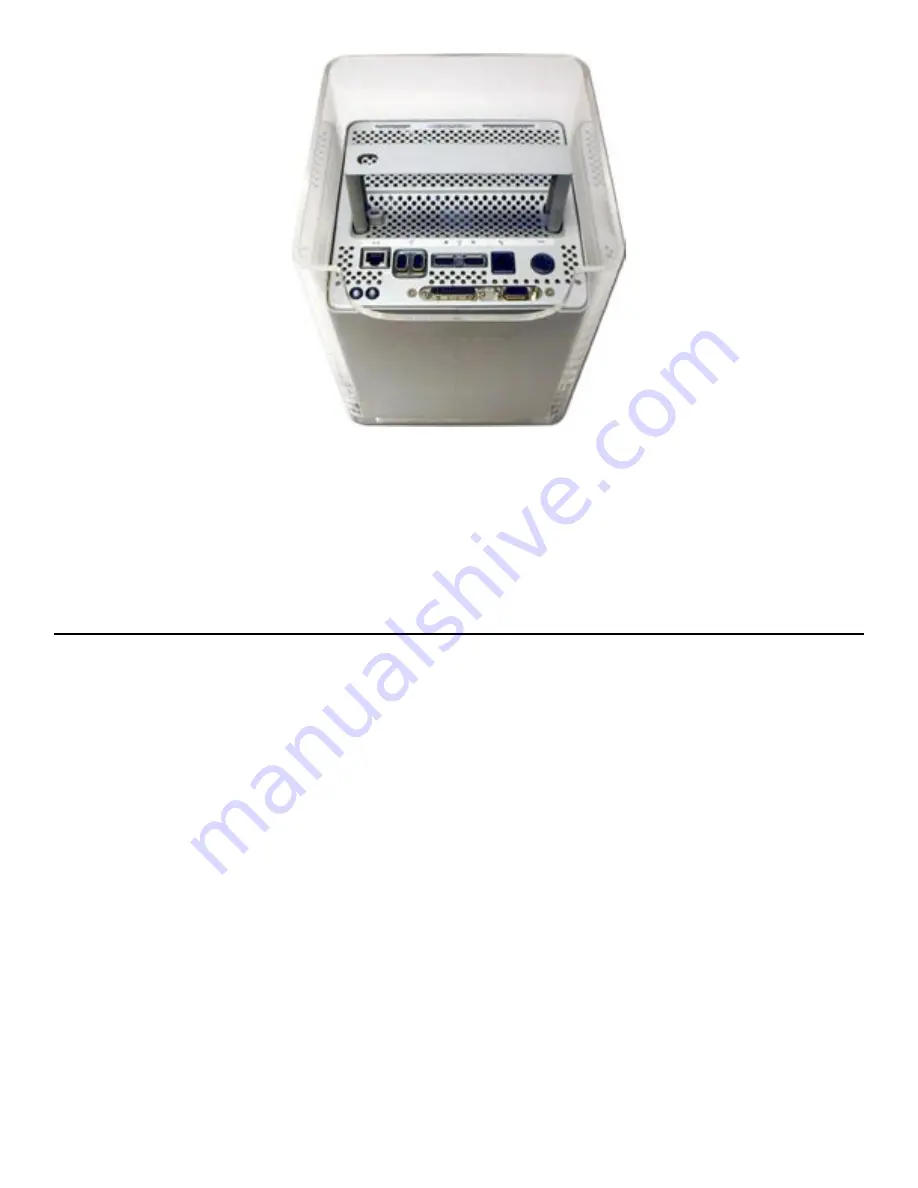
Retrieve the top Cube shell and place it on it’s top on a soft surface. Turn the Cube core
over and press the locking handle in to release it, and then gently insert the core back
into the shell. Press the latch mechanism down to lock it into place, and reattach all of
your cables.
You’re ready to try out your new OWC Mercury Cube Combo Drive! Boot the system up
and insert a blank CD-R disc - you should be greeted with a dialog box asking what you
wish to do with it. The OWC Mercury Cube Combo works natively with all of your favorite
CD creation applications!
Entire contents copyright ® 2004 Other World Computing all rights reserved. 11/18/04
OWCMANCUBE
Troubleshooting:
• If your Cube will not boot, make very sure that you set the internal hard drive to
SLAVE.
• For jumper setting information on all popular IDE hard drives, visit our tech center at:
http://eshop.macsales.com/tech_center/index.cfm?page=data_inthdd.html
• If your optical drive is not recognized, try resetting the CUDA / PMU reset button on
the logic board. You will have to remove the top cover to do so, it is located behind the
video card.
• If your optical drive will not eject discs, you may not have the daughtercard attached
to the back of the new optical drive fully. Open your Cube back up and make certain the
daughtercard is fully seated onto the adapter card on the back of the new drive.
• If you purchased a 4x DVD-R OWC Mercury Optical Drive and are not able to burn
DVD-R discs at 4x, try different media. The drive mechanism used is very picky about
which media it will burn at the rated 4x speed. At this time the most reliable media has
been Maxell, and Ritek (both 4x rated) Also, 8x media seems to work perfect.
• If your drive is not properly recognized as supported, install the latest revision of
system update for your OS (10.2.8, 10.3.3, etc.). If that does not work, download
Christian Moeller’s freeware PatchBurn II software (http://www.patchburn.de) - that will
fully enable all iApps and finder burning.


