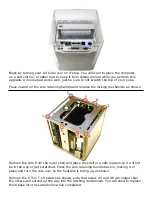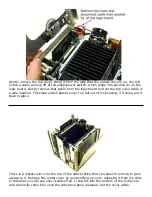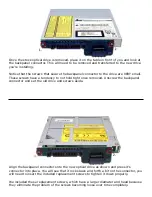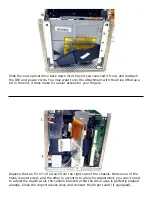
Slide the new optical drive back down into the slot you removed it from, and reattach
the IDE and power cords. You may want to do the attachment with the drive lifted up a
bit in the slot, it does make for easier access for your fingers.
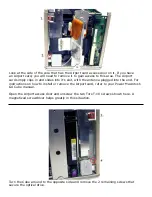
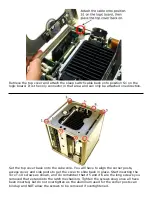
Replace the two Torx T-10 screws from the right side of the chassis. Notice one of the
holes is exact sized, and the other is eccentric to allow for adjustment, you won’t need
to adjust the depth at all, the custom bracketry that the drive uses is perfectly aligned
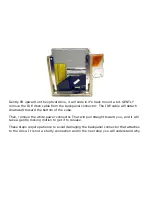
already. Close the Airport access door, and reinsert the Airport card (if equipped).


