OWC Jupiter Mini-SAS
SySteM MAintenAnCe
3.1.3 Drives
The Jupiter expander Rack 835 storage system has hot swappable drive trays that can be easily removed and
inserted. In the event of a drive problem, it will be necessary to replace a drive. Use the following instructions for
replacing a drive:
1. Remove the problematic drive from the
Jupiter unit as discussed in the
2.3.2 Drive
Removal
section.
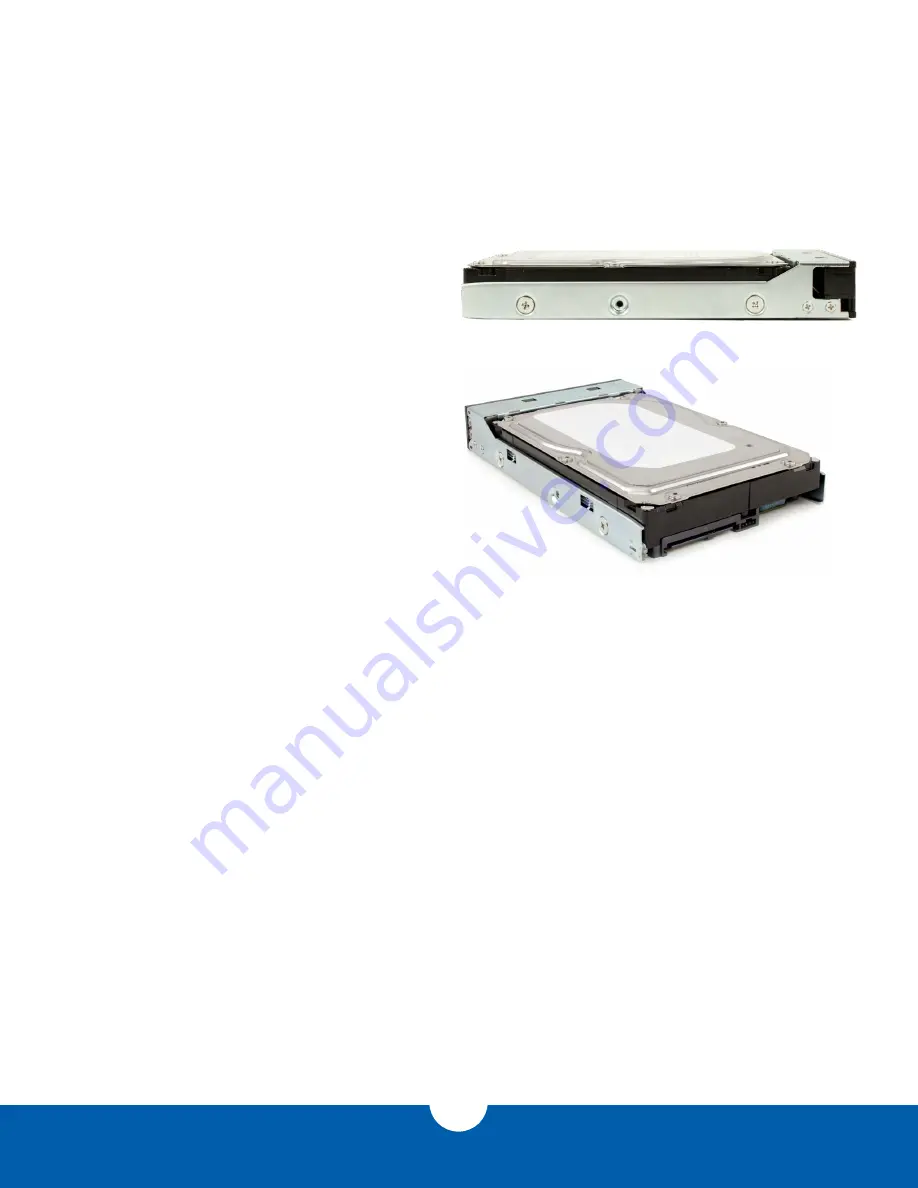
2. Using a Phillips screwdriver, remove the four
side screws holding the drive in the tray as
shown in
Figure 3.1.3a
.
3. Take note of the drive orientation as seen in
Figure 3.1.3b
before you remove it from the
tray to ensure that the new drive is affixed to
the tray in the same fashion.
4. once the new drive is positioned in the tray,
secure it using the same four screws.
5. Insert the drive into the Jupiter unit as
discussed in the
2.3.1 Drive Installation
section.
Figure 3.1.3a
Figure 3.1.3a
15


