One Stop Systems
4U Pro 16 Slot
17
2
Getting Started
Steps on how to setup and use the 4UP expansion unit. You will find instructions for the following procedures:
•
How to Remove Top Cover
•
Target Card Installation
•
Host Card Installation
•
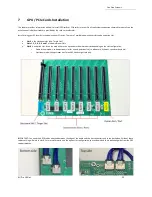
GPU / PCIe Cards Installation
•
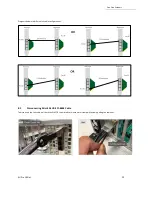
Mini-SAS Cable Installation
•
Powering Up the unit / system
•
Hardware LED Check
•
Device Verification via OS
3
Installation Overview
1.
Remove the top cover.
a.
Check inside the unit for loose components or damaged parts.
2.
Check the Target card, make sure it is firmly installed and secured.
a.
By default, the Target is already installed in the unit.
b.
If the Target card is not installed or missing, please go to section on how to install the target card.
3.
Install the Host card.
a.
You should have another card that is configured as host card.
b.
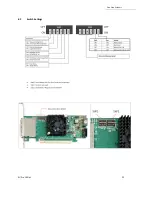
Check the dipswitches make sure it is set to host mode prior to installing the card.
4.
Install PCIe / GPU cards.
a.
Plug in your PCIe or GPU cards in the expansion unit.
5.
Connect the external link cables.
a.
Plug in the Mini-SAS HD SFF-8644 cables between Target and Host cards.
6.
Plug in the power cords.
a.
The unit is supplied power cord(s). You should have either one or two, depending on the number of power supplies
installed in the unit.
b.
The standard unit is assembled with an AC power supplies installed.
7.
Power ON the host computer.
8.
Check the hardware by verifying all LED status indicators.
a.
Boards LED
b.
Target & Host cards
c.
Unit front power LED
d.
Power supplies LED
9.
Check the OSS devices via operating system, verifying all OSS devices are properly recognized.
a.
For Windows, go to section on how to verify device on Windows OS
b.
For Linux, go to section on how to verify device on Linux

