


ORGAPACK OR-T 50
21
12.06/WE
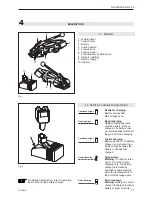
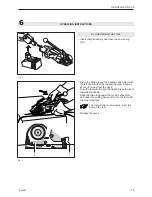
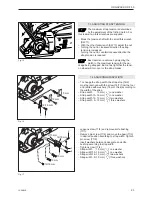
– Push lever to stop (sealing position). The left hand
remains on the handle of the tool to bear the coun-
terforce.
The straps are welded together and the
upper
strap
is
cut
off.
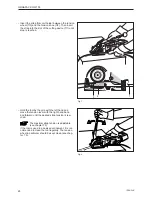
– Hold lever in this position (approx. 2 sec.) until
signal lamp (12/1) is switched off.
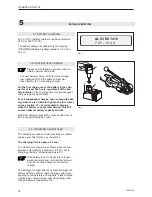
If the LED fl ashes green
the cooling time is running.
When the red light is on
continuously, the battery
must be charged (see
chapter
5.2).
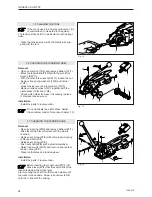
When the red signal lamp lights up, no
welding
is
performed,
since
the
remaining
charge in the battery is insuffi cient to ensure proper
welding of the straps.
– Press lever against the handle. Then swing the tool
away from the strapping to the right at the rear.
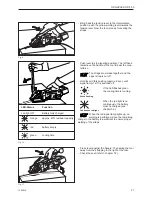
– Check the seal (refer to chapter 7.2).
– Bring back the tension lever to the intermediate
position, push the yellow welding lever towards the
tension lever. Now the tool is ready for sealing the
straps.
Green fl ashing
Continuous red light
Fig. 10
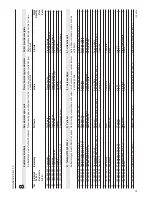
LED-Status Function
Led light off
Battery fully charged
orange
approx. 40% residual capacity
red battery
empty
green
cooling
time
Fig. 11
Fig. 9


