


ORGAPACK OR-T 50
16
12.06/WE
ORGAPACK
Original
jklsfjklsdjš
lksdfjkl
jkljsdllkjjkljsd
fkljjklkjkljsdafj
asdfjklkjjkljklj
ksldafkjkljklš
jkljklkljsdafjlkj
jkljjkljklkljljlk
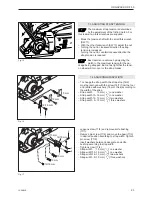
Original ORGAPACK spare
parts must be used exclusi-
vely!
Not using original spare parts
will dissolve the warranty and
the liability.
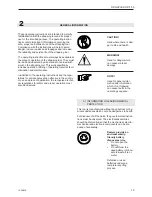
Use for the intended purpose
This tool is designed for strapping packages, pallet
loads and the like.
The tool was designed and manufactured to provide
safe handling during the strapping operation.
The tool is designed for use with plastic straps (poly-
propylene and polyester).
Possible misuse
The use of steel straps is not possible.
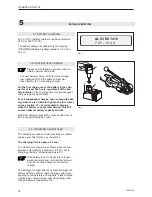
3.1 SAFETY INSTRUCTIONS FOR BATTERY
CHARGER AND BATTERY
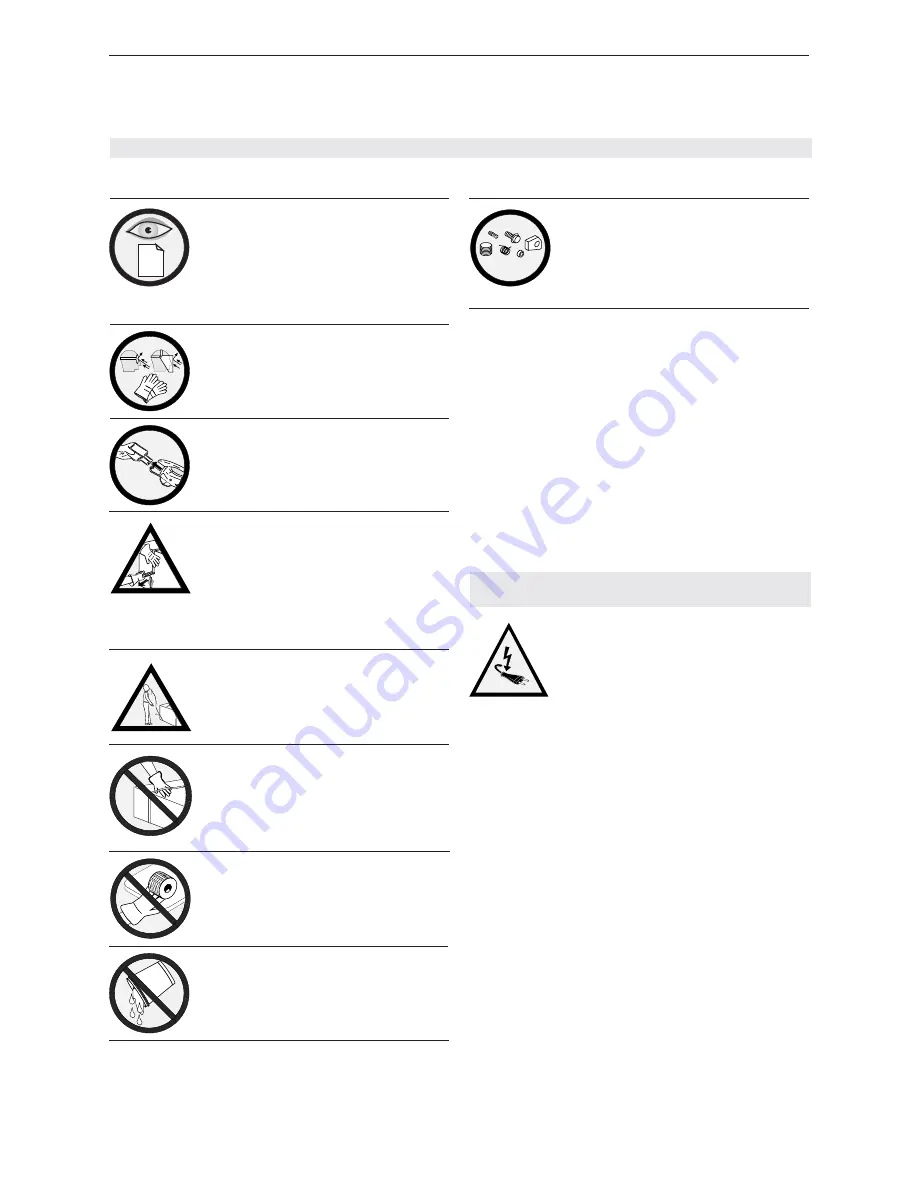
Always inspect the electrical
plug and cable before use. If
damaged, they must be
replaced by qualifi ed personnel.
• Do not charge other types of batteries (see chapter
5.1) and use original accessories only.
• Keep the battery charger slot free of foreign objects
and protect against dirt.
• Protect the battery charger against humidity and
use it in dry areas only.
• Do not open the battery. Protect the battery against
impact, heat and fi re. Risk of explosion!
• When the battery is outside the battery charger,
cover its battery terminals to avoid short circuits
with metal objects. Risk of fi re and explosion!
• Keep battery dry and protected against frost. Do
not store it at temperatures over 50°C or below
10°C.
• Damaged batteries should not be used longer.
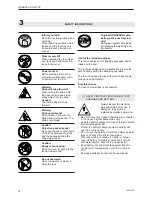
3
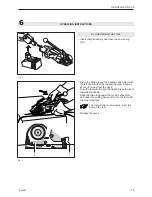
SAFETY INSTRUCTIONS
Inform yourself!
Read the operating instructions
carefully.
Preventive and corrective main-
tenance on the tool may only
be carried out by trained per-
sonnel.
Protect yourself!
When operating the tool, wear
eye, face and hand protection
(cut-proof gloves).
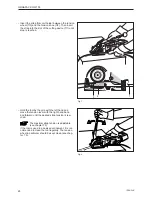
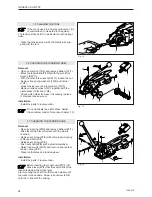
Power source!
Before starting preventive or
corrective maintenance, remo-
ve battery from the tool.
Warning:
Strap will snap forward!
When cutting the strap, hold
the upper portion and stand
safely away from the strap.
Caution:
The lower strap will snap
forward.
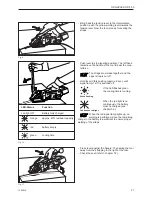
Warning:
Strap could break!
Do not stand in line with the
strap while it is tensioned. The
strap could break!
Caution:
Only strap packed goods!
Do not put hands or other parts
of the body between the strap
and the package during the
strapping process.
Caution:
Danger of squeezing!
Do not put your fi ngers into the
tension wheel area.
Do not use water!
Do not use water or steam to
clean the tool.


