DV-10
2-5
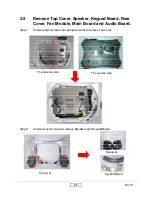
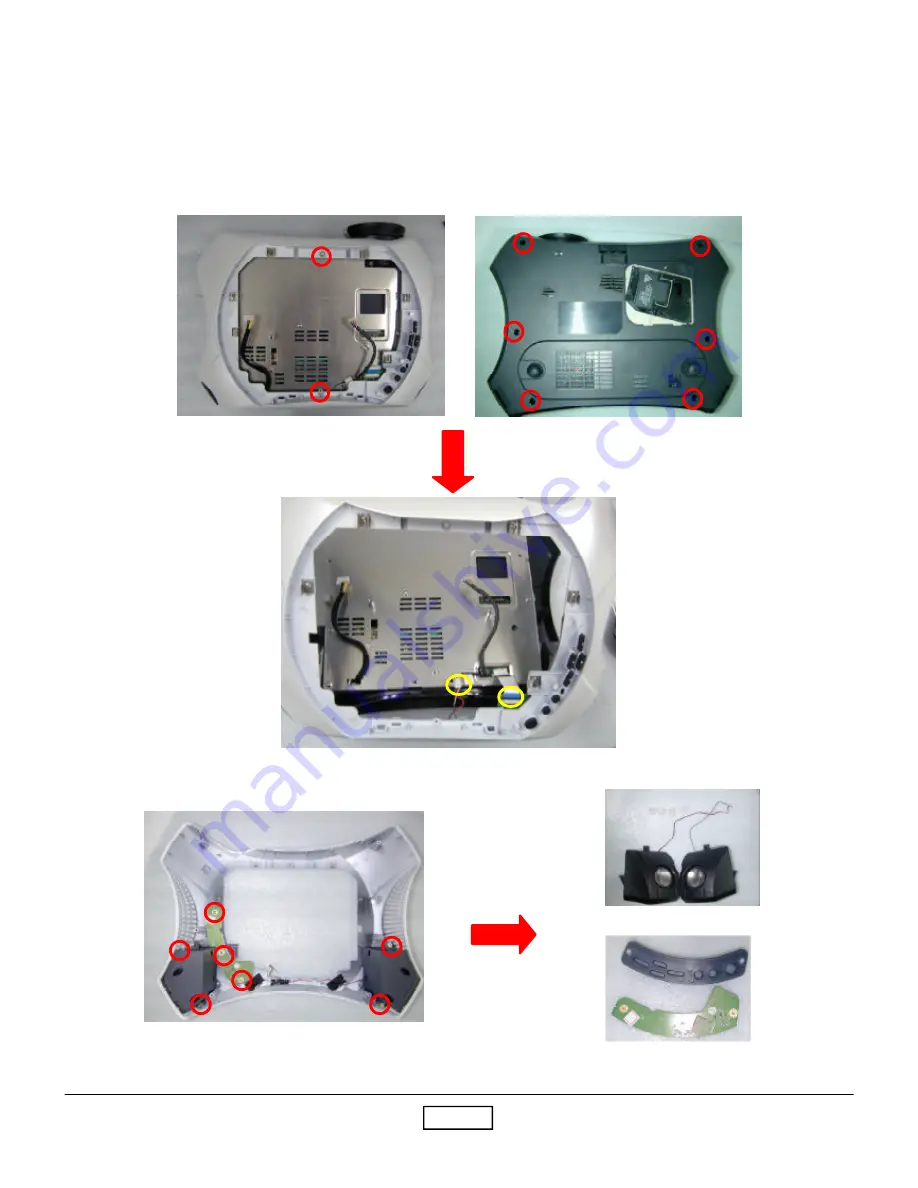
Step1:
Unscrew eight screws and unplug two wires to remove Top Cover.
The obverse side.
The reverse side
Top Cover
Step2:
Unscrew seven screws to remove Speakers and Keypad Board.
Speakers
Keypad Board
2-2
Remove Top Cover, Speaker, Keypad Board, Rear
Cover, Fan Module, Main Board and Audio Board.
Содержание DV10 MovieTime
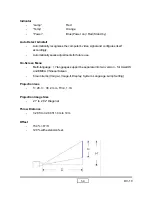
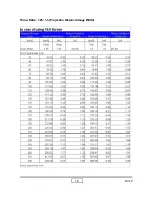
Страница 9: ...DV 10 1 5 Throw Ratio 1 25 1 5 Projection Distance Image Width ...
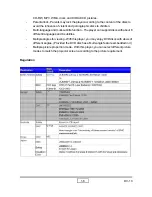
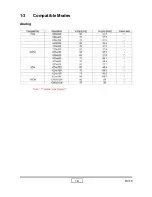
Страница 13: ...DV 10 1 9 1 3 Compatible Modes Analog Note means compressed ...
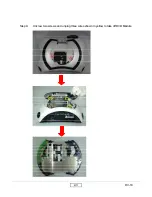
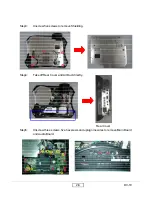
Страница 16: ...DV 10 2 3 Step4 Uncrew two screws and unplug three wires shown in yellow to take off DVD Module ...
Страница 39: ...DV 10 5 4 4 Click Next button 1 2 5 Choose All icon then click Next button ...
Страница 40: ...DV 10 5 5 6 Click Next button 7 The program is executing Initializing status ...
Страница 42: ...DV 10 5 7 4 Type any key to continue Then wait about a minute 5 Click OK The USB driver updated successfully ...
Страница 57: ...DV 10 7 1 Appendix A Exploded Overview I DV 10 Unit ...
Страница 59: ...DV 10 7 3 II Top Cover Module ...
Страница 61: ...DV 10 7 5 III Engine Module ...
Страница 64: ...DV 10 7 8 V Sub Engine Module ...
Страница 69: ...DV 10 7 13 VIIII DVD Cover Module ...
Страница 71: ...DV 10 7 15 X DVD Loader Module ...
Страница 73: ...DV 10 7 17 XI Lamp Module ...
Страница 75: ...DV 10 7 19 XII Engine Base ...

