12
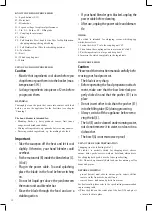
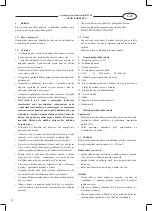
KNOW YOUR FOOD PROCESSOR
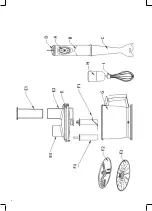
A – Speed buttons (I / II)
B – Motor unit
C – Blender bar
D – 5 speed settings for optimal performance
E – Lid E1 – Pusher E2 – Filling tube
E3 – Coupling for motor unit
F1 – Blade
F2 – Full Stainless Steel, double side Disc for Multifunction:
chopping/mixing/slicing /shredding
F3 – Full Stainless Steel Disc for shredding potatoes
F4 – Tool holder
G – Bowl
H – Whisk coupling unit
I – Whisk
USING YOUR FOOD PROCESSOR
Caution
• Must let hot ingredients cool down before you
chop them or pour them into the beaker (max.
temperature 30
0
C)
• Cut large ingredients into pieces of 2 cm before
you process them.
BLENDING
Thoroughly clean the parts that come into contact with food
before you use the appliance for the first time (see chapter
‘Cleaning’)
The hand blender is intended for:
• Blending fluids, e.g. dairy products, sauces, fruit juices,
soups, mixed drinks and shakes.
• Mixing soft ingredients, e.g. pancake batter or mayonnaise.
• Pureeing cooked ingredients, e.g. for making baby food.
Important
• Take the saucepan off the heat and let it cool
slightly. Otherwise, your hand blender could
overheat.
• Fit the motor unit (B) inside the blender bar (C).
(‘click’)
• Plug in the power cable. To avoid splashing,
place the blade in the food before switching
on.
• Do not let liquid get above the join between
the motor unit and blender bar.
• Move the blade through the food and use a
stabbing action.
• If your hand blender gets blocked, unplug the
power cable before cleaning.
• After use, unplug the power cable and disman
-
tle.
WHISK
The whisk is intended for whipping cream, whisking egg
whites, desserts etc.
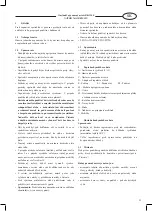
1. Fasten the whisk ‘I’ into the coupling unit ‘H’.
2. Then fasten the coupling unit onto motor unit (‘click’).
3. Put the ingredients in a large and deep bowl.
4. Immerse the whisk completely in the ingredients.
FOOD PROCESSOR
Caution
Please read the instruction manual carefully befo
-
re using your food processor.
• The blade is very sharp.
• Before operating the food preparation attach
-
ment, make sure that the bowl interlock pro-
perly clicked in and that the pusher (E1) is in
place.
• Do not insert other tools than the pusher (E1)
into the filling tube (E2) during processing.
• Always switch off the appliance before remo
-
ving the lid (E).
• The lid (E) can be cleaned under running water,
nut do not immerse it in water, nor clean it in a
dishwasher.
• The bowl (G) is not microwave-proof.
USING YOUR FOOD PREPARATION
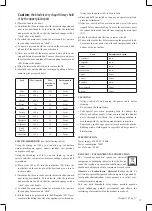
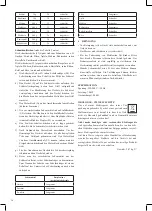
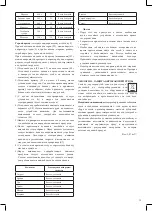
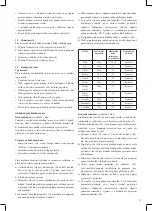
Chopping (see the following table 1)
The table 1 is perfectly suited for chopping meat, cheese,
onions, herbs, garlic, carrots, walnuts, hazelnuts, almonds etc.
For chopping hard goods, use the faster speed setting.
N.B.: Do not chop extremely hard food, such as nutmeg, coffee
beans and grains.
BEFORE CHOPPING
– pre-cut (in1cm) meat, cheese, onions, garlic, carrots, chilies
– remove stalks from herbs, un-shell nuts
– remove bones, tendons and gristle from meat
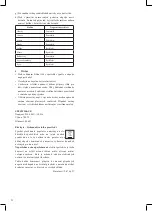
For best results, please refer to the speed setting recommended
in processing table.
a) Place the blade on the centre pin of the bowl (G) and give it
a turn to lock into place.


