10
E102056#1
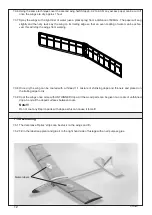
7.3.16 Carefully remove the wings from the board, sand the edges ( see wing diagram)
7.3.17 Sand the angled middle wing ribs
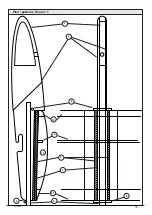
7.3.18 Trace the patterns for the wing joiners (14/15/16) on to the 160 gm white card and cut them out using a mo-
delling knife and a steel ruler. Cut the side slot on the joiner (15)
Note:
The printed shapes on the card are not accurate, cut the joiners to the plan!
7.3.19 Glue both halves of the wing to the middle joiner (14) only apply glue to the ribs and spar. The middle line
on the joiner must be just visible. Rub the joiner on the glued area and leave to dry for approximately 1/2
hour
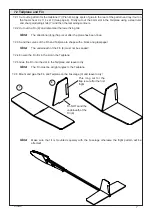
7.3.20 Weight one half of the wings down on a building board and apply glue to the V gap in the middle
7.3.21 Raise the other wing half from the board so that the tip is 140mm high (see diagram on page 11)
Note:
Leave to dry overnight
7.3.22 Glue the top wing joiner (15) in position, apply the glue to the ribs and spar, leave to dry for approx 3 hours
7.3.23 Glue the middle joiner/strengthener (16) in position
76.3.24 Clean up any excess card
15
20
20
20
20
20
10
125
45
45
15
15
14
16
14
E 1 : 1
Содержание 102.056
Страница 14: ...14 E102056 1...
Страница 15: ...15 E102056 1 Plan patterns Scale 1 1 1 2 3 11 9 12 5 4 10 6 6 6...
Страница 16: ...16 E102056 1...
Страница 17: ...Plan patterns Scale 1 1 17 E102056 1 Pattern for the nose 1 Win d Flyer 2 Win d Flyer 2 Hochstarthaken...
Страница 18: ...18 E102056 1...
Страница 20: ...20 E102056 1...
Страница 22: ...22 E102056 1...
Страница 24: ...24 E102056 1...


