56
Editing Sequence Settings
Section 4-4
Clearing to Default
Settings
Use the following procedure to clear the axis settings to their default values.
(Refer to
4-2-4 Clearing Settings
for details.)
1,2,3...
1.
On the Parameter Setting Editing Screen, either select
Edit/Defaults Set-
ting,
or right-click and select
Defaults Setting
from the pop-up menu.
2.
Select the axis whose settings are to be cleared to the default values.
3.
Click the
OK
Button.
4.
A dialog box will be displayed asking if the settings should be returned to
their default values. Click the
OK
Button
.
To Copy Axes
For 2-axis and 4-axis NC Units, data can be copied from one axis to another
axis by selecting the source and destination axes. (Refer to
4-2-5 Copying
Axis Settings
for details.)
1,2,3...
1.
Select
Edit/Copy Axis
.
2.
Under
From
and
To
, select the axes to be copied from and to respectively.
3.
Click the
OK
Button.
4-4
Editing Sequence Settings
4-4-1
Sequence Editing Screen
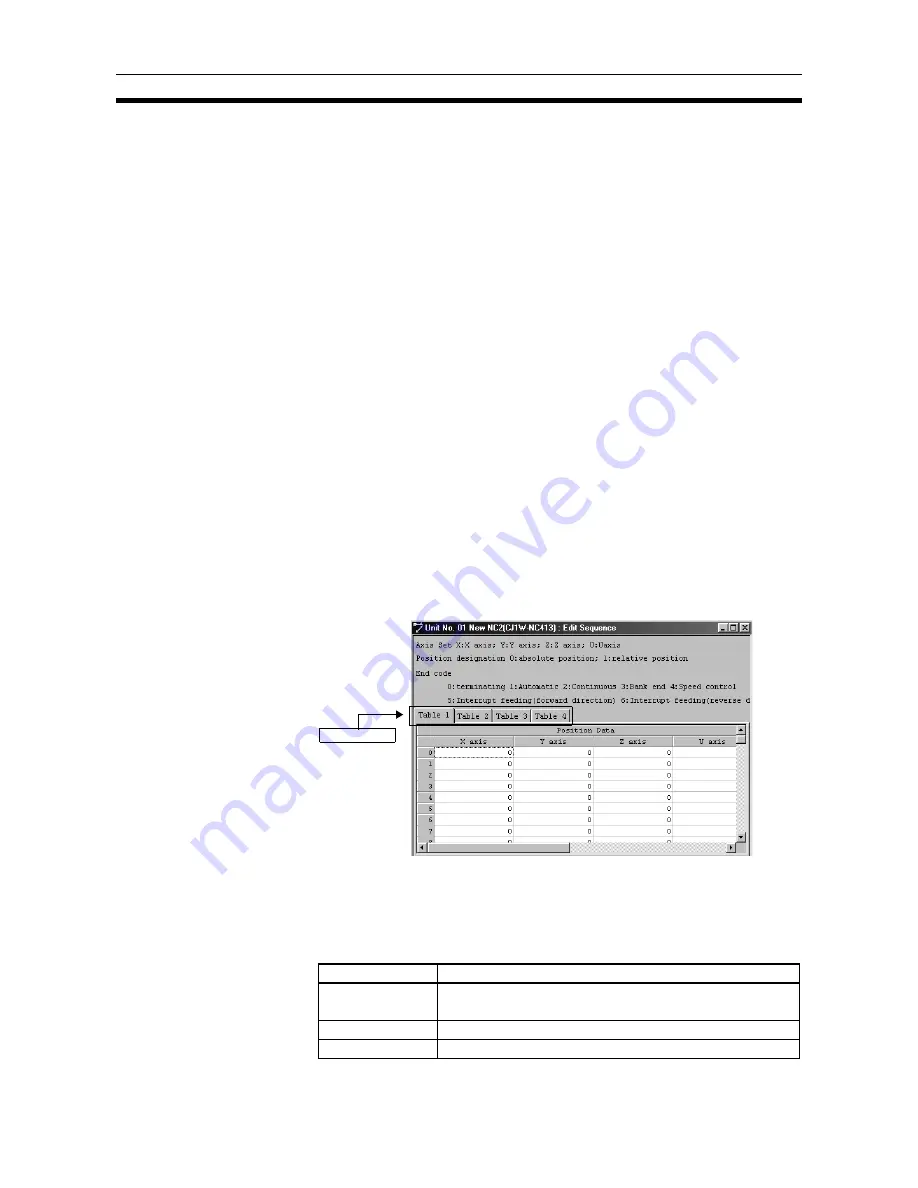
On the project tree, either double-click
Edit Sequence
, or select it and press
the
Enter
Key.
For single axis NC Units, only the
Table 1
Tab will be displayed; for 2-axis NC
Units, only the
Table 1
and
Table 2
Tabs will be displayed.
Example: The following will be displayed as the 4-axis NC Unit sequence Set-
ting Editing Screen.
4-4-2
Editing Sequence Settings
Enter each sequence setting in order. Refer to
4-2-2 Editing Settings
for edit-
ing methods
The following items and setting ranges will be displayed.
Table Tabs
Item
Setting range
Position data
Pulses: C0000001 to 3FFFFFFF Hex (
±
1,073,741,823)
mm or inches: pulse set value
×
pulse rate
Axis set
X/Y/Z/U
Output code
00 to 0F Hex (0 to 15)


