


OMNIA VOCO® 8 - QUICK START SETUP GUIDE |
7
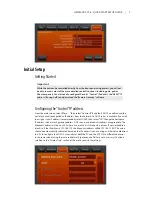
Initial Setup
Getting Started
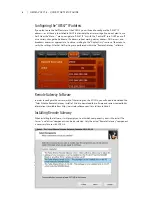
Important:
While the unit can be controlled directly from the front panel using presets, you will not
be able to access most of the more detailed control functions (including gain, pad, or
Phantom power). You will need to configure the unit’s “Control” IP address, the “AES67” IP
address (if using AoIP), and download the “Remote Gateway” software.
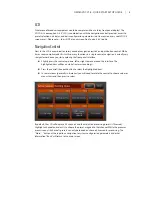
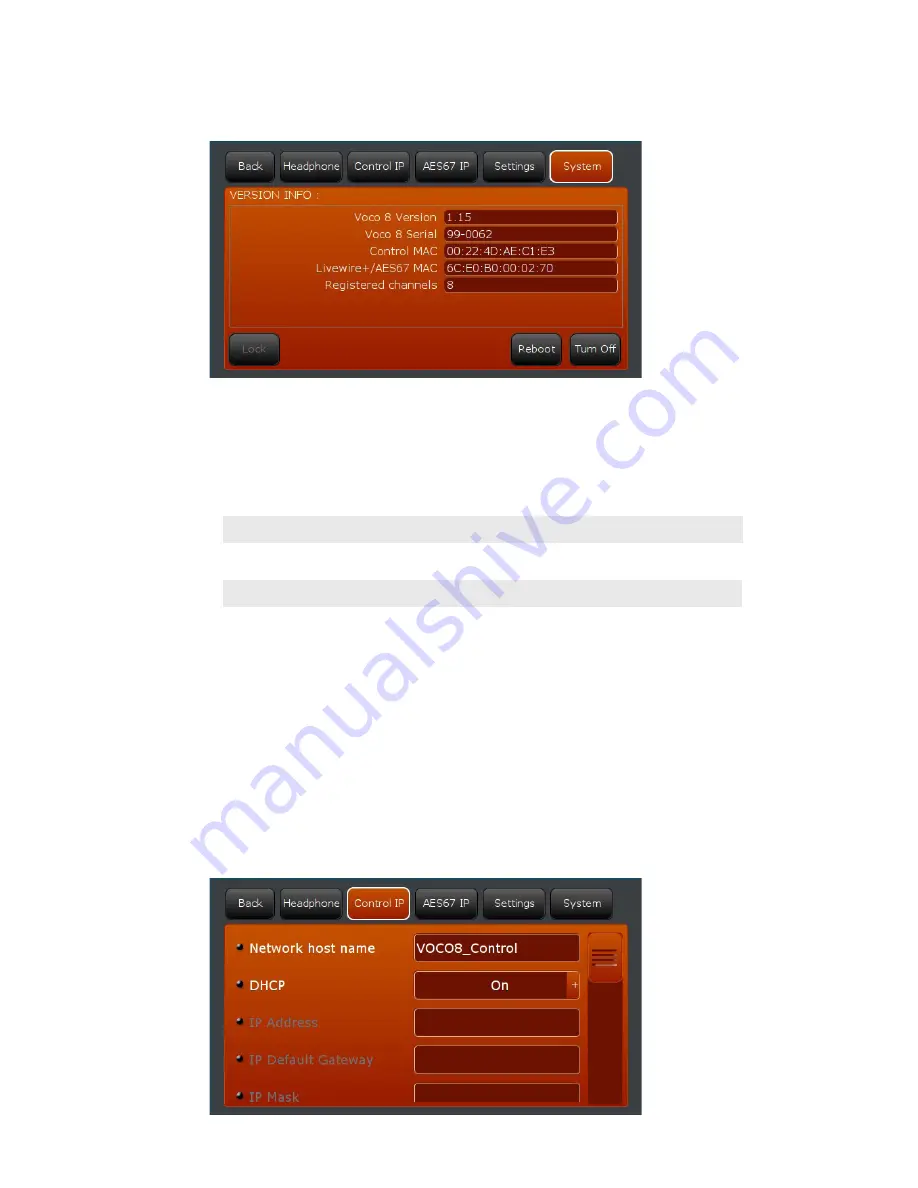
Configuring the “Control” IP address
From the main screen, select “More…” then select “Control IP”. By default, DHCP is enabled and the
unit may have already pulled an IP address from the network if a DHCP server is available. If you wish
to assign a static IP address (recommended), select DHCP, then select “Off”. Change the hostname,
IP address, subnet mask, gateway address, DNS servers, and broadcast address as appropriate. The
broadcast address will be x.x.x.255 where x.x.x are the first three octets of your IP network address
block (i.e. if the IP address is 192.168.1.10, the broadcast address will be 192.168.1.255). This value
should be automatically calculated based on the IP address. If you are using an Ethernet cable direct
to a PC to configure the VOCO 8, manually set both the PC and the VOCO 8 to different addresses
in the same subnet using the same subnet mask (gateway and DNS are not necessary). Continue
scrolling to the “Display Only” section of the menu to verify the settings.
Содержание voco 8
Страница 17: ...THIS PAGE INTENTIONALLY LEFT BLANK...
Страница 18: ...THIS PAGE INTENTIONALLY LEFT BLANK...
Страница 19: ...THIS PAGE INTENTIONALLY LEFT BLANK...