Page - 13
123456
123456
123456
123456
123456
123456
123456
123456
123456
123456
123456
123456
123456
123456
123456
123456
123456
123456
123456
123456
123456
123456
123456
123456
123456
123456
1234
1234
1234
1234
1234
1234
1234
1234
1234
1234
1234
1234
1234
1234
1234
1234
1234
1234
1234
1234
1234
1234
1234567890
1234567890
1234567890
1234567890
1234567890
1234567890
1234567890
1234567890
1234567890
1234567890
1234567890
1234
1234
1234
1234
1234
1234
1234
1234
1234
1234
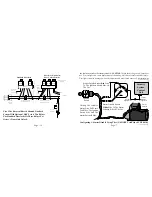
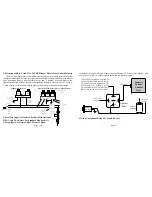
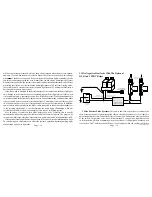
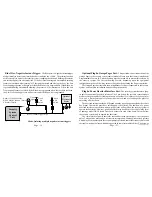
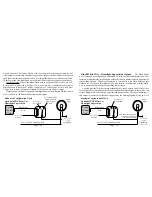
Left Parking Lights
Head
Light
Switch
Right Parking Lights
White
Wire
10 Amp
Security
System
Control
Unit
Note: Use Two
IN4006 Diodes.
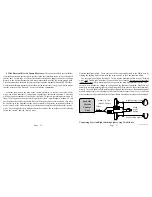
Connecting Left And Right Parking Lights Using Two Diodes.
Continued Next Page
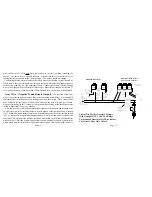
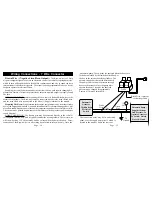
from the headlight switch. These cars can still be connected directly to the White wire by
finding the parking light circuit after the relay, usually at the Fuse/Junction Block.
The correct wire will show Positive 12 Volts when the headlight switch is in the "Parking
Light" and "Head Light" positions. When such a wire is located, be sure to also test that it
is non-rheostated: while metering the wire, operate the dash light dimmer control. The
correct wire will show no change in voltage when the dimmer is operated. Note: Do not
attempt to flash the parking lights by connecting the White wire to a rheostated (dimmer)
circuit! This will backfeed the parking lights through the rheostat or illumination control
module, and possibly cause damage to the vehicle or alarm control unit. Also, if the White
wire touches chassis ground, the Printed Circuit Board and on-board relay may be damaged.
Page - 32
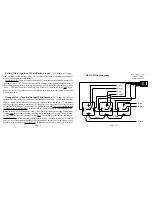
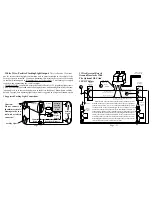
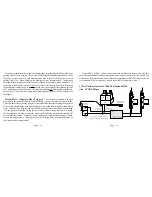
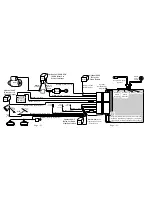
5 Wire Reversal Rest At Ground Systems:
This power doorlock system differs
from the negative and positive pulse systems in the fact that there are no relays or doorlock
control unit. In this type of system, the switches themselves supply the positive voltage
directly to the doorlock actuators, and, more importantly, provide the return ground path.
The correct doorlock interface for this type of system is the optional DLS and 2 SPDT relays.
The important thing to remember is that the wires in this system rest at ground, which means
that the wires must be "opened", or cut, to make the connections.
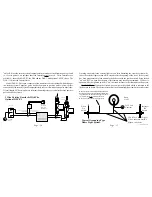
Examine the wires on the back of the switch. Normally 5 wires will be found. Of the
wires, one will be constant 12 volt positive, regardless of the switch's position. Two wires
will be grounded regardless of the switch's position. Of the two remaining wires, one will
show 12 volt positive when the switch is pushed to "lock", and the other will show 12 volt
positive when the switch is pushed to "unlock". When the correct wires are found, they must
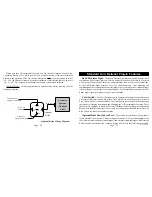
be cut. Notice in the diagram that the driver's switch is the primary switch and referred to
as the "switch" wires. The wires that go to the secondary switch are referred to as the "motor"
wires. Even though the cut is made between the switches, the two sides are still correctly
called the "switch" and the "motor" sides.
Содержание INSTALLATION MANUAL
Страница 2: ...Page 43 Page 2...


