134
EN
Shooting Settings
4
Button
j
Y#
button
n
HI
j
Super Control Panel
Q
n
Drive
j
/
Y
Menu
MENU
n
_
n
7. Drive Mode
n
Drive
j
/
Y
1
Select ProCap, ProCap SH1, or ProCap SH2 and press the
Q
button.
2
Press the shutter button halfway to start capturing.
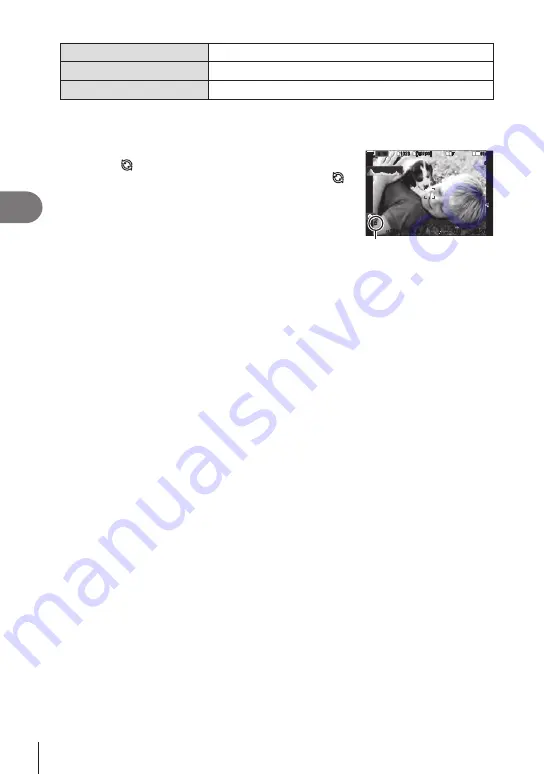
• When the shutter button is pressed halfway, a capture
icon (
) will be displayed. If the button is kept pressed
halfway for over a minute, capture will end and the
icon will clear from the display. Press the shutter button
halfway again to resume shooting.
• Shooting will continue while the shutter button is
pressed all the way down, up to the number of shots
selected for [Frame Count Limiter].
1
1023
1023
P
1/
250
P
1/
F
250
5.6
5.6
1
1
[1:02:03]
[1:02:03]
FF
60p
60p L-8
L-8
S-AF
S-AF
33
L
1
4K
ISO
Auto
ISO
Auto
F
00
+
-
0.0
0.0
100 %
100 %
r
r O
O
200
200
Capture icon
%
[Max fps], [Pre-shutter Frames], and [Frame Count Limiter] can be adjusted in
[Sequential Shooting Settings] (P. 128).
3
Press the shutter button all the way down to start saving pictures to the
memory card.
#
Pro Capture is not available while the camera is connected to a smartphone (Wi-Fi).
#
Flickering occurred by fluorescent lights or the large movement of the subject, etc. may
cause distortions in images.
#
During capture, the monitor will not go dark and the sound of the shutter will not be heard.
#
The slowest shutter speed is limited.
#
Depending on subject brightness and the options selected for [ISO] and exposure
compensation, the display frame rate may drop below that selected for [Frame Rate]
(P. 225).


