80
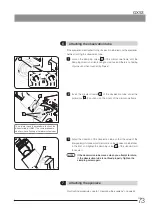
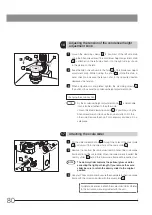
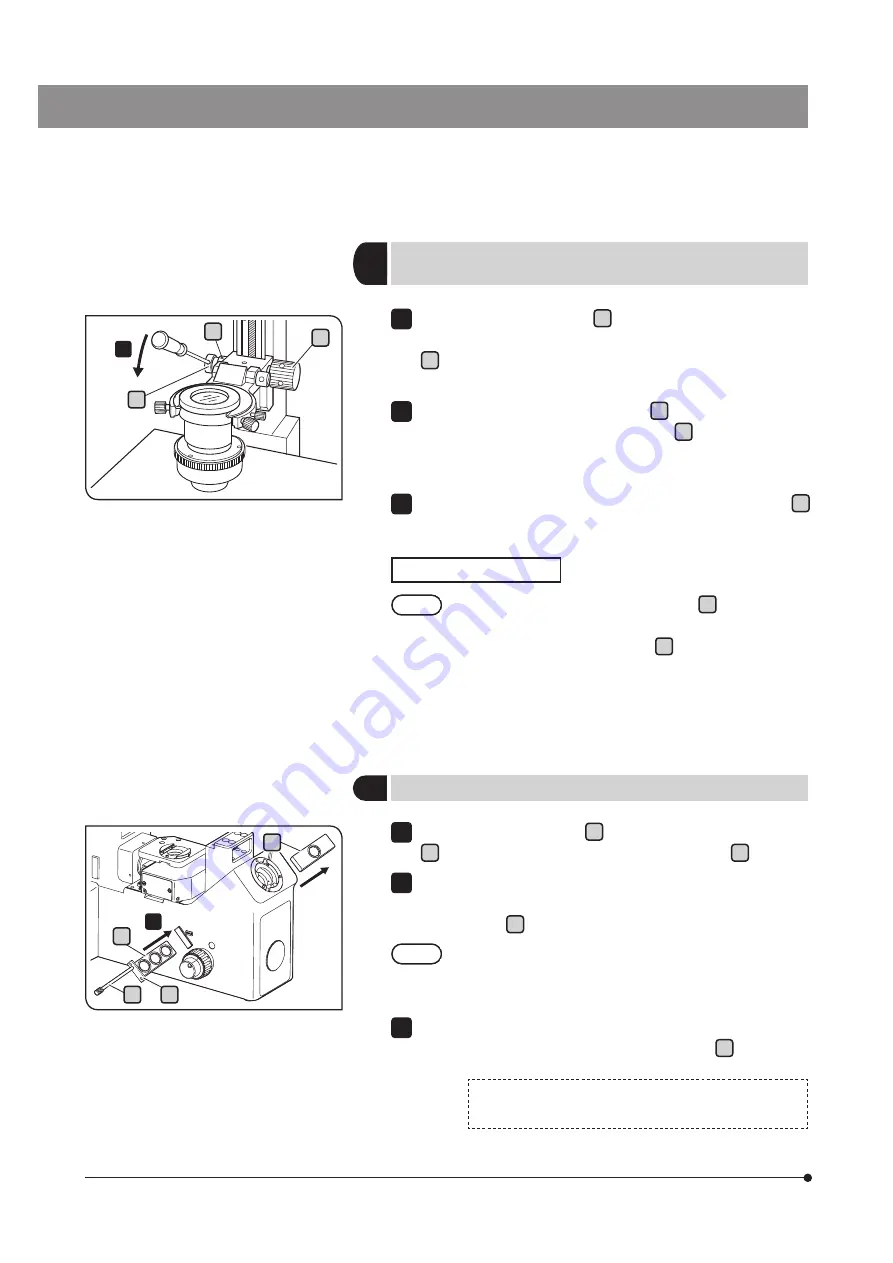
Loosen the clamping screws a (2 positions) of the left side knob
using the Allen screwdriver. If the condenser height adjustment knob
b is attached on the left side, attach it on the right side (as shown
in the picture on the left).
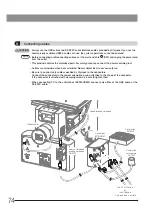
Insert the Allen screwdriver into the hole c of the condenser height
adjustment knob. While holding the knob b , rotate the knob in
arrow direction increases the tension and in the opposite direction
decreases the tension.
When adjustment is completed, tighten the clamping screws a
(2 positions) to secure the condenser height adjustment knob.
Changing the knob position
As the condenser height adjustment knob b is detachable,
it can also be attached to the other side.
Loosen the knob clamping screws a (2 positions) using the
Allen screwdriver and remove the knob and attach it to the
other side. Remove the knob if not necessary and keep it in a
safe place.
1
2
3
TIP
a
c
b
17
Attaching the scale slider
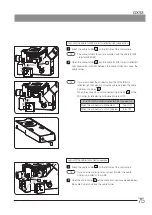
Put the slider selection knob a through the holes of the cover plate
b and screw it into the screw hole of the scale slider c .
Remove the cap from the scale slider insertion hole of the microscope
frame and insert the scale slider. When the scale slider is inserted, the
dummy slider d built-in the microscope frame will be pushed out.
The dummy slider contains the parfocal glass used for
correcting the light path length. If you remove the scale
slider, be sure to return the dummy slider to the original
position.
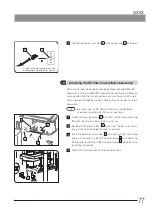
Use your Philips screwdriver to secure the cover plate to the microscope
frame with the screws provided with the cover plate b .
For detail procedures to attach the scale slider (GX-SLM), refer
to the instruction manual provided with the unit.
1
2
NOTE
3
2
16
Adjusting the tension of the condenser height
adjustment knob
a
2
b
c
d


