103
7
Press the OK button after
checking to see if the setting
has been changed.
• The setting will remain and
the menu turns off.
To cancel a setting change
Press the Menu button instead of the OK button in step 6.
Some settings return to the default when the power is turned
off.
Depending on the selected item, some will return to the default and
others will be saved in the current setting.
6
Advanced Playback T
echniques
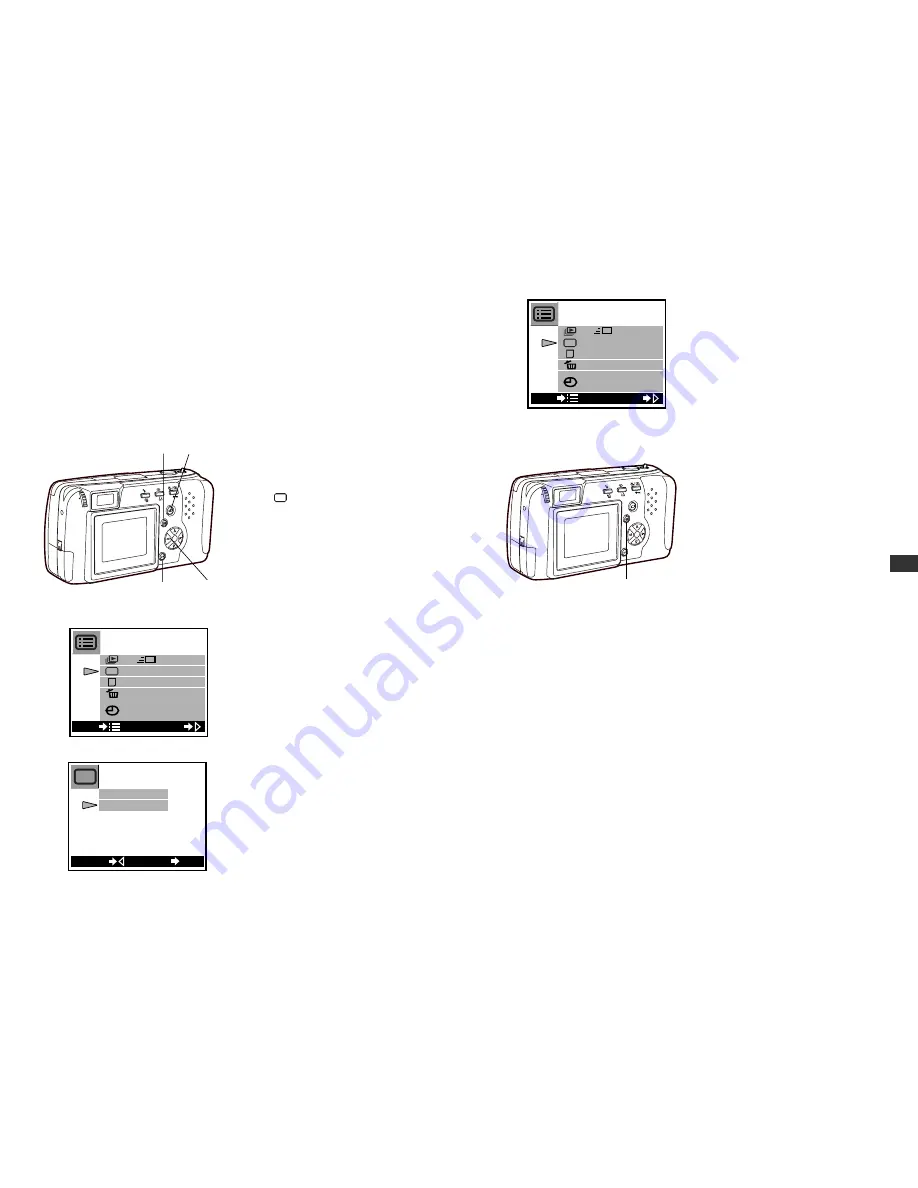
Using the Playback Menu
1
With the lens barrier closed, push the monitor button.
• The power turns on in playback mode and the monitor displays
the last image taken.
2
Press the Menu button.
•
The playback menu will be displayed on the monitor.
3
Press the arrow pad
왕
or
왓
to select [menu item ].
(In the example in the diagram
on the left figure, [menu
item
] will be Number
Display.)
• The selected menu item turns
green.
At this point, you are able to
check the current settings.
Settings are displayed within
the brackets on the right side
of the menu item name.
4
Press the arrow pad
컄
.
• The setting details of the
selected item will be
displayed.
5
Press the arrow pad
왕
or
왓
to select [menu item].
• In the example in the left
figure, setting will be “FILE
No.”. The selected setting
turns green.
6
Press the OK button.
• The setting will be changed
and the initial screen of the
menu is displayed.
No.
102
[
1 / 2
]
[
FAST
]
[
F R A M E N o .
]
1 . 1 . ’ 0 0
0 : 0 0
CHANGE
END
No.
OK
SET
BACK
FRAME No.
FILE No.
No.
[
1 / 2
]
[
FAST
]
[
F I L E N o .
]
1 . 1 . ’ 0 0
0 : 0 0
CHANGE
END
No.
2
6,7 3,4,5
1
Menu button
3
5
7


