Direct printing (PictBridge)
131
P
rin
tin
g
pi
ct
ures
8
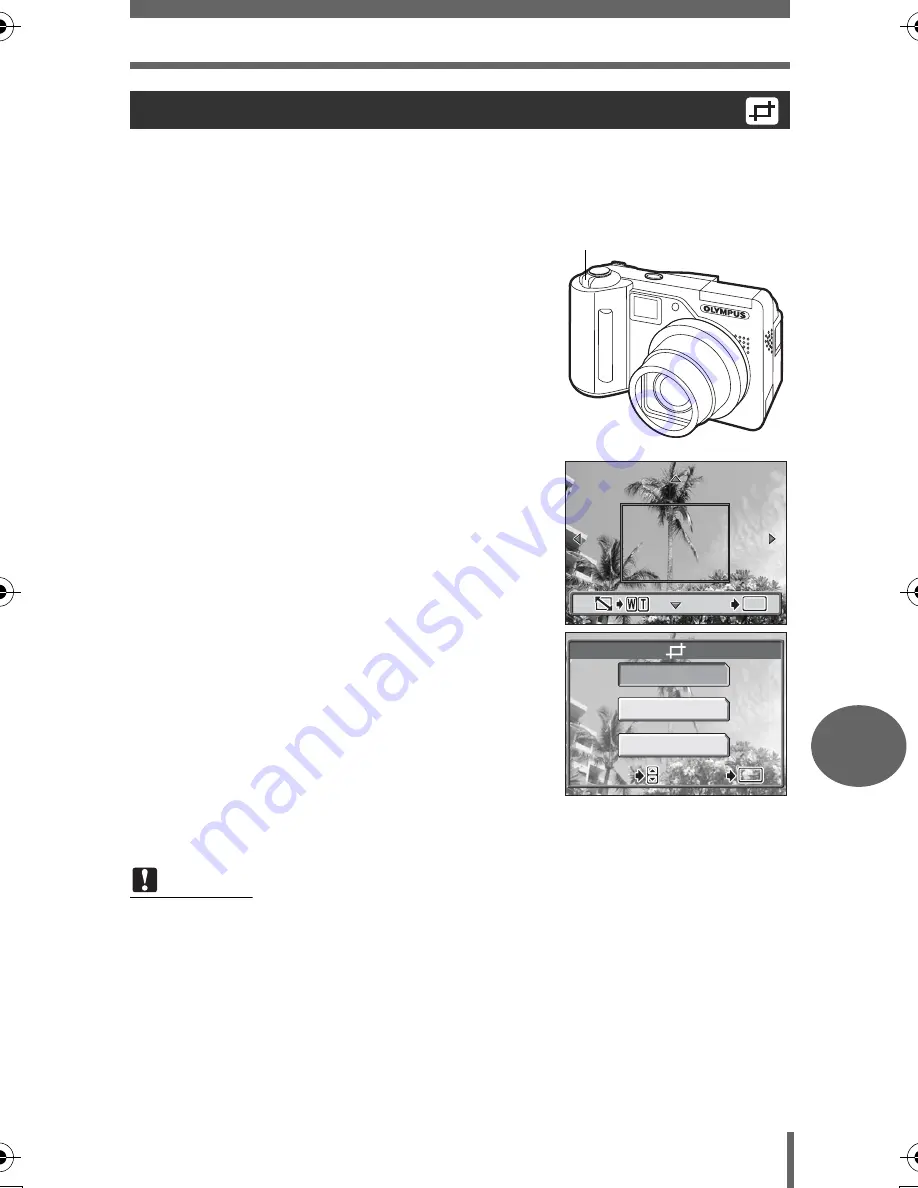
To trim a picture by [MORE] in [PRINT] or [MULTI PRINT] mode, follow the
procedure below.
1
Use the arrow pad and zoom
lever to select the trimming
position and size.
• Press
acbd
to move the trimming
frame.
• Move the zoom lever toward W or T to
select the trimming size.
• If trimming has already been performed,
the [
P
] screen appears. Select
[RESET] and press
N
.
2
Press
N
.
3
Select [OK] and press
N
.
OK
Saves the current trimming
size.
RESET
Sets a new trimming size.
→
Repeat the procedure from
Step 1.
CANCEL
Cancels the current trimming
setting.
• Press
N
to complete trimming and return to the [PRINT INFO] screen.
Trimming
Note
• The size of the printed picture varies depending on the printer settings. If the
trimmed picture is small, printing magnification increases accordingly, resulting
in a printed picture with lower resolution.
• For the best results with enlarged prints, you are recommended to use the
[SHQ] or [HQ] mode.
OK
OK
OK
GO
GO
GO
Zoom lever
OK
RESET
CANCEL
SELECT
SELECT
GO
GO
OK
OK
SELECT
GO
OK
d4250_e_00_0_bookfile.book Page 131 Friday, December 24, 2004 11:45 AM


