6
Use the numeric keypad to enter the 4-digit
I
.
D
. code (not the
ITU
-
T
sub-
address and not the
ITU
-
T
password) and then press
ENTER
.
Note: If you enter an invalid
I
.
D
. code, the fax machine rejects the attempt
and aborts this operation.
7
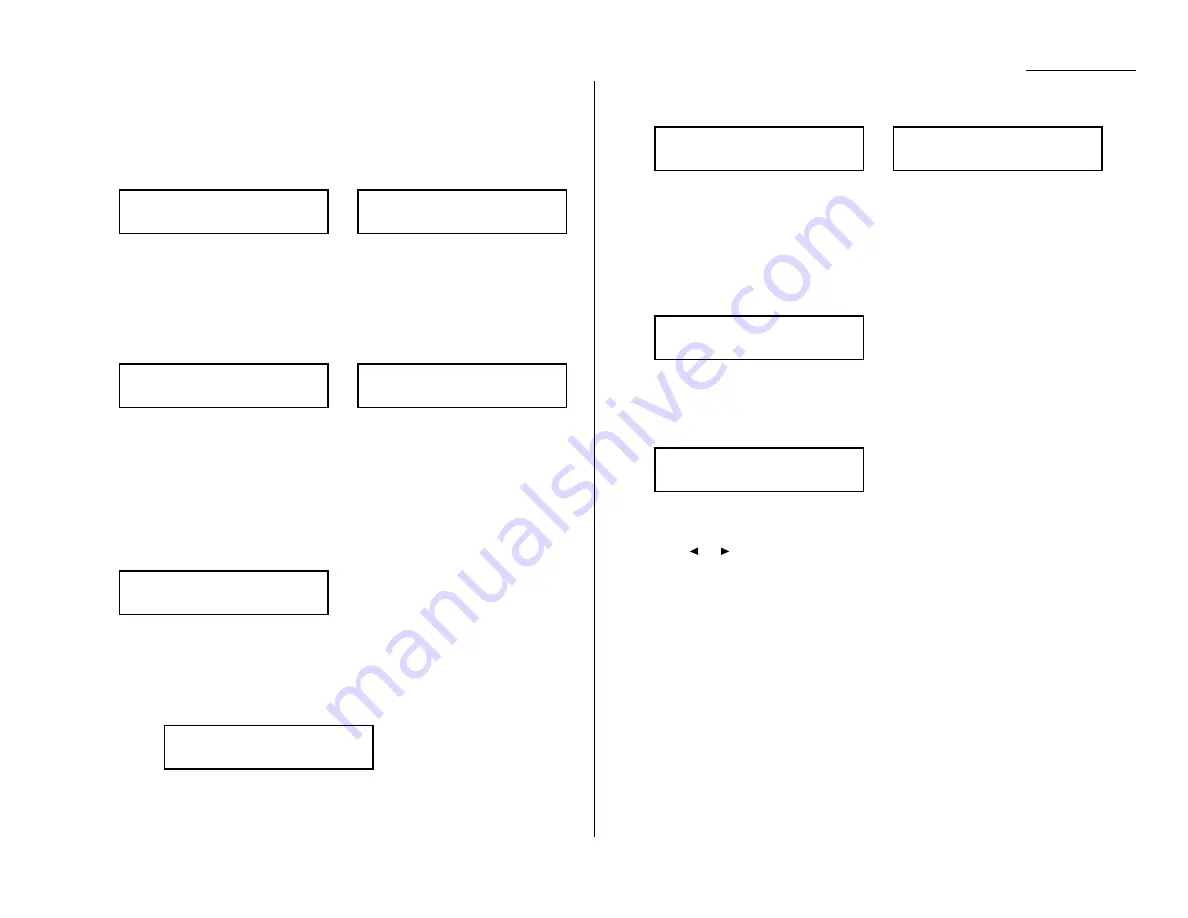
The machine is now asking you to name this F-Code box. The
LCD
shows:
or
If you do not want to enter or change this F-Code box’s name, skip to step 9.
If you do want to enter or change this F-Code box’s name, go on to step 8.
8
Enter the name by using the one-touch keys. (If necessary, review “Entering
characters”, page 1.12) An F-Code box’s name can be up to 16 characters in
length.
9
Press
ENTER
to save the box’s name and continue. The
LCD
shows:
or
The fax machine now asks for this F-Code box’s sub-address. This is the
numerical identifier you must enter in order to communicate with any remote
F-Code compatible fax.
If you do not want to change an existing sub-address, skip to step 11.
10
Use the numeric keypad to enter the sub-address to identify this F-Code box.
The sub-address can be up to 20 characters in length and include any
combination of numbers and the * and # characters (but no other non-
numeric characters).
Note: No other F-Code box in this machine can have the same sub-address
as the one you enter here.
11
Press
ENTER
to save the sub-address.
Note: If you entered a sub-address already being used by another F-Code
box, the machine beeps and briefly displays:
The machine now returns you to step 10. Please enter a different
number for your F-Code box’s sub-address.
12
Next, the machine asks for your F-Code box’s password. This is the password
for
ITU
-
T
-compatible F-Code fax transactions. The
LCD
shows:
or
Note: You don’t need to have a password for the F-Code box. However, using
a password will make your F-Code communication much more secure.
If you do not want to enter or change this box’s password, skip to step 14.
13
Use the numeric keypad to enter this box’s
ITU
-
T
-compatible password. This
password can be up to 20 characters in length and include any combination of
numbers and the * and # characters (but no other non-numerical characters).
Here, we’ve entered 135*7#9.
Note: You cannot change the type of an existing F-Code box. If you’re modi-
fying an existing F-Code box and want to change the box type, you
first must erase the old box, then create a new one.
14
Press
ENTER
to save the password. The
LCD
now shows:
The fax machine is asking which box type you want to assign to this box —
bulletin, security or relay.
Press
or
until the type of box you want appears.
15
Press
ENTER
.
If you chose Bulletin, go on to step 16.
If you chose Security, skip to step 17.
If you chose Relay, skip to step 20.
If you chose Bulletin:
16
The bulletin box has four additional settings:
• Reception protection (“Rx Protect” on the
LCD
)
• Automatic printing of received documents (“Auto Print”)
• Overwriting documents (“Overwrite Doc.”)
• Erasure of transmitted documents (“Erase Tx Doc.”)
Box Type :Bulletin
/
/Enter
03:Password
135*7#9_
03:Password
123456789*#_
03:Password
_
03:Sub-Address No.
Sub-Address In Use
03:Sub-Address No.
654321_
03:Sub-Address No.
123456_
03:Sub-Address No.
_
03:Box Name;Upper
Olympia Europe_
03:Box Name;Upper
_
Advanced features
3.27
Содержание OM 9812
Страница 1: ...OM 9812 OM 9816 Operating Instructions Plain paper digital Copier Fax Printer Scanner...
Страница 7: ...This page intentionally blank...
Страница 52: ...2 21 Basic operation This page intentionally blank...
Страница 124: ...Changing the default settings This page intentionally blank 4 13...
Страница 146: ...Just in case This page intentionally blank 5 21...
Страница 147: ...Appendix and index...
Страница 154: ...D88 90290 60...


