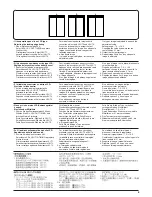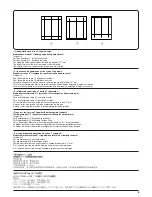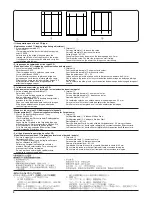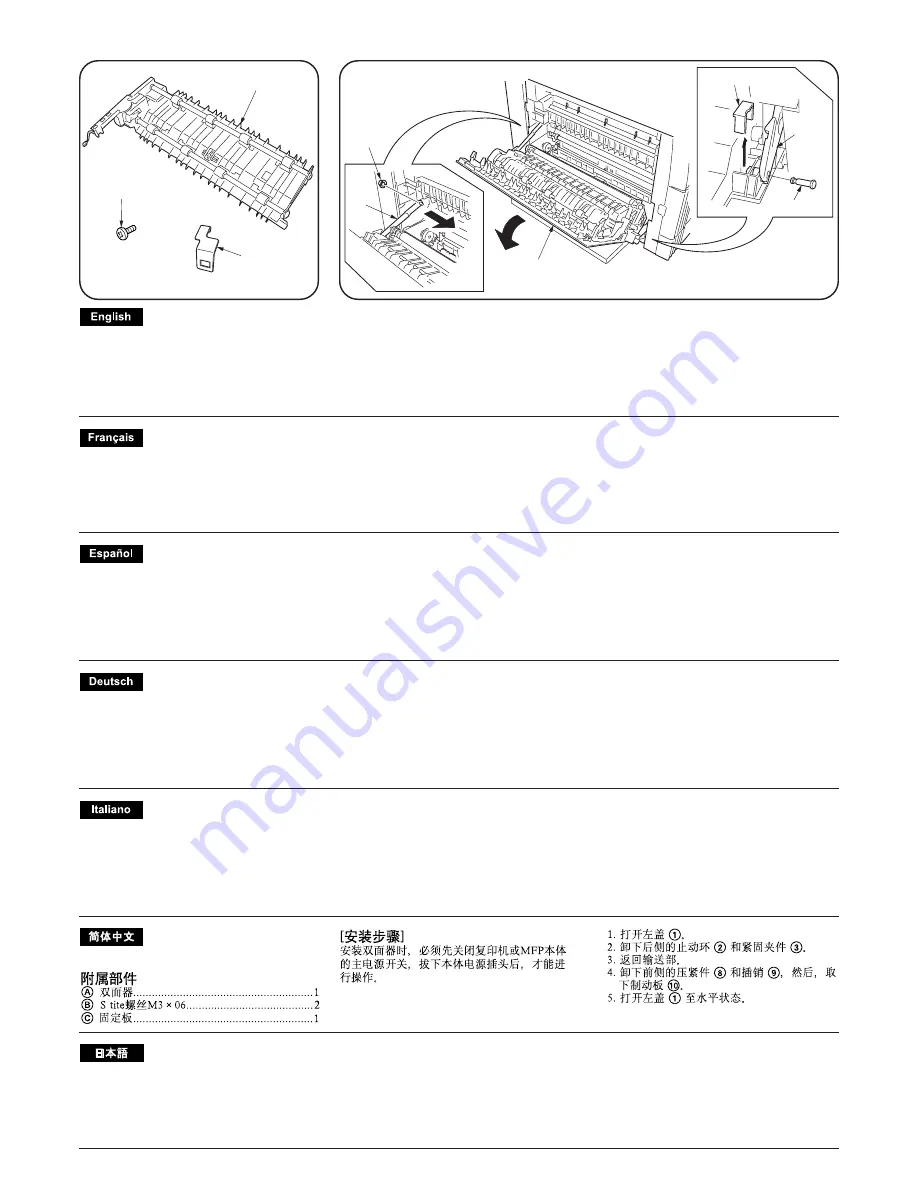
付属品
A
両面ユニット ................................................ 1
B
SタイトビスM3 x 06 ................................ 2
C
プレートロック ............................................ 1
1
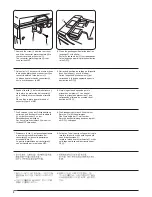
1. 左カバー
1
を開く。
2. 後側のストップリング
2
およびストラッ
プ
3
を外す。
3. 搬送部を戻す。
4. 前側のはめ込み部
8
およびピン
9
を外
し、ストッパー
0
を取り外す。
5. 左カバー
1
を水平になるまで開く。
A
C
B
1
3
2
9
0
8
[取付手順]
両面ユニットを取り付けるときは、必ず複写機
またはMFP(プリンタ標準機)本体のメインス
イッチをOFFにし、本体の電源プラグを抜いて
から作業を行うこと。
Supplied parts
A
Duplex unit .................................................. 1
B
S Tite screw M3 x 06 .................................. 2
C
Plate lock .................................................... 1
1. Open the left cover
1
.
2. Remove the stop ring
2
and the strap
3
from the rear side.
3. Restore the conveyor section.
4. Remove the fitting section
8
and the pin
9
from the front side and then remove the
stopper
0
.
5. Open the left cover until it is put horizontally.
Procedure
Be sure to turn off the main switch of the main
body of the copier or MFP and disconnect the
power plug of the main body from the wall
outlet before starting to install the Duplex Unit.
Pièces fournies
A
Unité recto-verso ........................................ 1
B
Vis S Tite M3 x 06 ...................................... 2
C
Verrou de plaque ........................................ 1
Procédure
Veillez à bien mettre l'interrupteur principal du
corps principal du copieur ou du MFP
hors tension et à débrancher la fiche
d'alimentation de la prise murale avant de
commencer l'installation de l'unité recto-verso.
1. Ouvrez le couvercle gauche
1
.
2. Retirez la bague d'arrêt
2
et la courroie
3
du côté arrière.
3. Rétablissez la section d'entraînement.
4. Retirez la section de fixation
8
et la broche
9
du côté avant, puis retirez la butée
0
.
5. Ouvrez le couvercle gauche jusqu'à ce qu'il
soit placé horizontalement.
Partes suministradas
A
Unidad dúplex ............................................ 1
B
Tornillo S Tite M3 x 06 ............................... 2
C
Seguro de placa ......................................... 1
Procedimiento
Asegúrese de apagar el interruptor principal
del cuerpo principal de la copiadora o MFP y
de desconectar el enchufe del receptáculo de
pared antes de empezar a instalar la Unidad
Dúplex.
1. Abra la cubierta izquierda
1
.
2. Desmonte el anillo de tope
2
y la correa
3
del lado trasero.
3. Recupere la sección del transportador.
4. Desmonte la sección de enganche
8
y el
pasador
9
del lado delantero y desmonte
el tope
0
.
5. Abra la cubierta izquierda hasta que lo
ponga horizontalmente.
Gelieferte Teile
A
Duplex-Einheit ............................................ 1
B
S-Tite-Schraube M3 x 06 ........................... 2
C
Plattenriegel ................................................ 1
Vorgang
Schalten Sie unbedingt den Hauptschalter der
Haupteinheit des Kopierers oder MFP aus,
und ziehen Sie den Netzstecker von der
Netzsteckdose ab, bevor Sie mit der
Installation der Duplex-Einheit beginnen.
1. Die linke Abdeckung
1
öffnen.
2. Den Anschlagring
2
und den Riemen
3
von der Rückseite entfernen.
3. Den Förderbereich wieder zurückstellen.
4. Das Passteil
8
und den Stift
9
von der
Vorderseite abnehmen, und dann den
Anschlag
0
entfernen.
5. Die linke Abdeckung öffnen, bis sie
horizontal liegt.
Parti costituenti la fornitura
A
Unità Duplex .............................................. 1
B
Vite S Tite M3 x 06 ..................................... 2
C
Dispositivo di bloccaggio della piastra ........ 1
Procedura
Assicurarsi di spegnere l’interruttore principale
del corpo principale della copiatrice o dell’MFP
e di disconnettere il cordone di alimentazione
dalla presa a muro prima di dare inizio alla
procedura d’installazione dell’Unità Duplex.
1. Aprire il coperchio sinistro
1
.
2. Rimuovere l’anello di bloccaggio
2
e la
cinghietta
3
dal lato posteriore.
3. Ripristinare la sezione del convogliatore.
4. Rimuovere l’accessorio
8
e il perno
9
dal
lato anteriore e poi rimuovere il fermo
0
.
5. Aprire il coperchio sinistro finché non è in
posizione orizzontale.
Содержание d-Copia 1600
Страница 1: ...SERVICE MANUAL Published in October 2005 842HB110 First Edition d Copia 1600 d Copia 2000...
Страница 3: ...Revision history Revision Date Replaced pages Remarks...
Страница 4: ...This page is intentionally left blank...
Страница 10: ...This page is intentionally left blank...
Страница 14: ...2HA 2HB 1 4 30 This page is intentionally left blank...
Страница 20: ...2HA 2HB 1 4 30 This page is intentionally left blank...
Страница 126: ...2HA 2HB 1 4 30 This page is intentionally left blank...
Страница 162: ...2HA 2HB 1 4 30 This page is intentionally left blank...
Страница 180: ...2HA 2HB 1 4 30 This page is intentionally left blank...
Страница 213: ...INSTALLATION GUIDE FOR THE 300 SHEET CASSETTE...
Страница 220: ...INSTALLATION GUIDE FOR THE DOCUMENT PROCESSOR...
Страница 231: ...INSTALLATION GUIDE FOR THE DUPLEX UNIT...
Страница 239: ...INSTALLATION GUIDE FOR THE Printing System X...
Страница 242: ......


