6.
Press O
N
L
INE
to exit the Menu
A
UTO
T
C
RATION
→
T
RAY
1
G
LOSSY
Glossy.
roll down to
etup]. Press E
NTER
.
ia Check].
7.
[Save
s
8.
Printer will come back to O
N
mode.
D
ISABLE
A
UTO
T
RAY
S
WITCH
M
ENUS
→
T
RAY
C
ONFIGURATION
→
T
RAY
S
WITCH
→
O
FF
M
EDIA
T
YPE
S
ETTING
M
ENUS
→
RAY ONFIGU
C
ONFIG
→
M
EDIA
T
YPE
→
Repeat, changing the tray selection
until all trays have been set to
D
ISABLE
M
EDIA
C
HECK
Press E
NTER
.
1.
Use the
T
key to sc
[Admin S
2.
T
/
S
keys
→
Yes. Press E
NTER
.
Offline appears on the display.
3.
Wait for setup to run. The Setup
menu appears
4.
T
/
S
keys
→
[Printer Setup].
Press E
NTER
.
5.
Continue to press E
NTER
until you
come to [Med
6.
T
/
S
key
→
Off. Press E
NTER
.
Continue to press Enter >
Changes?]
T
/
S
→
Yes. Pres
E
NTER
.
T
/
S
key
→
[Exit Setup]. Press
E
NTER
.
L
INE
.
5
A
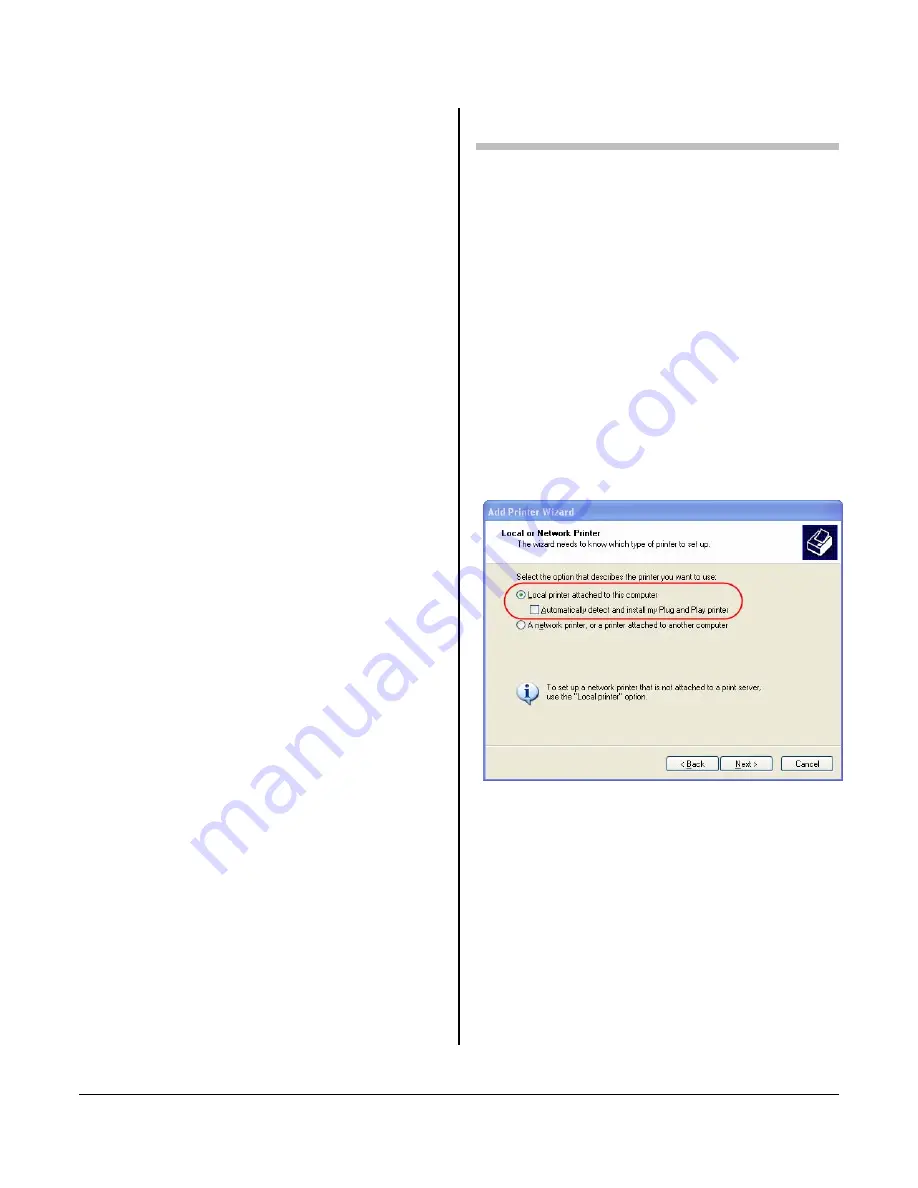
DD A PRINTER
1.
Open Printers by clicking the
Start button, clicking Control
Panel, clicking Printers and
Faxes.
2.
Click Add a printer.
3.
When the Welcome to the Add
Printer Wizard appears, click
Next.
4.
Select Local printer attached to
this computer. Deselect
Automatically detect and install
my Plug and Play printer, then
Select Creat
click Next.
5.
e a new port and
6.
Add
7.
n the
choose Standard TCP/IP Port
from the drop down menu.
When the Welcome to the
Standard TCP/IP Printer Port
Wizard appears, click Next.
Type the printer’s IP address i
field labeled Printer Name or IP
Address. Click Next.
4
Содержание LUCIDIOM EQ-9800
Страница 1: ...LUCIDIOM EQ 9800 Installation Guide ...
Страница 12: ......
Страница 13: ......
Страница 14: ......


