C7350/7550 User’s Guide: Windows XP Operation • 172
Printing Booklets
PCL
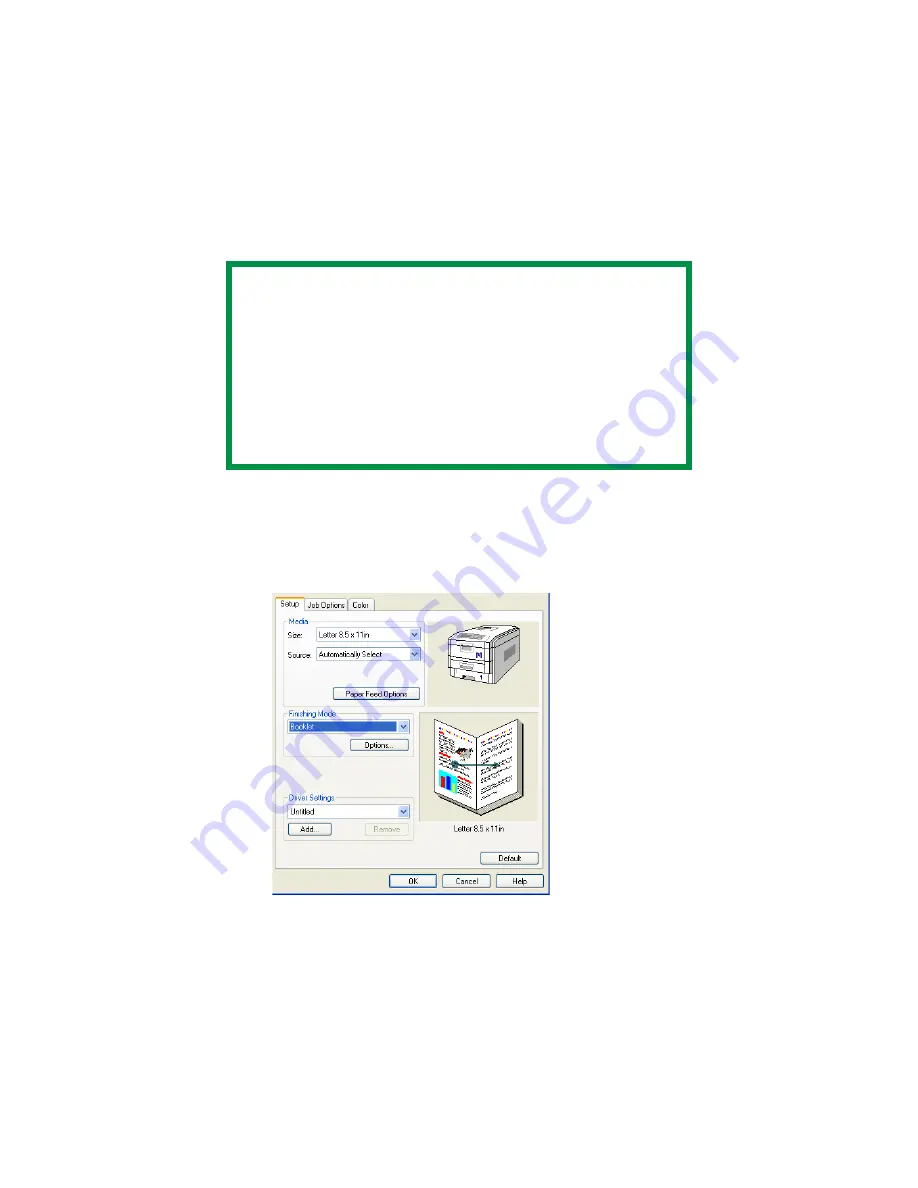
1.
Open the file in your application. Select
File
→
.
2.
In the Print dialog box, on the
General
tab, click the
appropriate PCL driver. Click the
Preferences
button.
3.
On the
Setup
tab, under
Finishing Mode
, in the drop-down
list, select
Booklet
.
C73_XP_PCL_Bookletk.tif
4.
Click the
Options
button. Set the
Signature
,
2pages
,
Right
to Left
, and
Bind Margin
, as required. See the online Help for
information. Click
OK
.
NOTES
• You must have the duplex unit installed and
enabled in order to print booklets.
• Not available on some network connections: see
the Help file.
• Some software applications may not support
booklet printing.
• The right-to-left setting allows a booklet to be
printed for right to left reading, which is used in
some languages.
Содержание C7350hdn
Страница 1: ...59366001_win_eng jpg...
Страница 35: ...C7350 7550 User s Guide Setting Up 35 5 Gently close the paper tray paper tray insertk eps...
Страница 171: ...C7350 7550 User s Guide Windows XP Operation 171 4 Click OK Click Print C73_XP_PS_Booklet bmp...
Страница 173: ...C7350 7550 User s Guide Windows XP Operation 173 5 Click OK Click Print C93_XP_PCL_Booklet2 bmp...
Страница 270: ...C7350 7550 User s Guide Windows 2000 Operation 270 4 Select a name from the Watermark list C93_Me_Watermark1 bmp...
Страница 303: ...C7350 7550 User s Guide Windows Me 98 95 Printer Drivers 303 6 Click OK twice ps device options usable memory1 bmp...
Страница 434: ...C7350 7550 User s Guide Windows NT 4 0 Operation 434 4 Click the Edit of Custom Paper button C93_NT_PS_Custom4 bmp...
Страница 485: ...C7350 7550 User s Guide Maintenance 485 1 Turn off the printer 2 Open the top cover open top cover eps...
Страница 498: ...C7350 7550 User s Guide Maintenance 498 10 Close the top cover close top cover eps...
Страница 637: ...C7350 7550 User s Guide Print Job Accounting Utility 637 The following window appears JA_OpeningScreen bmp...
Страница 671: ...C7350 7550 User s Guide Print Job Accounting Utility 671 3 Click Add The following window appears JA_AddID1 bmp...


