CHAPTER 1 GETTING STARTED
Adven
turer ™ Balances Service Manual 17 Ohaus Corporation www.ohaus.com
1.13 Virtual Port Software Installation
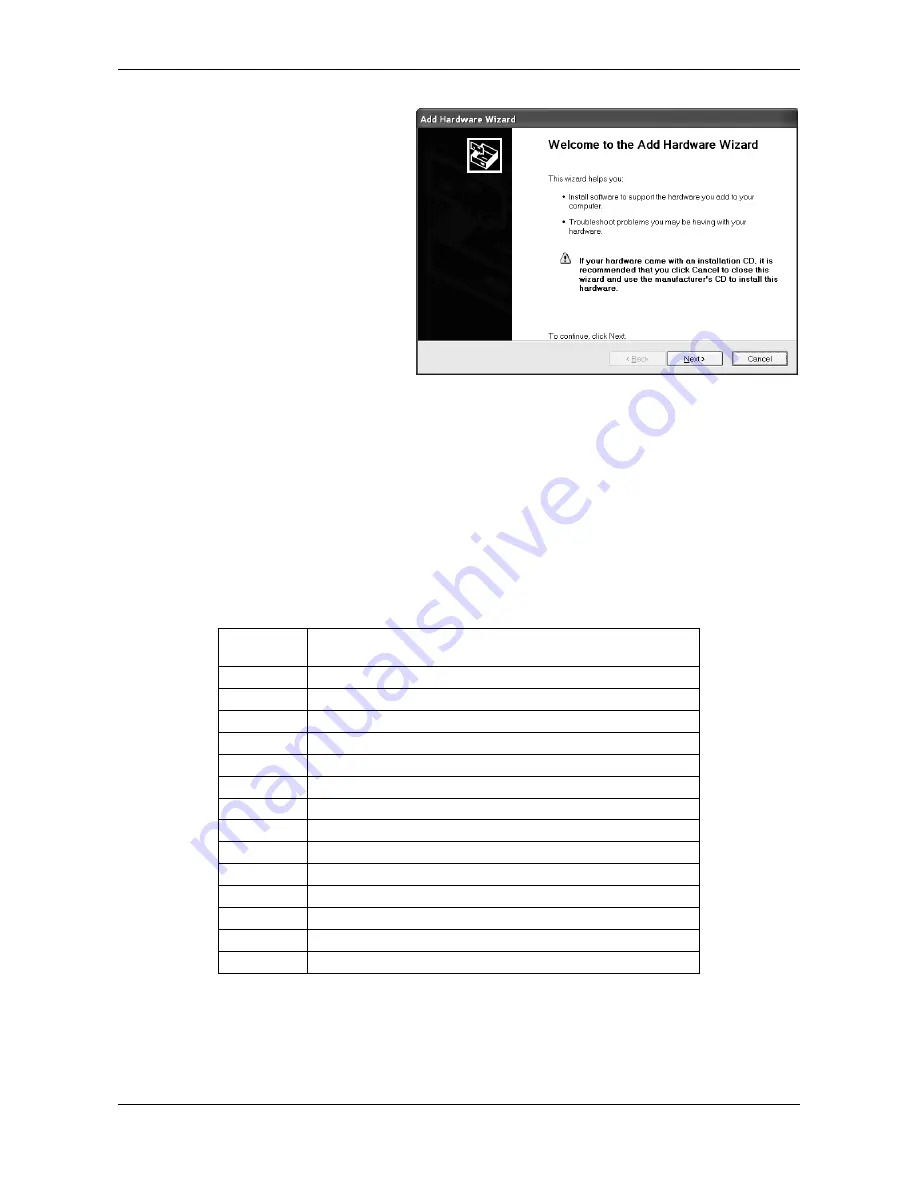
1. Insert the supplied CD into the
computer’s CD drive.
Different versions of Windows
®
have
slightly different steps to load the driver
that is on the CD. In all versions the
New Hardware Wizard guides you
through the required steps to select the
driver that is located on the CD.
2. After clicking Finish, the virtual port
should be ready for use.
Windows
®
typically adds the virtual port
in sequence after the highest number
COM port. For example, on PC’s
equipped with up to 4 COM ports, the
virtual port will be COM5.
When using the USB interface with
programs that limit the number of COM
port designations (e.g. Ohaus
MassTracker allows only COM1, 2, 3, &
4), it may be necessary to assign one of
these port numbers to the new virtual
port.
This can be done in the Port Settings of the Device Manager utility, found in the Windows
Control Panel.
1.14 USB Input
The balance will respond to various commands sent via the interface adapter.
Terminate the following commands when with a [CR] or [CRLF].
Table 1-7. Adventurer USB Interface Command List
Command
Characters
Function
zC
perform span calibration
0S
print unstable data
1S
print stable data only
P
same as pressing Print
SP
print stable weight only
IP
immediate print of displayed weight (stable or unstable)
CP
Continuous print of weights
SLP
Auto-print stable non-zero weight only
SLZP
Auto-print stable non-zero weight and zero reading
xP
Auto-print on 1 to 3600 second intervals (x = 1 to 3600)
0P
Ends interval print
T
same as pressing Tare
Z
same as pressing Zero
PV
print software version
Note: The USB Command can only support from the balance rear USB type B not the front
USB type A which the function is for storing information.
1.14.1 Auto-Print Operation
Once Auto-Print is activated in the menu, the balance will send data as required.
If there is data in the print buffer the printer will finishing printing this data.


