12 Patient Data Management
Instruction Manual ImageCam® 3 (G/69200/XXXX/EN 0120 Rev01)
45 / 68
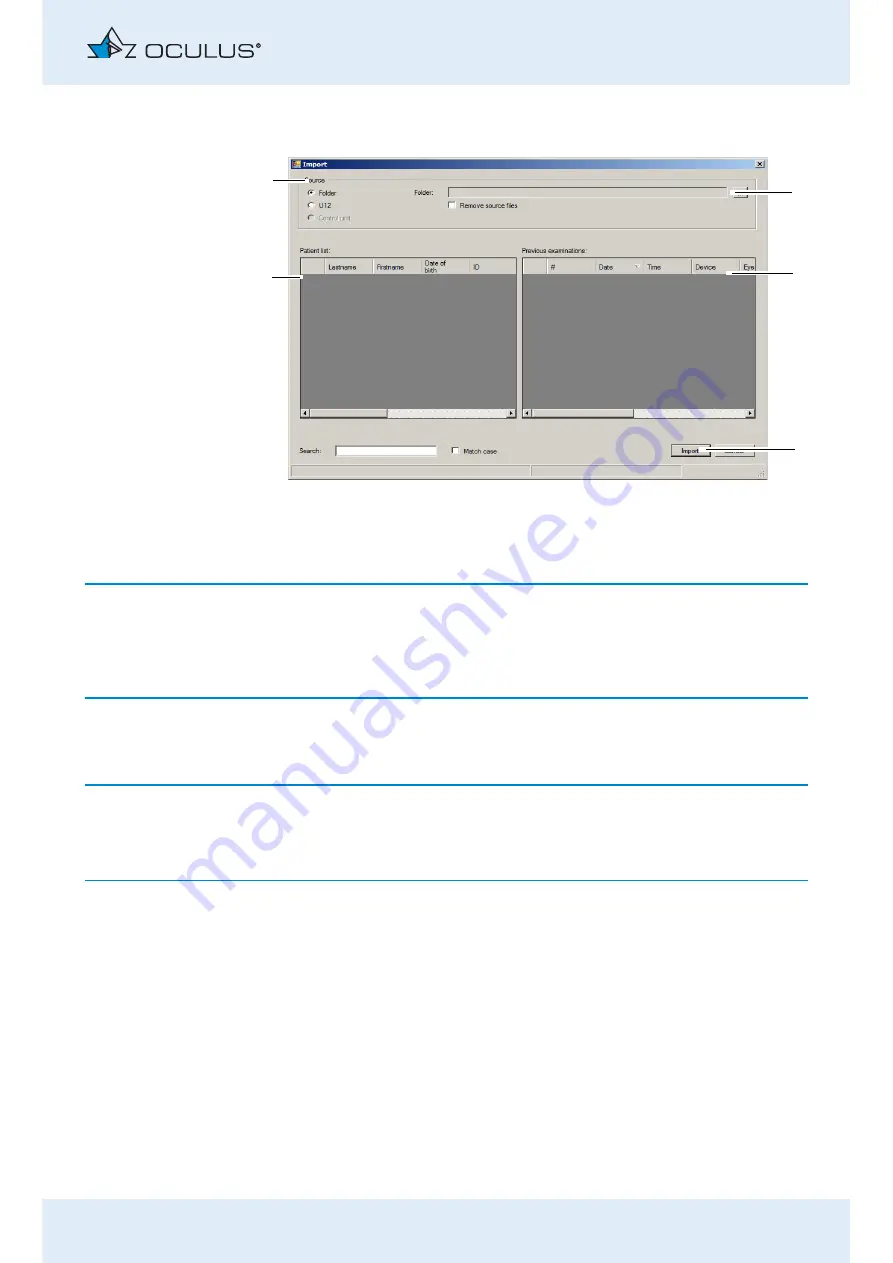
Press the [Import] button. The following dialog is displayed:
☞
The options for the import and export of data are pre-set in the “Settings”
area, also refer to
.
Depending on the settings, you may not have to perform all of the
following steps (e.g. selection of the directory).
As option (1), select the location where the source data are located
(“Folder” or “Single File (U12)”).
☞
Recommendation: Use the option “Single File (U12)” to import the patient
data.
Press the [...] button. (2).
In the dialog box, select the directory or the file where the patient
data are located.
Confirm your selection with [OK] or [Open].
The patients and the associated examinations that are found are
displayed in the lower part of the dialog.
To import the data, press the [Import] button (4).
The data will then be available in the Patient Data Management
system.
1
Select data source
4
[Import] button
2
[...] button
5
Patient list
3
Previous examinations
Fig. 12-2: “Import” dialog box
5
2
3
4
1
Содержание ImageCam 3
Страница 1: ...OCULUS ImageCam 3 INSTRUCTION MANUAL Slit Lamp Documentation System...
Страница 6: ...v v Instruction Manual ImageCam 3 G 69200 XXXX EN 0120 Rev01...
Страница 73: ...19 Appendices Instruction Manual ImageCam 3 G 69200 XXXX EN 0120 Rev01 67 68...
Страница 74: ...19 Appendices 68 68 Instruction Manual ImageCam 3 G 69200 XXXX EN 0120 Rev01...
Страница 75: ......


