Contents
i
Contents
1
Introduction
1
2
Getting Started
1
3
Overview
1
4
Your OMX-SW8x8NT 8x8 Audio / Video Matrix Switcher
2
5
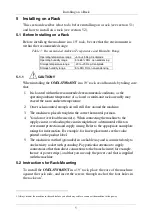
Installing on a Rack
5
5.1
Before Installing on a Rack
5
5.1.1
CAUTION!!
5
5.2
Instructions for Rack-Mounting
5
6
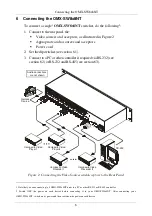
Connecting the OMX-SW8x8NT
6
6.1
Setting the Dipswitches
7
6.1.1
SELF ADDRESS Dipswitches
7
6.1.2
Setting Connection Dipswitches
8
6.2
Controlling via RS-232 (for example, using a PC)
9
6.3
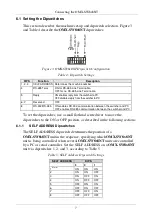
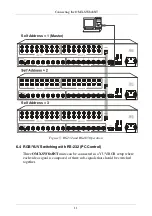
Controlling via RS-232 and RS-485
10
6.4
RGB/YUV Switching with RS-232 (PC Control)
11
7
Operating OMX-SW8x8NT Matrix Switchers
12
7.1
Displaying Unit Characteristics
12
7.2
Selecting and Connecting an Output and/or Input
12
7.3
Choosing the Audio-Follow-Video or Breakaway Option
13
7.3.1
Setting the Audio-Follow-Video Option
13
7.3.2
Setting the Breakaway Option
13
7.4
Storing/Recalling Input/Output Configurations
13
7.4.1
Storing an Input/Output Configuration
13
7.4.2
Recalling an Input/Output Configuration
14
7.4.3
Deleting an Input/Output Configuration
14
7.5
Resetting the Machine
14
8
Technical Specifications
15
Figures
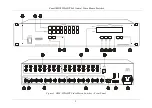
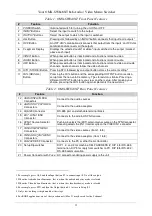
Figure 1: OMX-SW8x8NT Video Matrix Switcher – Front Panel
3
Figure 2: Connecting the Video Sources and Acceptors to the Rear Panel
6
Figure 3: OMX-SW8x8NT Dipswitch Configuration
7
Figure 4: Connecting a PC without using a Null-modem Adapter
9
Figure 5: RS-232 and RS-485 Operation
11
Содержание OMX-SW8X8NT
Страница 1: ...OMX SW8x8NT ...


