Load the media
Introduction
This section describes how to load the media into a paper tray.
When you load the media via the 'Load' button in the 'Schedule', the paper tray is auto-
matically assigned to the correct media.
When you load and assign the media via the 'Assign' button in the 'Trays' view, you must
assign the paper tray to the loaded media manually.
When no external finisher is connected to the machine, you must put all the media types
face up and header up into the paper trays. The tabs of tab sheets must be at the right-
hand side. When an external finisher is connected to the machine, it is possible that you
must put the media into the paper trays in a different way. Refer to the documentation
of the external finisher for more information about how to place the media.
When to do
• The 'Schedule' displays a red bar next to a required media. The red bar indicates that
a scheduled job now requires a media that is not available in the paper trays.
• The 'Schedule' displays an orange bar next to a required media. The orange bar indi-
cates that a scheduled job requires media which is either not available in the paper
trays or which is available, but not in sufficient quantity to finish the job.
• The current job requires more of the same media than is currently loaded in the paper
trays. You can add more of the required media into another paper tray.
• You already want to load and assign media that are required for the next job (work
ahead).
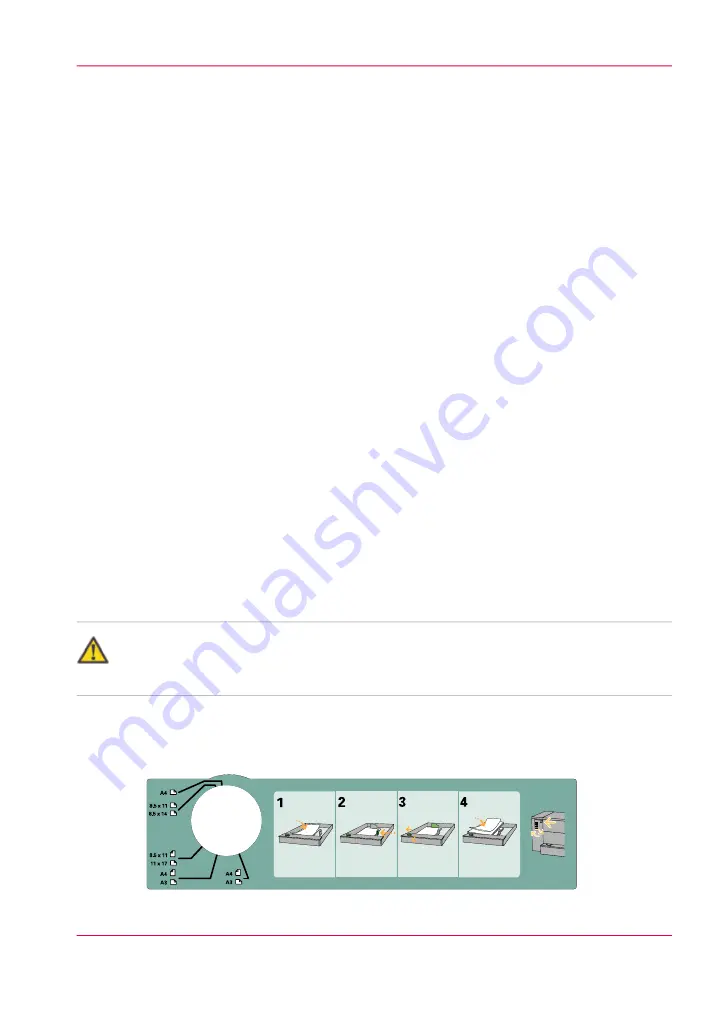
Caution:
Always put the stack of media aligned with the left-hand side of the paper guides inside
the paper trays, as indicated on the sticker inside the paper trays.
Illustration
SR
SR
[24] The sticker inside the paper trays indicates how to load the media
Chapter 5 - Working with the operator panel
47
Load the media
Содержание VarioPrint 6000 MICR series
Страница 1: ...o Oc VarioPrint 6000 Ultra Line Experience ultra speed User manual Operating information...
Страница 7: ...Chapter 1 Preface...
Страница 14: ...Chapter 1 Preface 14 Online support for your product...
Страница 15: ...Chapter 2 Introduction...
Страница 18: ...Chapter 2 Introduction 18 Available documentation...
Страница 19: ...Chapter 3 Power information...
Страница 25: ...Chapter 4 Overview of the system components...
Страница 38: ...Chapter 4 Overview of the system components 38 The paper modules...
Страница 39: ...Chapter 5 Working with the operator panel...
Страница 178: ...Chapter 5 Working with the operator panel 178 Create a transaction setup...
Страница 179: ...Chapter 6 Optional finishers and other devices...
Страница 182: ...Operating information Main parts Illustration Chapter 6 Optional finishers and other devices 182 Main parts...
Страница 206: ...5 Close the front door of the puncher folder Chapter 6 Optional finishers and other devices 206 Empty the waste box...
Страница 237: ...Chapter 7 Keeping the printer run ning...
Страница 251: ...Appendix A Miscellaneous...
Страница 263: ...Check and print 122 Function 121 Job by job 122 Manual planning 122 Standard 122 Unattended 122 263 Index...


