25
5
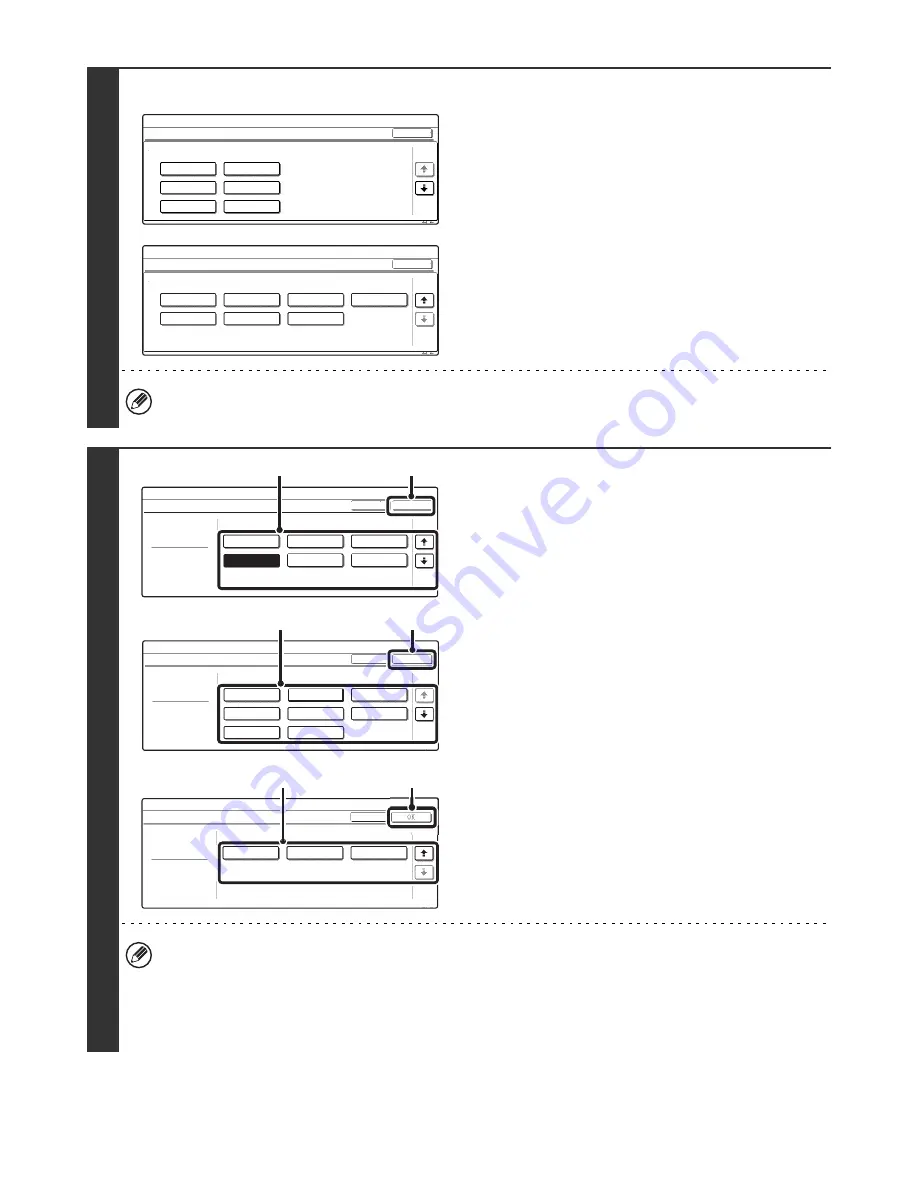
Example: Tray 1 is selected
Touch the desired paper type.
• The paper types that can be selected vary by paper tray. For more information, see "
Tray settings
" (page 27).
• To configure [User Type 1] to [User Type 7], see "
Paper Type Registration
" (page 28).
6
Select the paper size.
(1) Touch the desired paper size.
(2) Touch the [OK] key.
• The paper sizes that can be selected vary by paper tray and model. For more information, see "
Tray settings
" (page
27).
• When the bypass tray is selected, the paper sizes that can be selected vary depending on the paper type selected
in Step 5. For more information, see "
Tray settings
" (page 27).
• If you wish to manually specify a special paper size that is not in the list, see "
Direct entry of the paper size
" (page
26).
System Settings
Tray 1 Type/Size Setting
Select the paper type.
Plain
Letter Head
Pre-Printed
Pre-Punched
Recycled
Color
Cancel
1/2
1/2
System Settings
Select the paper type.
User Type 1
User Type 2
User Type 5
User Type 6
User Type 7
User Type 3
User Type 4
2/2
1/2
Tray 1 Type/Size Setting
Cancel
System Settings
Tray 1 Type/Size Setting
Type
Size
Plain
Type
OK
11x17
1/3
2/2
8 x11R
1
/
2
8 x14
1
/
2
7 x10 R
1
/
2
8 x11
1
/
2
5 x8 R
1
/
2
1
/
4
1
/
2
1
/
2
(2)
(1)
System Settings
Type
Plain
Type
OK
A3
A4
A4R
A5R
B5R
216x330(8 x13)
B4
B5
2/3
2/2
Tray 1 Type/Size Setting
Size
1
/
2
(2)
(1)
y
g
System Settings
Type
Plain
Type
8K
16K
16KR
3/3
2/2
y
yp
g
Tray 1 Type/Size Setting
Size
(2)
(1)


