27
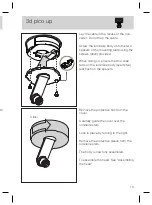
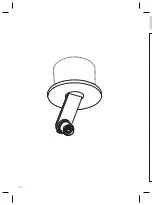
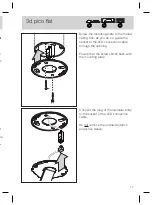
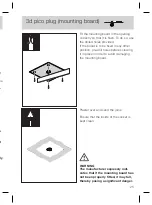
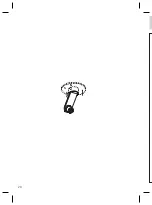
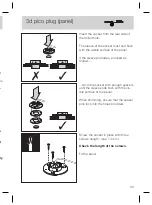
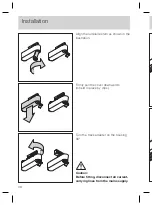
The pico plug is now fully assembled.
To assemble the head: See "Assembling
the head".
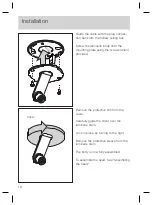
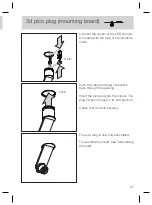
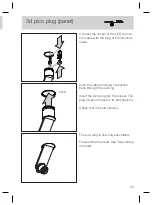
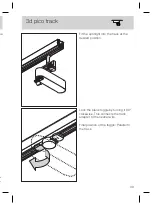
Push the cable and plug connection
back through the opening.
Insert the pico plug into the socket. The
plug clicks into place in its end position.
Check that it is held securely.
Carry out any painting and decorating
work.
When doing so, ensure that the inside
of the socket is kept clean.
Click!
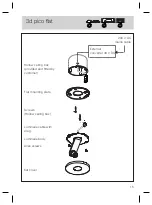
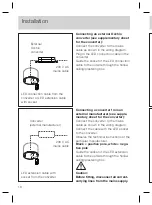
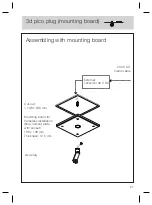
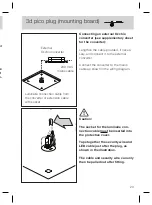
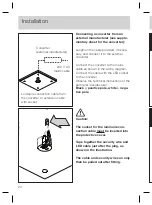
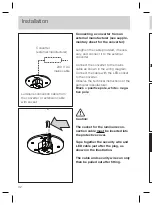
3d pico plug (mounting board)
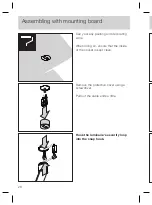
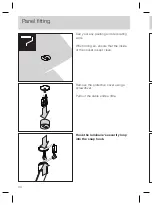
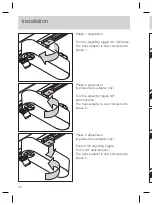
Remove the protective cover using a
screwdriver.
Pull out the cable ends a little.
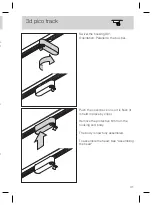
Hook the luminaire's security loop
into the snap hook.
Connect the socket of the LED connec-
tion cable with the plug of the luminaire
cable.
Click!
Содержание 3d body pico
Страница 1: ...3d body pico Montageanleitung Mounting instructions up plug track...
Страница 2: ......
Страница 3: ...3d body pico Montageanleitung up flat plug track De...
Страница 4: ...2...
Страница 8: ...6 3 f V 3 f V 3 f V f V 3 f V...
Страница 10: ...8 2 N...
Страница 16: ...14 H...
Страница 21: ...19 l t m...
Страница 22: ...20...
Страница 30: ...28...
Страница 38: ...36 E 1 S 3 2 1 0...
Страница 44: ...42...
Страница 45: ...43 Anhang...
Страница 48: ...46...
Страница 49: ...3d body pico Mounting instructions up flat plug track En...
Страница 50: ...2...
Страница 54: ...6 3 f I 3 f E 3 f E f E 3 f I...
Страница 56: ...8 2 m...
Страница 62: ...14 H c...
Страница 67: ...19 ng...
Страница 68: ...20...
Страница 76: ...28...
Страница 84: ...36 E 1 b 3 2 1 0...
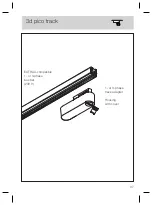
Страница 85: ...37 1 or 3 phase track adapter Housing with cover EUTRAC compatible 1 or 3 phase bus bar 230 V 3d pico track...
Страница 90: ...42...
Страница 91: ...43 Appendix...
Страница 94: ...46...
Страница 95: ......

