2 SafeCom Controller
D60700-07
29
1.
Open the SafeCom controller webpage by entering the controller IP
address in a browser (2.7.1).
2.
Select
Advanced Configuration
.
3.
Select
SafeCom
from
SafeCom Controller Administration
menu.
4.
Make sure to specify the
SafeCom Group Name
,
SafeCom Server
Address
,
and
SafeCom Server Port Number
.
Note:
For the purpose of failover, it is possible to specify multiple
SafeCom servers. The SafeCom Controller attempts to contact the
servers in their order of appearance.
5.
Click
Save & Continue
.
6.
Select
Printer
from the
SafeCom Controller Administration
menu.
7.
Set
Use auto configuration
to
Yes
.
8.
Set
Printer
Manufacturer
to
Xerox
.
9.
Set
Printer Model
to
PH3635
.
10. Set
Copy Enabled
to
Yes
.
11. Click
Save & Continue
.
12. On the
SafeCom Controller Administration
menu, select
TCP/IP
.
13. Set
IP Lookup Method
to
Automatic
and make sure to check all three
protocols (DHCP, BOOTP, and RARP).
14. Check
Enable WINS
and click
Save & Continue
.
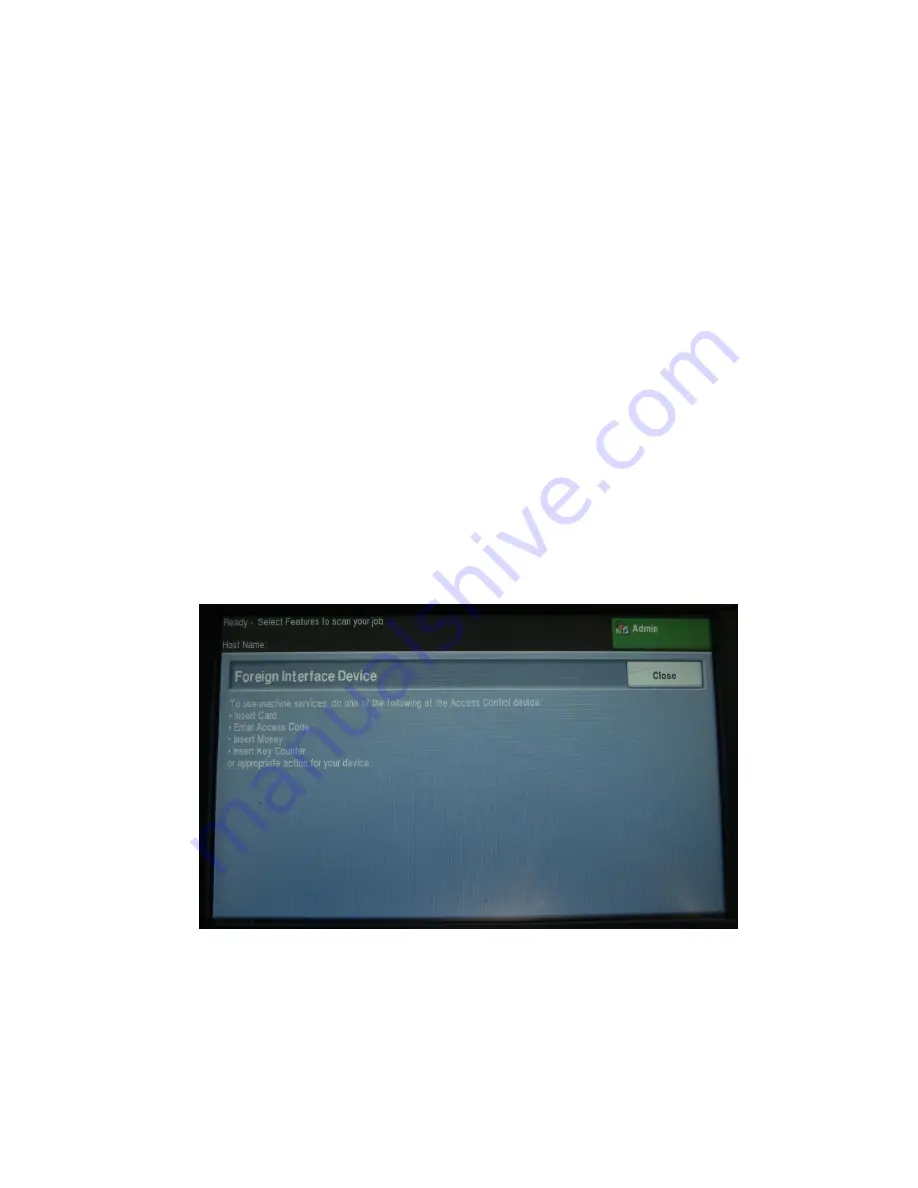
Once the setup is complete the device should display the following on the
touch-screen.
2.6.11
Enable copy locking on Xerox WorkCentre 75xx
1.
To access the relevant web page on the Xerox device use the following
URL, replacing xxx.xxx.xxx.xxx with the IP address of the Xerox device:
http://xxx.xxx.xxx.xxx/diagnostics/holdFdiPrintJobs.php
(if prompted for login, then log in as administrator)


