2 SafeCom Controller
D60700-07
17
2
SafeCom Controller
2.1
Overview
Make sure the SafeCom G3 Server software installation has been completed as
described in for example
SafeCom Smart Printing Administrator’s Quick Guide
D10600
.
2.2
Connect hardware
When powered up, the hardware automatically discovers the server software.
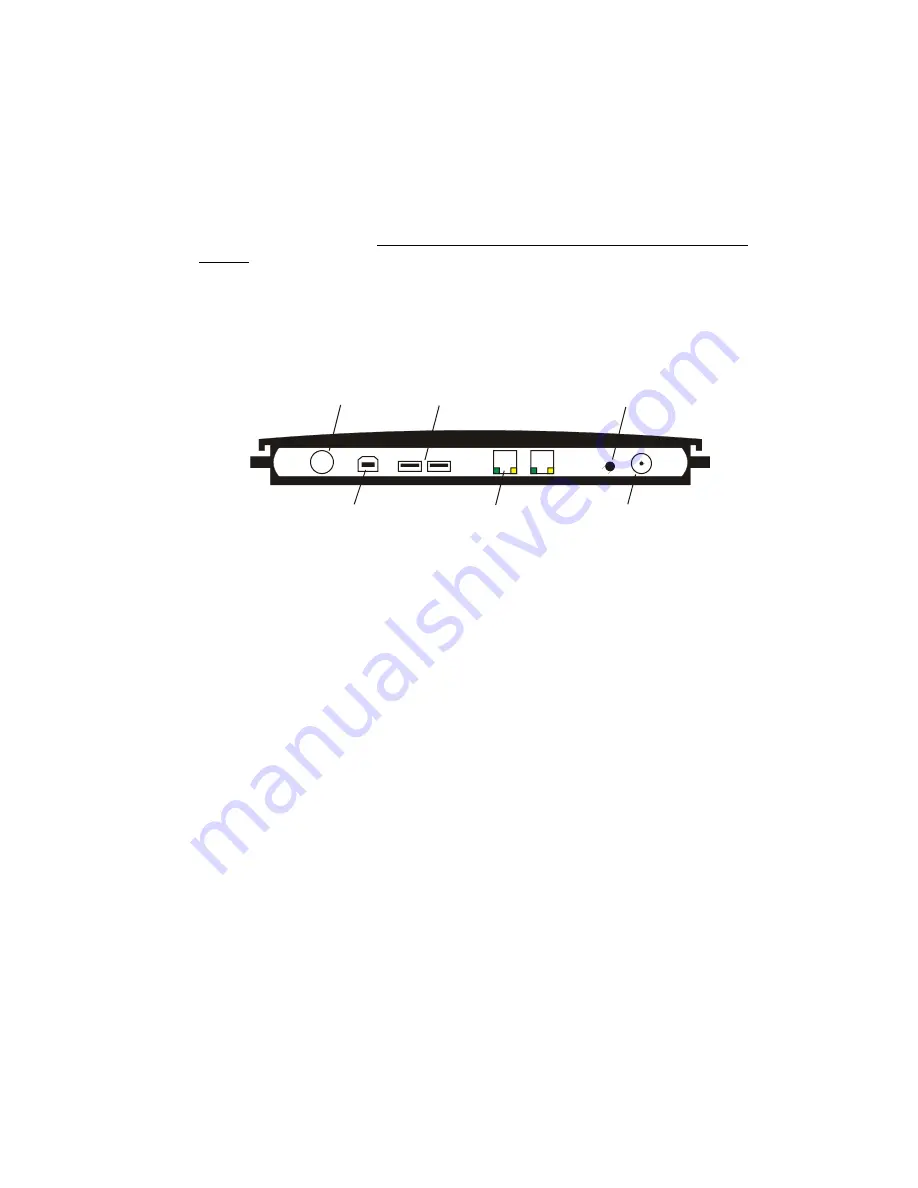
Figure 1 SafeCom Controller’s rear panel
1.
Switch off the power to the printer.
2.
Connect a network cable to the
LAN
port on the rear panel of the
SafeCom Controller. Connect the other end of the cable to the network.
3.
Connect a network cable to the printer. Connect the other end of the
cable to the SafeCom Controller’s other network port.
4a. Connect the SafeCom Controller and the SafeCom Color Front-end using
the supplied serial cable. Refer to 2.6 if a SafeCom MFP cable has been
supplied and you want to have Copy Control.
4b. Connect the SafeCom Controller and the stand-alone SafeCom Card
Reader (USB port or Serial port).
5.
Connect the power supply to the SafeCom Controller. When you power
on, you must wait approx. 1 minute while SafeCom initializes.
6.
Switch on the power to the printer.
Next the SafeCom Controller needs to be setup to reference the SafeCom G3
Server. Choose one of the two following methods:
A SafeCom Color Front-end is connected
Complete the setup screens on the
SafeCom Color Front-end
(2.3).
A stand-alone SafeCom Card reader is connected
Use the
Add device
function in
SafeCom Administrator
(2.4).
2
1
USB host
LAN
network port
power
serial port
test button
USB
device


