


www.novasina.ch
36
37
ENGLISH
ENGLISH
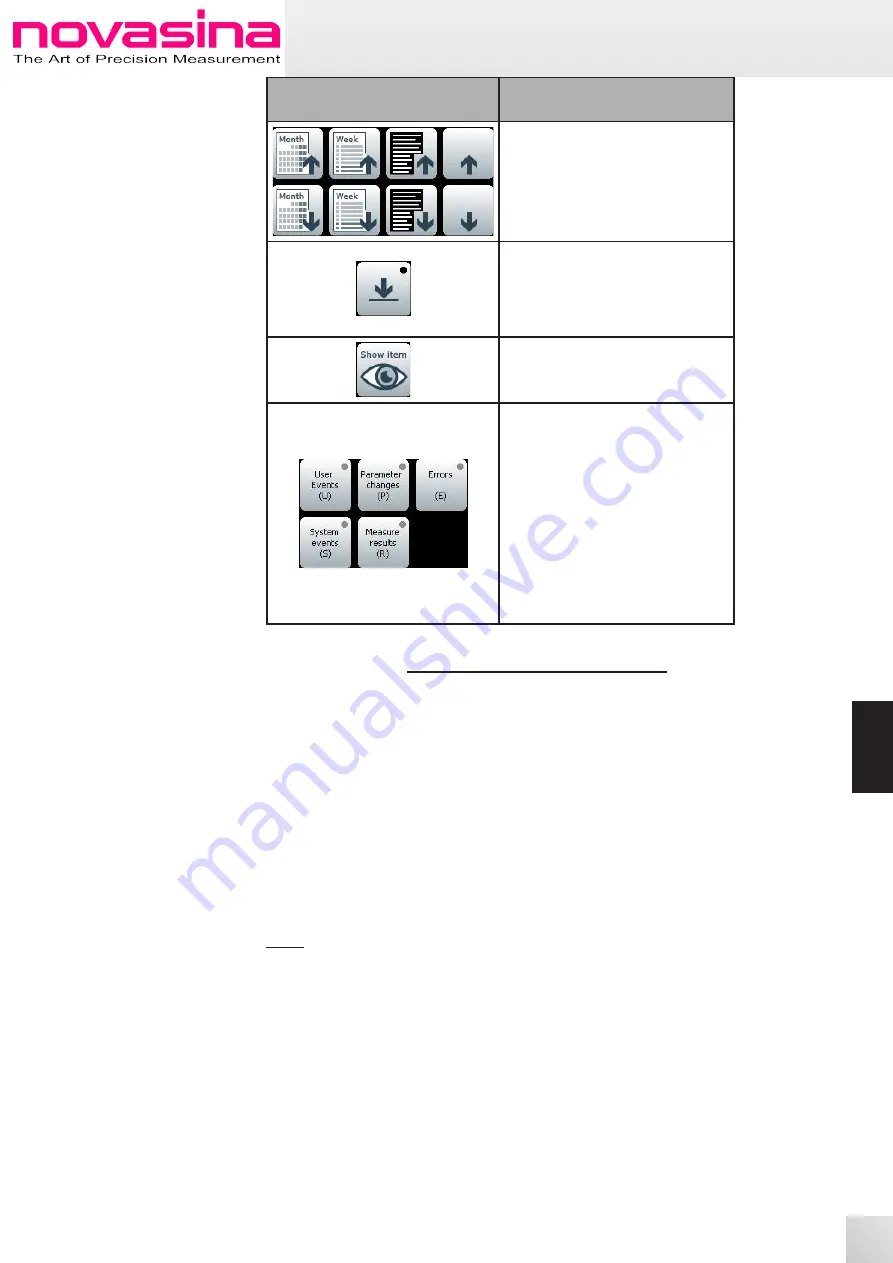
Button
Description
Scroll forth and back in steps of:
• Month
• Week
• One Page
• One line
Scroll to latest data.
If a black dot is visible in the right
upper corner of the icon while new
entire are coming , scrolling to the
latest entries is done automatically.
Select an entry and gather more
details while tap on „Show Entry“
button.
Select the group(s) of events to be
displayed. Groups can be seen in
chapter 9.1. a black dot in the upper
right corner indicates active selec-
tion of that particular event group, a
grey dot indicates inactivity.
If the audit trail analysis window is
opened, all groups are active as per
default. If all groups are deactiva-
ted, system goes to default settings
which is deactivation of all event
groups and displaying all entries.
10. Sample Database
In some cases, different types of products are measured in one facility. Each pro-
duct type has its own stability settings. In order to aviod time-consuming repro-
gramming, the LabMaster-aw neo offers sample database capability.
In other words, specific settings for each product type can be stored in the inst-
rument and easily activated when used.
The following parameters can be set individually per product type:
• Measurement temperature
•
Settings of stability system
• Graph parameters
•
Data logger -> Product name
•
Data logger -> Interval recording
Note:
Unauthorized changes in a sample database can be avoided by programming the
correct permissions in the user management (see chapter 11).
10.1 How to Create a Sample Database Entry
Please proceed with steps below to create a new sample database entry.
1.
Program the settings (measurement temperature, stability mode etc) on the
instrument as necessary to measure the specific product type.
2.
Push „Sample Database“ button which is located int the right upper corner
of the measurement screen
3.
If any database entry has been made, a pop-up appears which confirms the-
re is no entry. Press „OK“


