9
Installation Instructions
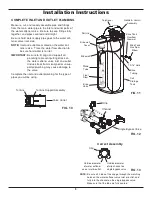
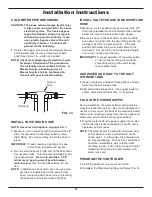
FIG. 11
Top Cover
Brine Tank
Overflow
Elbow
Brine Tank
Overflow
Grommet
13/16” Hole
Salt Lid
Salt
Storage
Tank
Float
Stem
Brine
Tubing
Brinewell
Cover
Stand
Tube
Brine
Valve
Brinewell
Nozzle & Venturi
Assembly
FIG. 10
Turbine
Turbine Support Assembly
Valve Outlet
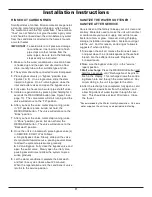
FIG. 12
Clip
Channel
Single Bypass Valve
FIG. 13
Correct Assembly
Clip
Outside diameter
of clip channel on
single bypass valve
Outside diameter
of water softener
valve inlet & outlet
NOTE:
Be sure all 3 tabs of the clip go through the matching
holes on the water softener valve inlet or outlet, and
fully into the channel on the single bypass valve.
Make sure that the tabs are fully seated.
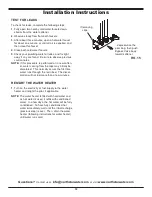
COMPLETE INLET AND OUTLET PLUMBING
Measure, cut, and loosely assemble pipe and fittings
from the main water pipe to the inlet and outlet ports of
the water softener valve. Be sure to keep fittings fully
together, and pipes squared and straight.
Be sure hard water supply pipe goes to the water sof-
tener valve inlet side.
NOTE:
Inlet and outlet are marked on the water sof-
tener valve. Trace the water flow direction to
be sure hard water is to inlet.
IMPORTANT:
Be sure to fit, align and support all
plumbing to prevent putting stress on
the water softener valve inlet and outlet.
Undue stress from misaligned or unsup-
ported plumbing may cause damage to
the valve.
Complete the inlet and outlet plumbing for the type of
pipes you will be using.


