·
Adjust vacuum valve thumb wheel to zero
force (spring backed off).
While system in operating, visually watch the
spray pattern from the nozzles.
If the system is completely sealed (no vacuum
leaks in the water line) then once the system is turned
on for the first time all nozzles should start spraying
starting with the nozzles closest to the vacuum valve.
The negative pressure created in the water line by the
high velocity air exiting the nozzles will cause the
water line to fill with water, the farther the nozzle is
from the vacuum valve the longer it will take for the
water to reach that nozzle. Once the system has gone
through the priming stage, it should start spraying
within seconds after the system has been turned on
after a shut down. The priming stage should not take
any longer than five minutes. If the system fails to fully
prime after five minutes this may indicate a problem.
CHECKING FOR VACUUM LEAKS
The best way to check for leaks is to disconnect
the water line from the vacuum valve outlet fitting and
connect it directly to the water supply line. This will
pressure the line and any leaks should cause dripping
allowing location and repair of the leaks.
To test the operation of the vacuum valve;
·
Reduce the control panel pressure to 40 psig.
·
Adjust thumb wheel tension by turning it in a
clockwise direction. There should be a visual
difference in the output of the nozzles as more
tension is applied to the spring. Be sure not to
press down on the thumb wheel while turning
it.
·
Release the thumb wheel tension and, once
again, there should be a noticeable change in
the nozzle output.
The spring tension of the vacuum valve restricts
the flow of water to the nozzles by changing the
required amount of vacuum needed to operate the
vacuum valve. Since the nozzles can only generate a
fixed amount of vacuum (negative pressure) the flow
rate of water is reduced which causes a finer spray
and less output. If there was a vacuum leak in the
water line it may not be noticeable with the vacuum
valve spring tension set to zero, but it should become
noticeable with greater tension applied to the spring.
A good indication of a small leak would be very little
visual difference in nozzle output while performing this
test.
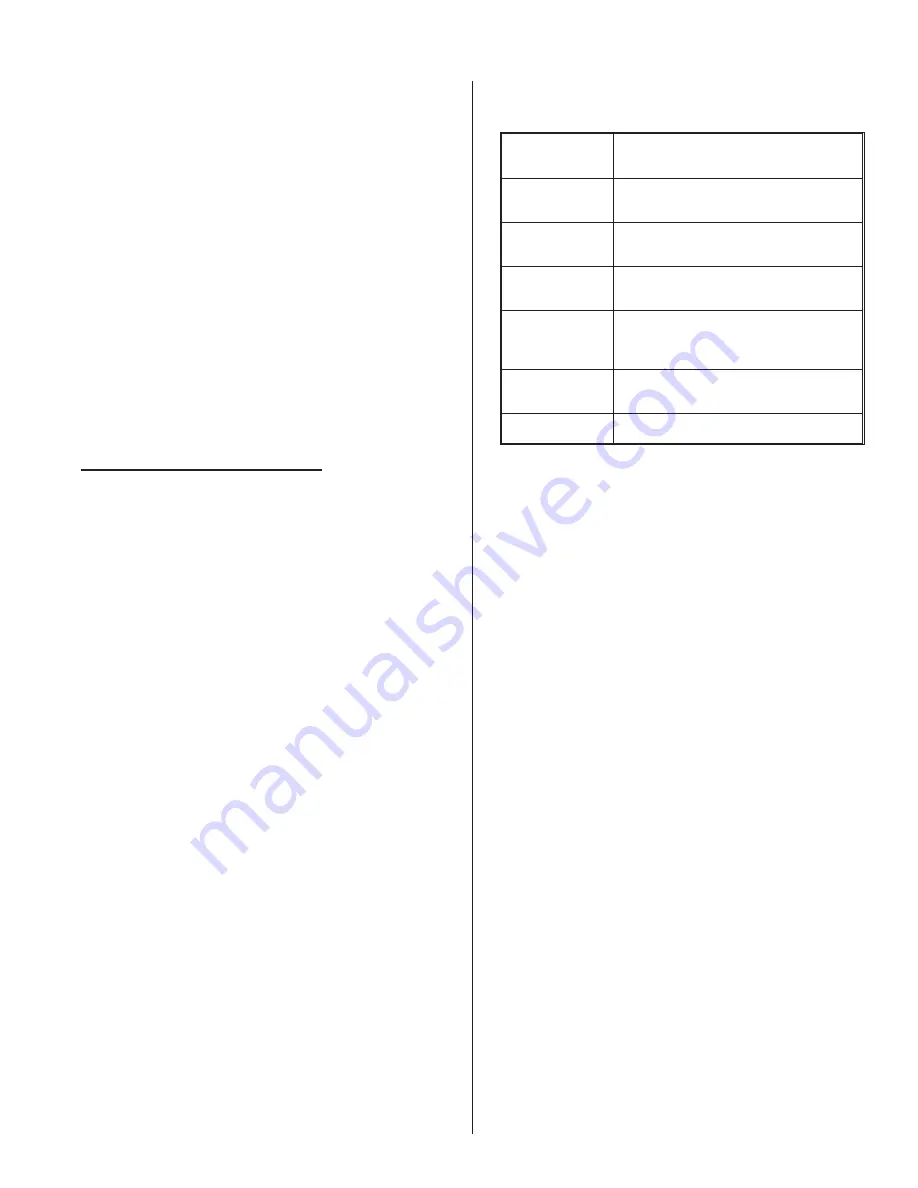
Table #2
Rebuild Kits
Part #
Description
1603115
Rebuild Kit for 1603104 Norgren
pilot water regulator
1603117
Diaphragm kit for 1609412 watts pilot air
regulator.
1603118
Rebuild kit for 1603001 Norgren panel
mounted air regulator.
1603119
Rebuild kit for 1603002 Norgren Brass
water pressure regulator for vacuum
valves
1603120
Seal Rebuild kit for 1609209 AFE
Nozzle.
1603122
Vacuum Valve Diaphragm Rebuild kit
- 19 -


