GB 13
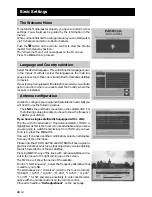
Dish adjustment
The Mediamaster is preprogrammed for receiving signals from
THOR (ASTRA and HOTBIRD), and if the dish is already correctly
adjusted you should now see a programme from that satellite in
the background.
If not, or if the picture/sound is not satisfying, you have to adjust
the dish to improve the reception quality.
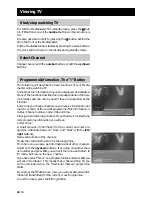
Check the signal strength meter at the lower part in this menu.
Adjust the dish mechanically to get the best possible signal
strength.
When you have made the necessary settings for your combina-
tion and have picture and sound, you may now proceed to “Chan-
nel Search” (= download channels from the satellite) by press-
ing the
OK
button.
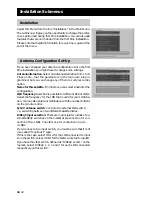
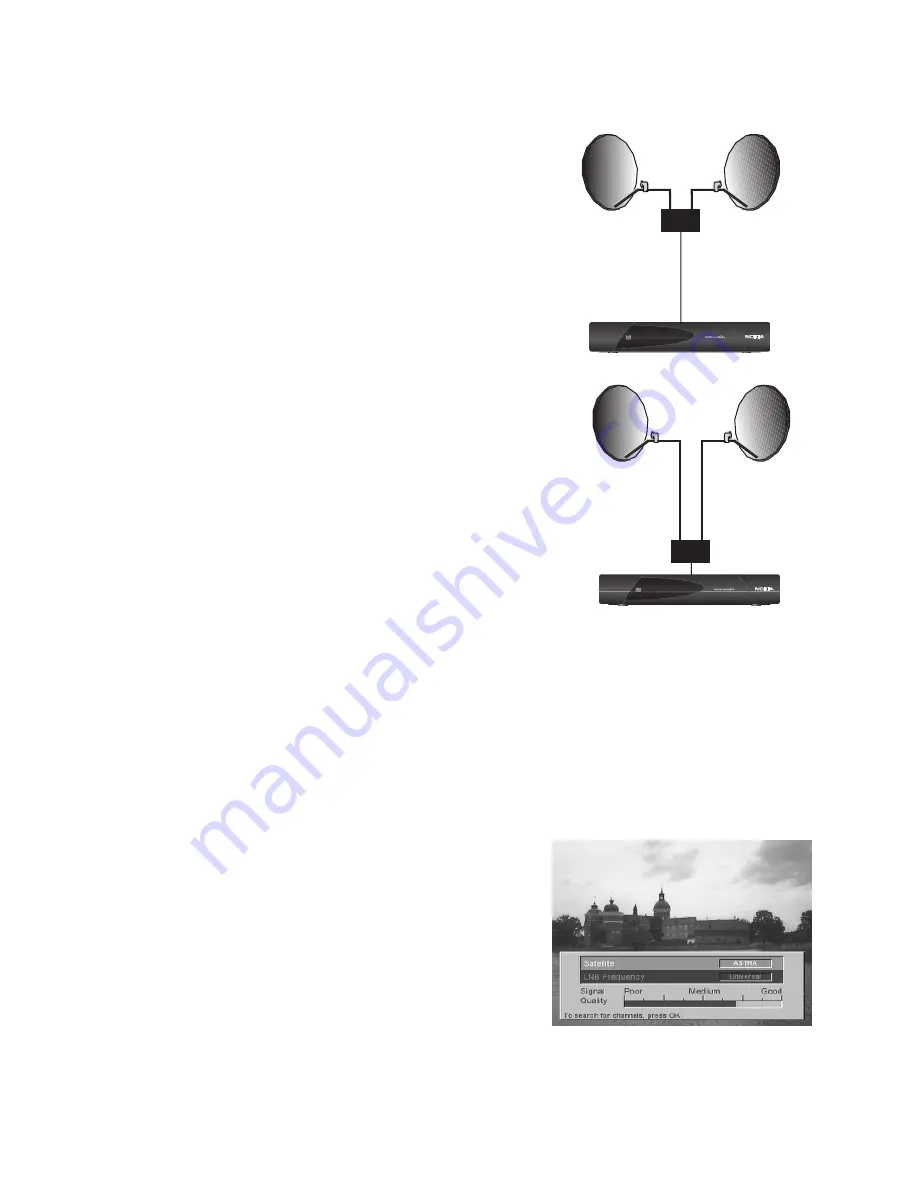
If you have a single satellite dish equipped with 2 LNBs;
or two dishes with one LNB on each:
The Mediamaster is preprogrammed for the LNB combination
ASTRA/HOTBIRD. It is also preprogrammed for the connection
of an external switch. This external switch should be either;
1 A so called DiSEqC
TM
swich (Level 1 or 2 type),
or
;
2 A 0/12 V switch.
Both of these automatically switch between two LNBs, but
there is one big difference between them.
The DiSEqC switch can be located
close to the LNBs
, which
means you have only one cable down to the Mediamaster.
The 0/12 V switch must be located
close to the Mediamaster
,
which means you will have two cables, one from each LNB,
all the way down to the Mediamaster.
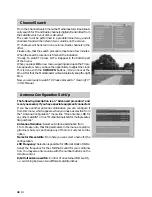
If you have made the selection ASTRA/HOTBIRD from this menu,
you must connect one of those switches.
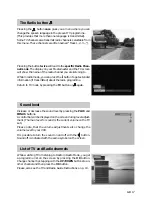
In the menu that appears when you have select the combination
ASTRA/HOTBIRD, you have to make two settings:
1 Select ASTRA on the first line and your LNB type for this
satellite on the second.
2 Select HOTBIRD on the first line and your LNB type for this
satellite on the second.
When you perform the dish adjustment described below, don’t
forget to alter between ASTRA and HOTBIRD in this menu.
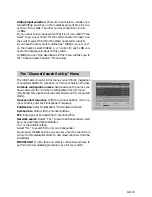
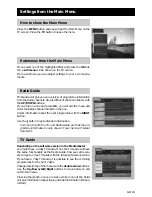
If your dish/LNB configuration differs from the alterna-
tives above (= you have to select “One antenna/LNB for
any other satellite” or “Multiantenna/LNBs for multiple
Satellite positions”), please proceed to “Antenna Configu-
ration Set-Up” further on in this manual.
0/12 V
switch
DiSEqC
switch

